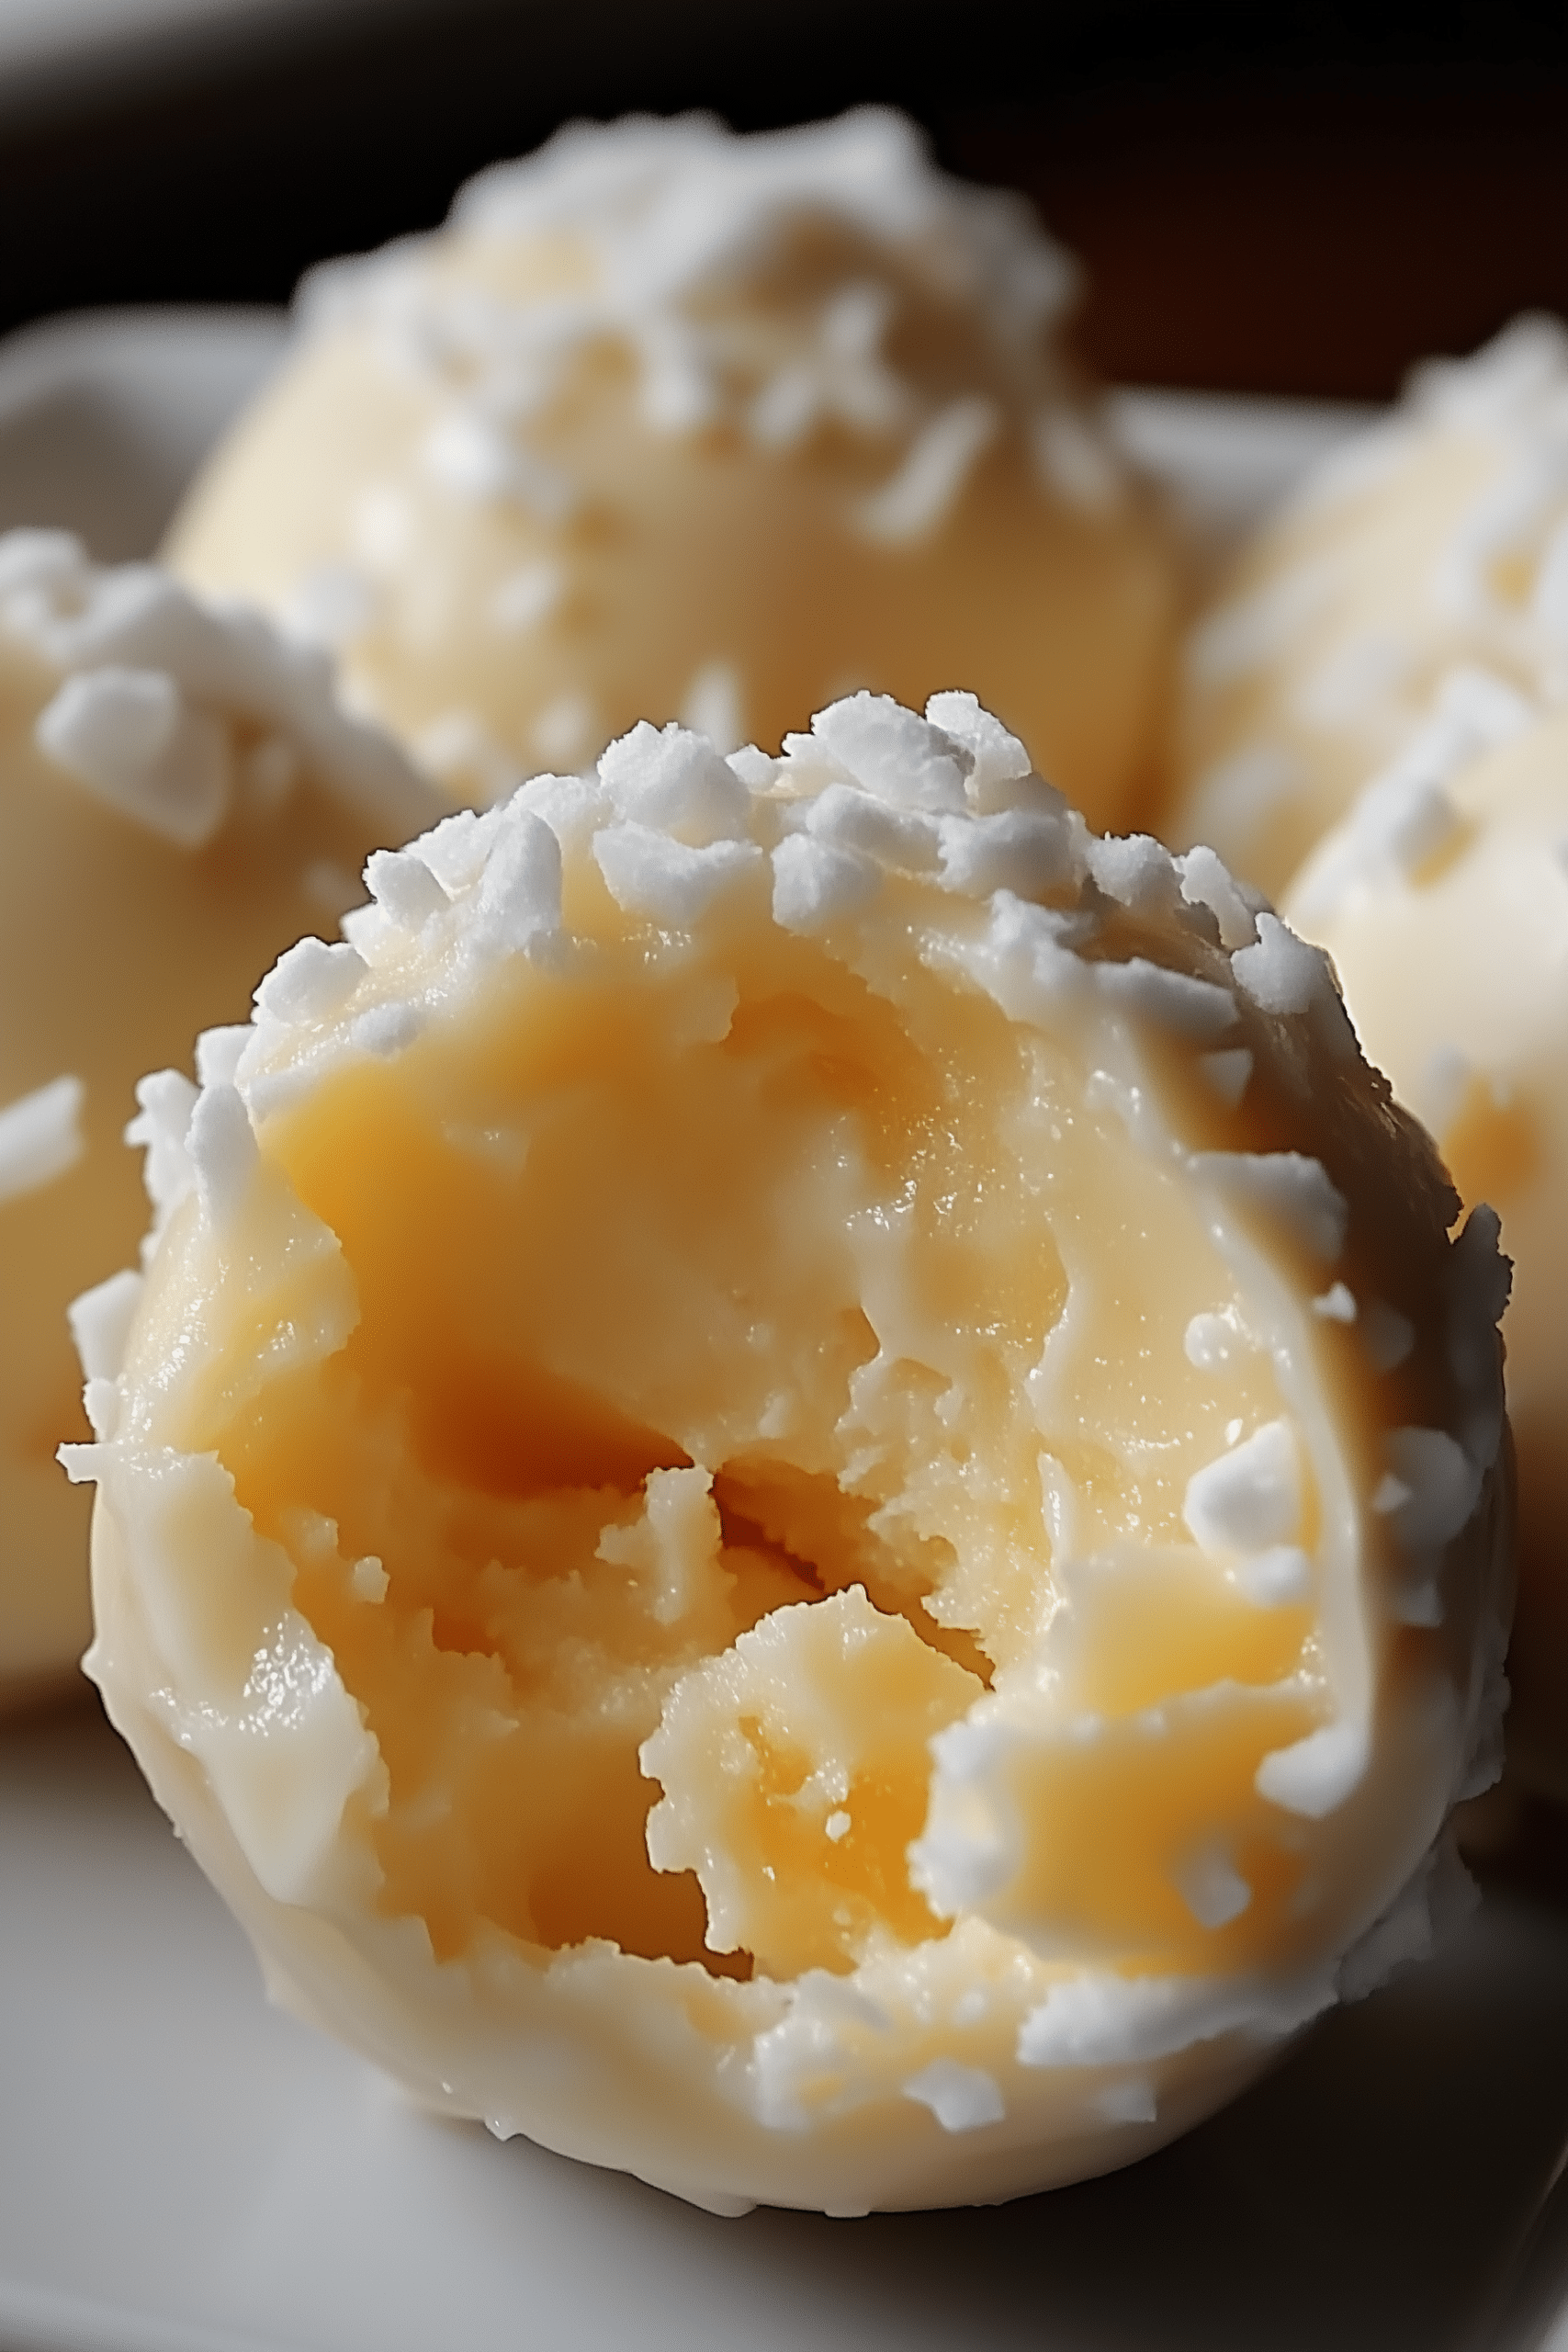
There’s something wonderfully nostalgic about the sweet, tangy taste of an orange creamsicle. These No‑Bake Orange Creamsicle Truffles take that flavor and turn it into a bite‑sized, creamy, melt‑in‑your‑mouth treat—without ever turning on the oven. They’re perfect for when you want something indulgent, bright, and effortless all at once.
I first whipped these up on a sunny spring afternoon as a refreshing alternative to heavy desserts. The mixture of orange juice concentrate, vanilla wafer crumbs, and white chocolate was so reminiscent of childhood summers that it took me back in one bite. They chilled quickly, required no baking, and were gone within a few hours. Since then, they’ve become my go‑to for spring and summer entertaining—or any time I want a quick, nostalgic crowd‑pleaser.
Why You’ll Love This Recipe
- Classic creamsicle flavor in a no‑bake, easy truffle
- Bright and citrusy, yet rich and creamy
- Portable and giftable—they look stunning in jars or on platters
- Customizable toppings—sprinkles, citrus zest, or chocolate drizzle
- Great make‑ahead dessert that tastes elegant and bright
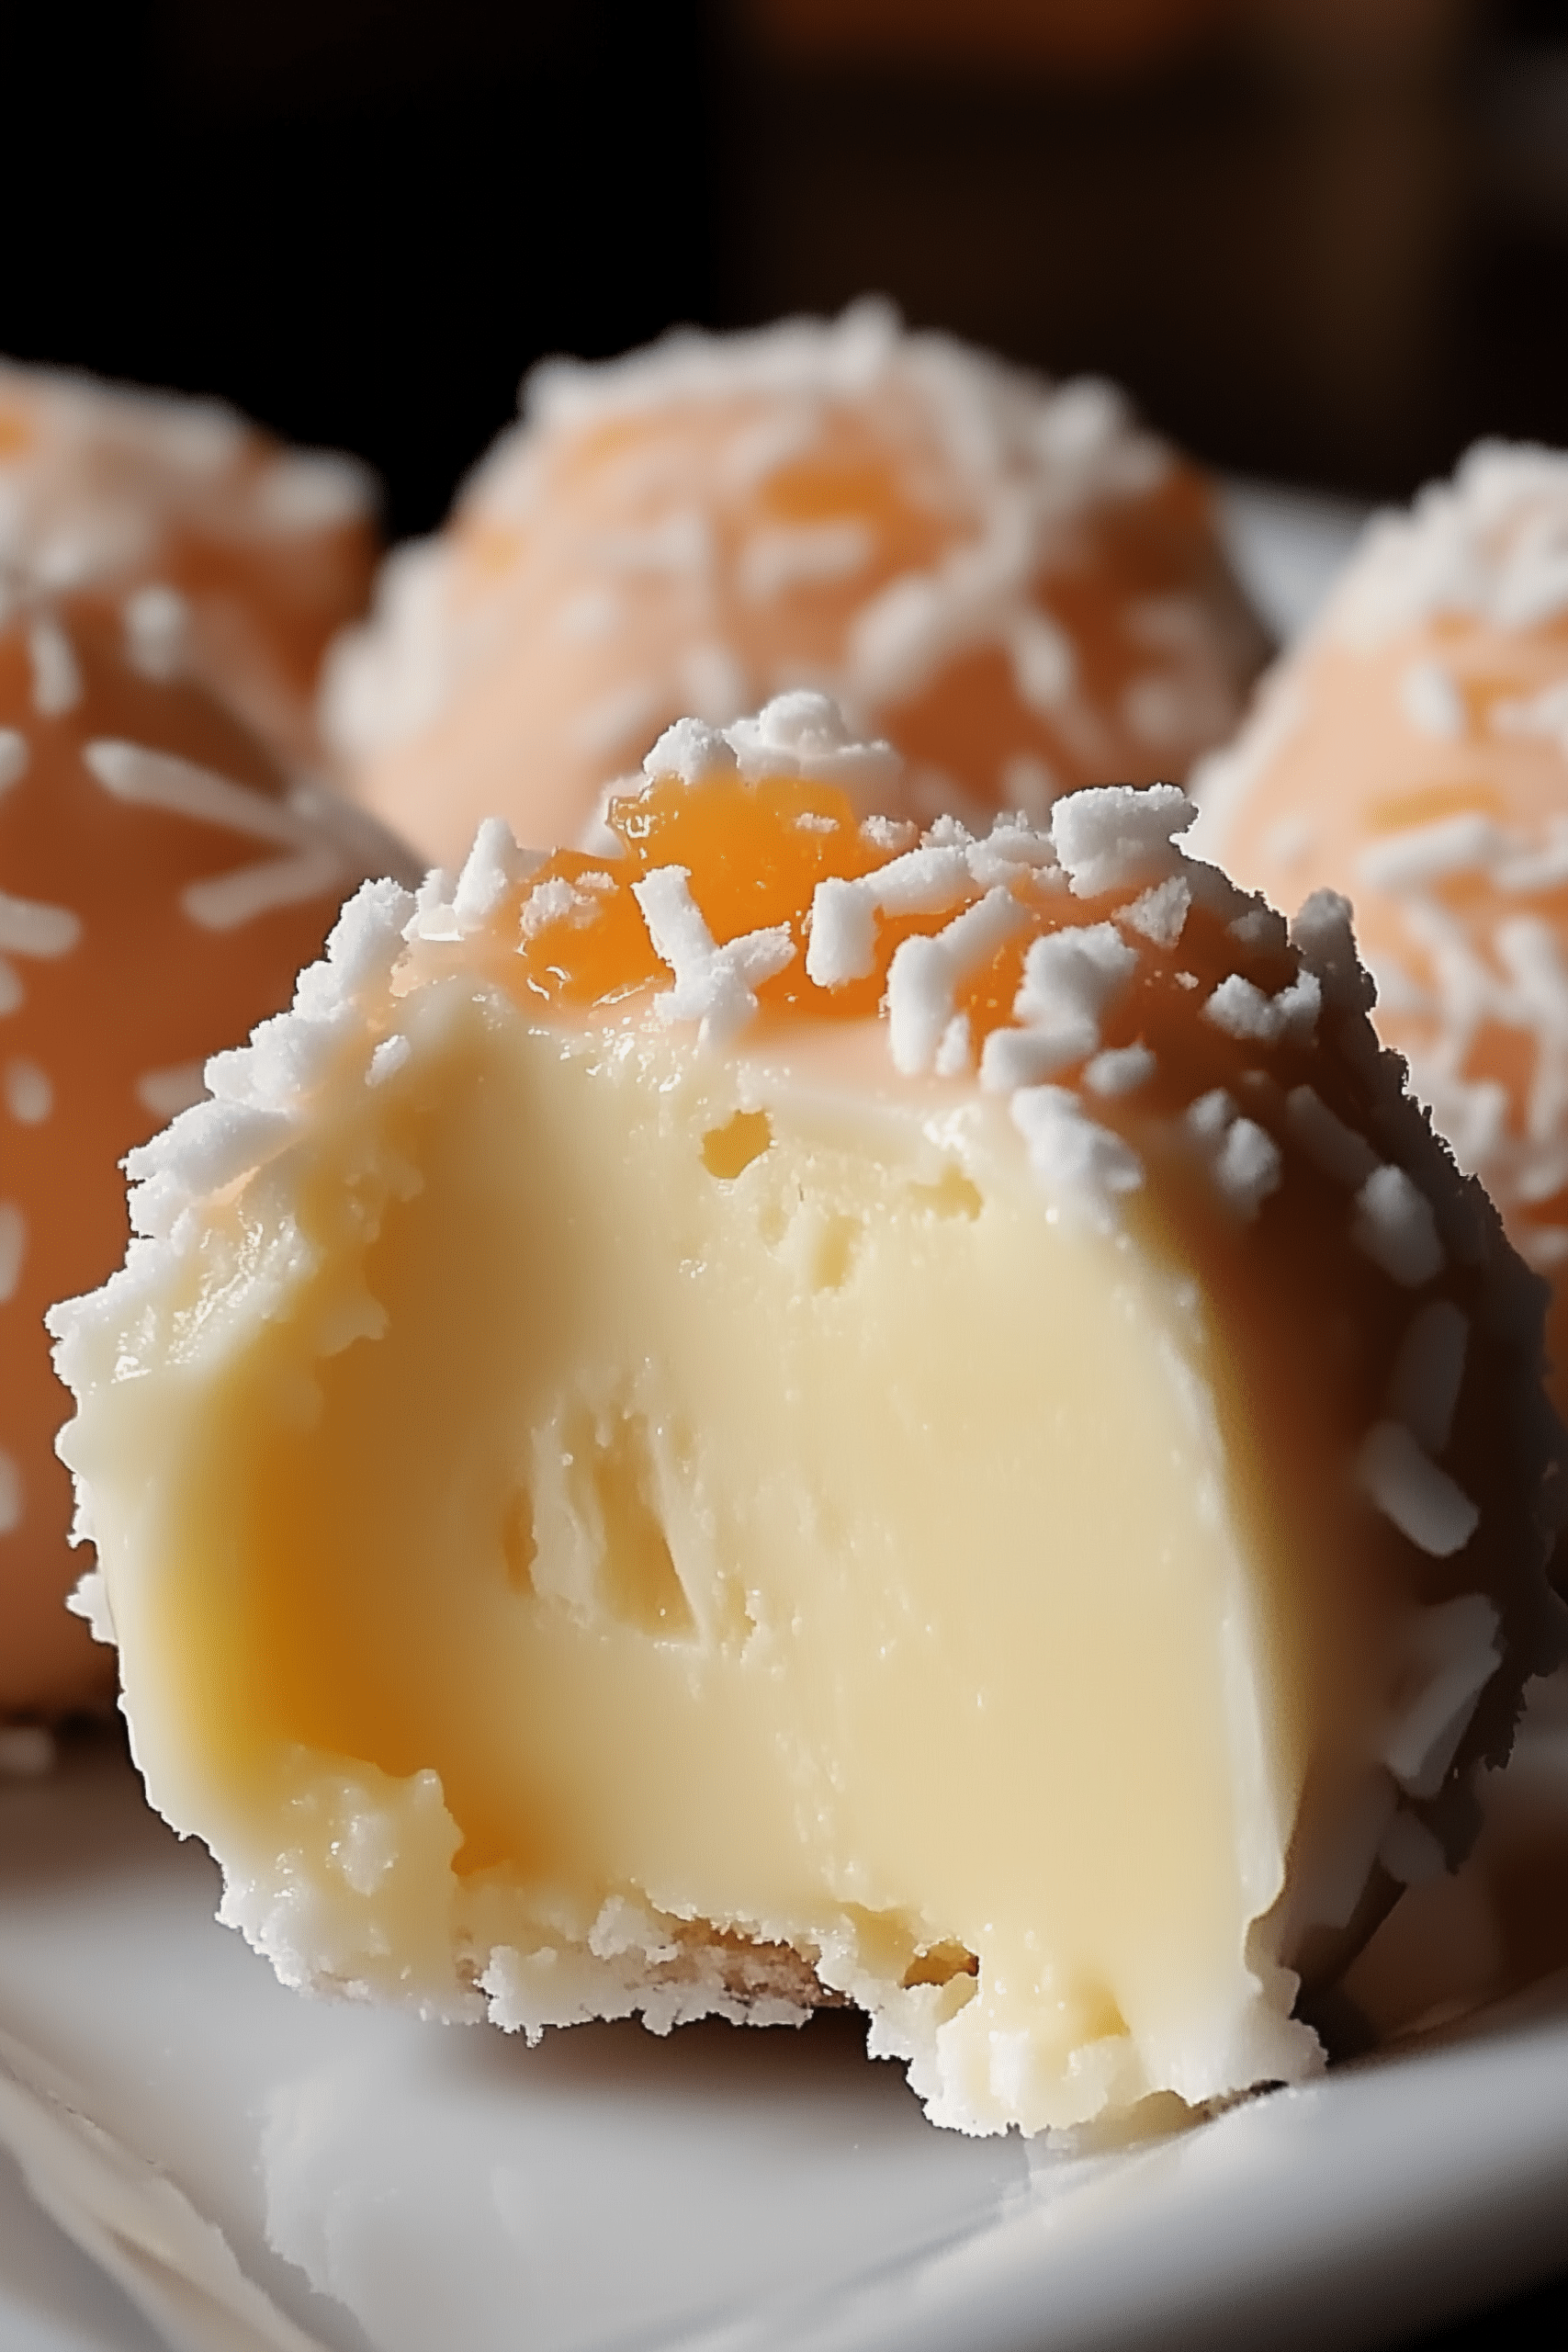
Ingredients (Yields ~20 truffles)
- 1½ cups (180 g) powdered sugar
- ½ cup (115 g) unsalted butter, softened
- 2 cups (120 g) finely crushed vanilla wafers
- ¼ cup (60 ml) frozen orange juice concentrate, thawed
- 1 tsp orange zest (optional, for extra citrus punch)
- ½ tsp vanilla extract
- 1 cup (200 g) white chocolate chips or candy melts (for coating)
Optional Garnishes:
- Sprinkles
- Extra orange zest
Kitchen Tools You’ll Need
- Mixing bowl
- Mixer (hand or stand)
- Measuring cups/spoons
- Baking sheet lined with parchment
- Microwave‑safe bowl for melting chocolate
- Cookie scoop or tablespoon for portioning
Step‑by‑Step Instructions
Step 1 – Prepare the Truffle Dough
Beat softened butter and powdered sugar until smooth. Stir in the orange juice concentrate, vanilla extract, and orange zest if using. Add the crushed vanilla wafer crumbs and mix until you form a soft dough that holds together.
Step 2 – Shape & Chill
Using a cookie scoop or spoon, portion out about one tablespoon of dough per truffle. Roll into a smooth ball and place on a parchment‑lined baking sheet. Refrigerate for 30 minutes so the truffles firm up before dipping.
Step 3 – Melt the White Chocolate
In a microwave‑safe bowl, melt the white chocolate chips or candy melts in 20‑second increments, stirring well between each interval until fully melted and glossy.
Step 4 – Dip the Truffles
Use a fork or dipping tool to fully coat each chilled truffle in melted white chocolate. Tap off any excess chocolate and gently place the coated truffle back onto the parchment tray.
Step 5 – Garnish Immediately
While the coating is still wet, sprinkle each truffle with orange zest or colorful sprinkles for a cheerful finish.
Step 6 – Final Chill & Serve
Chill for an additional 15–20 minutes or until the chocolate sets. Serve them chilled or at room temperature—they’re satisfying in either form—and watch how quickly they disappear.
Pro Tips & Variations
- If your dough feels too sticky, add a bit more crushed wafers for easier handling.
- Keep your hands and tools cool while shaping to prevent melting.
- Freeze excess truffles on a tray, then transfer to an airtight container for longer storage.
- Experiment with coating options: melted dark chocolate, coconut, or colored candy melts for festive versions.
Storage & Freezing
- Refrigerator: Store in a sealed container for up to 5 days.
- Freezer: Flash‑freeze truffles on a sheet, then transfer to a sealed bag for up to 2 months. Thaw in the fridge before serving.
Serving Suggestions
- Display on dessert boards alongside cookies or fruit
- Package in small jars or boxes for edible gifts
- Pair with sparkling wine, lemonade, iced tea, or vanilla milkshakes
- Use them as toppers for cupcakes, ice cream, or puddings
Frequently Asked Questions
Can I use fresh orange juice instead of concentrate?
Frozen concentrate offers much stronger flavor and better consistency. Fresh juice may introduce too much moisture and weaken the orange profile.
Are these gluten‑free?
Only if you use certified gluten‑free vanilla wafer or cookie crumbs.
Do I have to coat them in white chocolate?
No—you can roll them in powdered sugar, coconut, or just leave them uncoated if preferred.
Do these need refrigeration?
A firm chill helps the coating stay crisp, but they’re fine at room temperature for short serving periods.
Final Thoughts
These No‑Bake Orange Creamsicle Truffles are the ultimate mini dessert: nostalgic, refreshing, and delightfully creamy. With vibrant citrus flavor, buttery texture, and elegant presentation, they strike the perfect balance between simple and sophisticated. Whether you’re hosting a summer brunch, assembling dessert trays for guests, or just craving something bright and easy, these truffles deliver every time. Take a bite—you’re just a few truffles away from sunshine in your mouth.
The Goods

No Bake Orange Creamsicle Truffles
We appreciate you taking the time to rate!
Recipes
- 1½ cups 180 g powdered sugar
- ½ cup 115 g unsalted butter, softened
- 2 cups 120 g finely crushed vanilla wafers
- ¼ cup 60 ml frozen orange juice concentrate, thawed
- 1 tsp orange zest optional, for extra citrus punch
- ½ tsp vanilla extract
- 1 cup 200 g white chocolate chips or candy melts (for coating)
Optional Garnishes:
- Sprinkles
- Extra orange zest
Instructions
Step 1 – Prepare the Truffle Dough
- Beat softened butter and powdered sugar until smooth. Stir in the orange juice concentrate, vanilla extract, and orange zest if using. Add the crushed vanilla wafer crumbs and mix until you form a soft dough that holds together.
Step 2 – Shape & Chill
- Using a cookie scoop or spoon, portion out about one tablespoon of dough per truffle. Roll into a smooth ball and place on a parchment‑lined baking sheet. Refrigerate for 30 minutes so the truffles firm up before dipping.
Step 3 – Melt the White Chocolate
- In a microwave‑safe bowl, melt the white chocolate chips or candy melts in 20‑second increments, stirring well between each interval until fully melted and glossy.
Step 4 – Dip the Truffles
- Use a fork or dipping tool to fully coat each chilled truffle in melted white chocolate. Tap off any excess chocolate and gently place the coated truffle back onto the parchment tray.
Step 5 – Garnish Immediately
- While the coating is still wet, sprinkle each truffle with orange zest or colorful sprinkles for a cheerful finish.
Step 6 – Final Chill & Serve
- Chill for an additional 15–20 minutes or until the chocolate sets. Serve them chilled or at room temperature—they’re satisfying in either form—and watch how quickly they disappear.







Leave a Reply