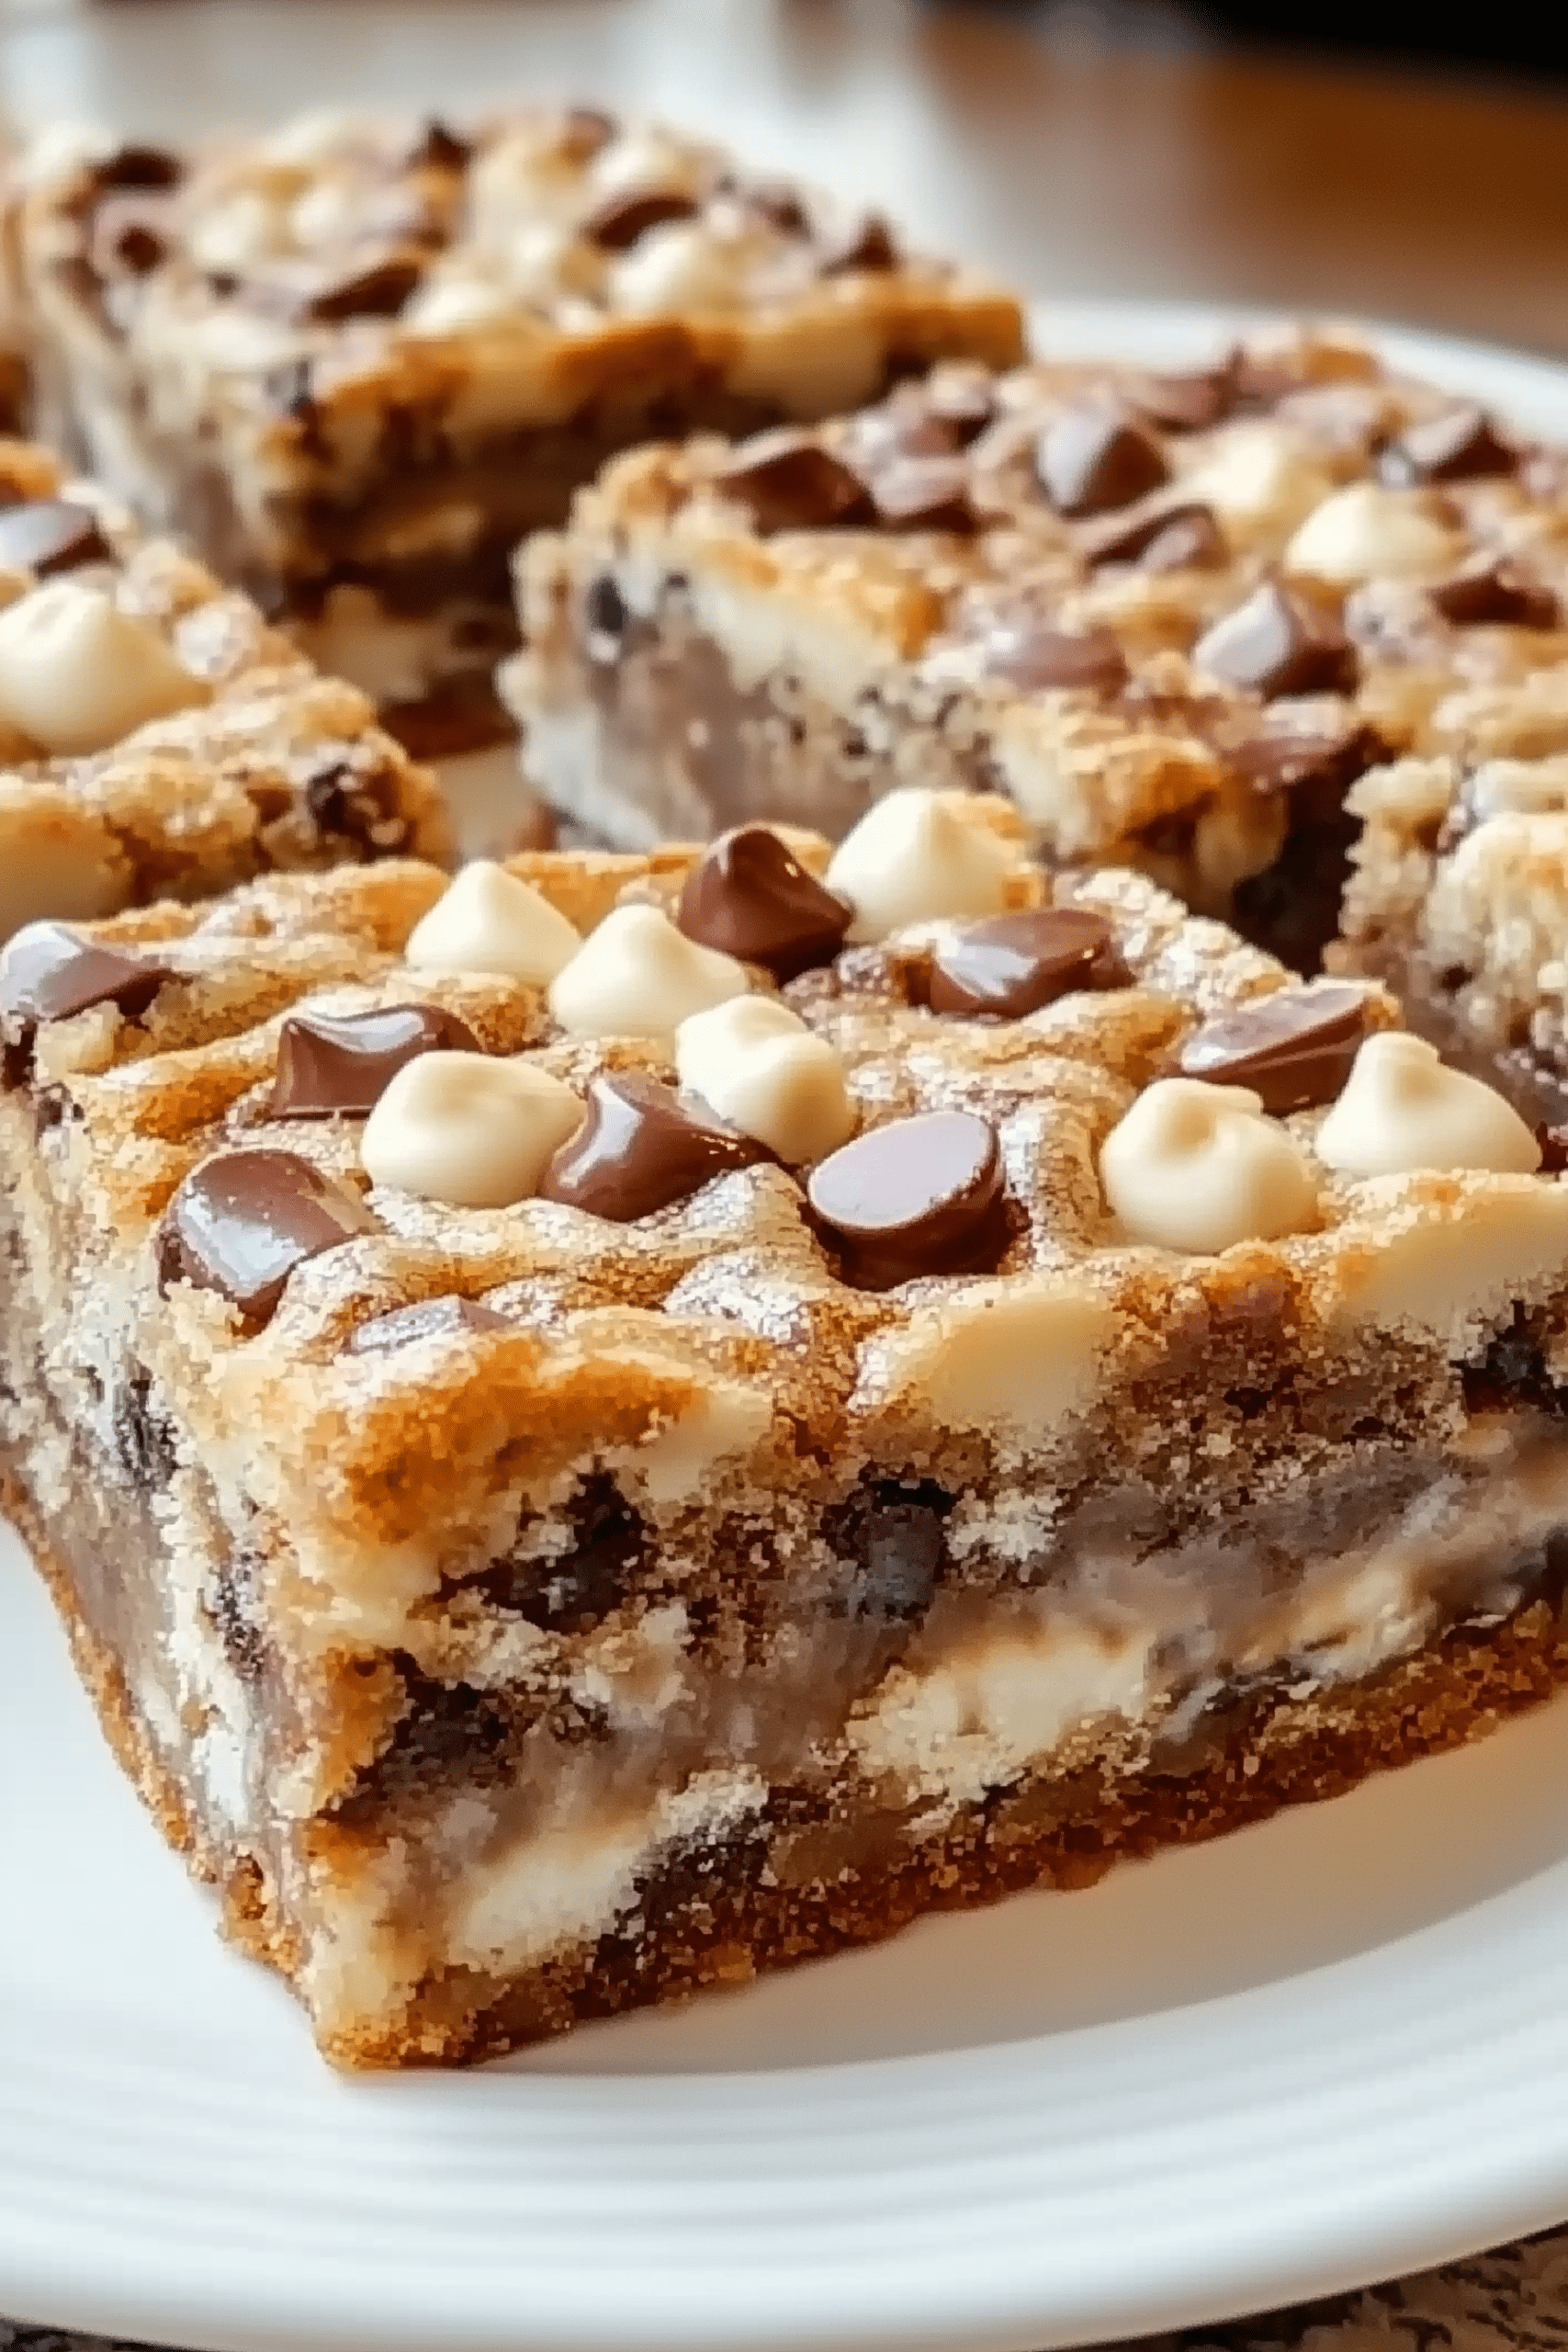
When it comes to easy desserts that deliver maximum flavor with minimal effort, Magic Cookie Bars reign supreme. This iconic recipe from Eagle Brand has been a staple in American kitchens for decades, delighting generations with its irresistible combination of textures and flavors. A buttery graham cracker crust forms the foundation, while sweetened condensed milk creates a gooey, caramel-like layer that binds everything together. On top, rich chocolate chips, chewy coconut, and crunchy nuts create a dessert bar that’s nothing short of magical.
If you’ve never made Magic Cookie Bars before, you’re in for a treat. They’re also known by other names—like “Hello Dolly Bars” or “7-Layer Bars”—but no matter what you call them, they’re universally loved. The beauty of this recipe is its simplicity: no mixer, no complicated techniques, just a few pantry staples and a baking dish. They come together quickly, making them perfect for last-minute guests, holiday baking, or bake sales. Plus, they store beautifully, so you can make them ahead and enjoy them throughout the week.
I first discovered Magic Cookie Bars at a neighbor’s holiday party when I was a kid. Among a sea of Christmas cookies, these stood out. The contrast between the crunchy crust, the sweet gooey center, and the chewy topping was unlike anything else on the table. It wasn’t until years later that I realized how simple they are to make—just layer, bake, and slice. Now, they’re a go-to recipe in my own kitchen whenever I need something fast but impressive.
Whether you stick to the classic Eagle Brand formula or add your own creative twist, these bars are endlessly adaptable. And trust me—once you bring them to a party, you’ll be asked to make them again and again.
Why You’ll Love These Magic Cookie Bars
- Effortless to make: The “layer and bake” method means no mixing bowls to wash after the crust.
- Great for any occasion: From birthdays to bake sales to holidays, these bars fit in everywhere.
- Crowd-pleasing flavor: Sweet, chewy, chocolatey, and nutty—there’s something for everyone.
- Make-ahead friendly: They taste even better the next day as the flavors meld.
- Easy to customize: Swap the chocolate chips, change the nuts, or add extra toppings.
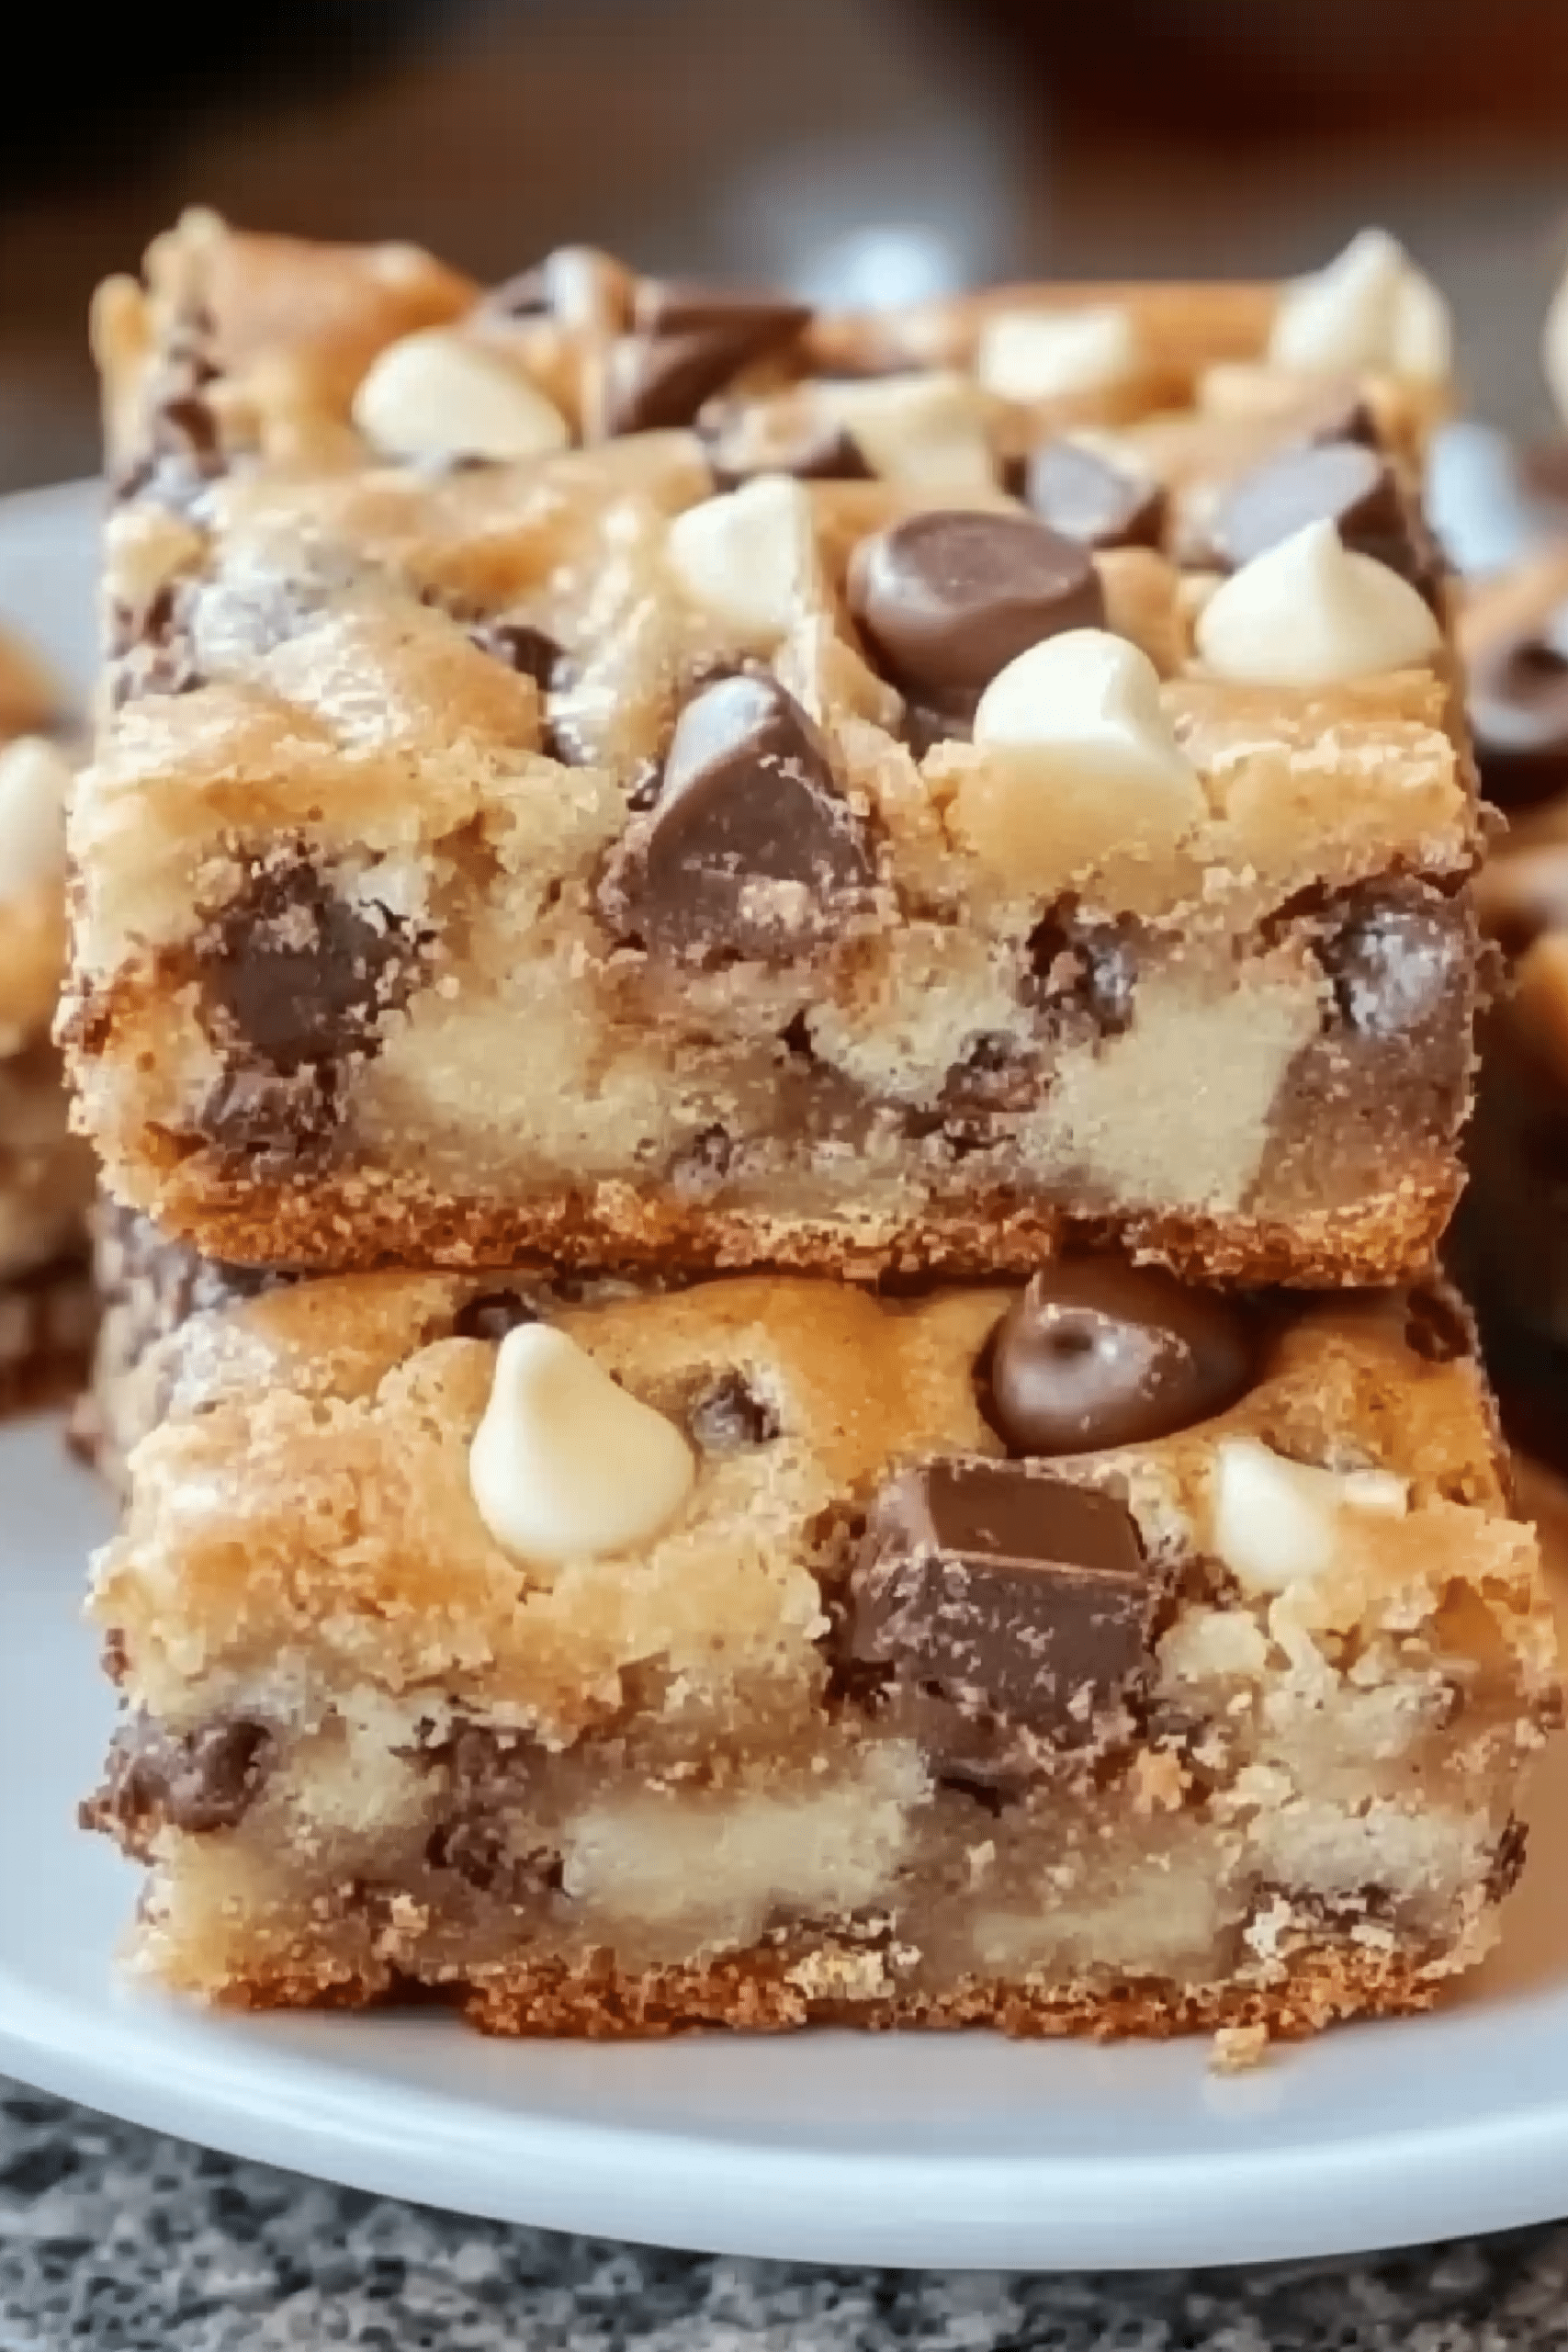
Ingredients
This recipe makes about 36 small bars or 18 larger ones.
- 1½ cups graham cracker crumbs
- ½ cup butter, melted
- 1 (14 oz) can Eagle Brand Sweetened Condensed Milk
- 2 cups semisweet chocolate chips
- 1⅓ cups flaked coconut
- 1 cup chopped nuts (pecans, walnuts, or almonds are ideal)
Instructions
Step 1: Preheat the Oven
Preheat your oven to 350°F (175°C). If using a glass baking dish, reduce the temperature to 325°F (165°C). Lightly grease a 9×13-inch baking dish with cooking spray or butter. Lining with parchment paper is optional but makes cleanup and cutting much easier.
Step 2: Make the Crust
In a medium mixing bowl, combine the graham cracker crumbs and melted butter. Stir until the crumbs are evenly coated and have a sandy texture. Transfer the mixture to your prepared baking dish and press it firmly and evenly across the bottom. This will help the crust hold together when sliced.
Step 3: Layer the Sweetened Condensed Milk
Pour the entire can of Eagle Brand Sweetened Condensed Milk evenly over the crust. Use a spatula to spread it into the corners, ensuring full coverage. This layer is what will caramelize slightly during baking and bind all the toppings together.
Step 4: Add the Toppings
Sprinkle the chocolate chips evenly over the sweetened condensed milk. Next, add the flaked coconut in an even layer, followed by the chopped nuts. Lightly press down with the back of a spoon or your hand to help the toppings stick.
Step 5: Bake the Bars
Place the baking dish in the preheated oven and bake for about 25 minutes, or until the edges are golden brown and the coconut has started to toast. The center should look set but still soft.
Step 6: Cool and Slice
Remove from the oven and place the pan on a wire rack. Allow the bars to cool completely before cutting—this can take at least 1–2 hours, but it’s worth the wait for neat, clean slices. Once cooled, use a sharp knife to cut into squares, rectangles, or diamonds.
Recipe Tips
- Parchment paper is your friend: It makes removing and slicing the bars much easier.
- Don’t overbake: The bars will continue to set as they cool, so remove them once the edges are golden.
- Mix up the chocolate: Use a mix of milk, dark, and white chocolate chips for a fun twist.
- Change the nuts: Pecans offer a buttery flavor, walnuts add a slight bitterness, and almonds bring a toasty crunch.
- Make them gluten-free: Simply use gluten-free graham crackers for the crust.
Variations
- S’mores Bars: Use mini marshmallows in place of coconut and add extra chocolate.
- Peanut Butter Twist: Replace half the chocolate chips with peanut butter chips.
- Holiday Bars: Add red and green M&Ms for a festive Christmas version.
- Salted Caramel Magic Bars: Drizzle caramel sauce over the top before baking, and sprinkle with flaky sea salt afterward.
Serving Suggestions
Because these bars are rich and sweet, smaller portions are perfect. They pair beautifully with a cup of coffee, tea, or hot chocolate. For an indulgent dessert, serve them warm with a scoop of vanilla ice cream. If you’re packing them for a picnic or bake sale, wrap them individually in wax paper for a charming presentation.
Storage and Freezing
- Room Temperature: Store in an airtight container for up to 5 days.
- Refrigerator: Keeps for up to 1 week—chilling makes them a bit firmer and chewier.
- Freezer: Wrap bars individually in plastic wrap, then place in a freezer-safe container for up to 3 months. Thaw at room temperature before serving.
Why They’re Perfect Year-Round
Some desserts feel seasonal, but Magic Cookie Bars truly work any time of year. They’re light enough for summer gatherings yet cozy and rich enough for winter holiday platters. They also travel well, making them ideal for potlucks and picnics.
Final Thoughts
There’s a reason Magic Cookie Bars have stood the test of time—they’re quick, versatile, and undeniably delicious. The contrast between the buttery crust, gooey sweetened condensed milk, melty chocolate, chewy coconut, and crunchy nuts is pure dessert perfection.
Once you’ve made them, you’ll find endless excuses to bake them again. Swap the chocolate for different flavors, try new nut combinations, or add fun toppings—no matter what you do, they’ll always turn out amazing. This is one recipe worth keeping in your collection for life.
The Goods
Magic Cookie Bars from EAGLE BRAND
We appreciate you taking the time to rate!
Recipes
- 1½ cups graham cracker crumbs
- ½ cup butter melted
- 1 14 oz can Eagle Brand Sweetened Condensed Milk
- 2 cups semisweet chocolate chips
- 1⅓ cups flaked coconut
- 1 cup chopped nuts pecans, walnuts, or almonds are ideal
Instructions
Step 1: Preheat the Oven
- Preheat your oven to 350°F (175°C). If using a glass baking dish, reduce the temperature to 325°F (165°C). Lightly grease a 9×13-inch baking dish with cooking spray or butter. Lining with parchment paper is optional but makes cleanup and cutting much easier.
Step 2: Make the Crust
- In a medium mixing bowl, combine the graham cracker crumbs and melted butter. Stir until the crumbs are evenly coated and have a sandy texture. Transfer the mixture to your prepared baking dish and press it firmly and evenly across the bottom. This will help the crust hold together when sliced.
Step 3: Layer the Sweetened Condensed Milk
- Pour the entire can of Eagle Brand Sweetened Condensed Milk evenly over the crust. Use a spatula to spread it into the corners, ensuring full coverage. This layer is what will caramelize slightly during baking and bind all the toppings together.
Step 4: Add the Toppings
- Sprinkle the chocolate chips evenly over the sweetened condensed milk. Next, add the flaked coconut in an even layer, followed by the chopped nuts. Lightly press down with the back of a spoon or your hand to help the toppings stick.
Step 5: Bake the Bars
- Place the baking dish in the preheated oven and bake for about 25 minutes, or until the edges are golden brown and the coconut has started to toast. The center should look set but still soft.
Step 6: Cool and Slice
- Remove from the oven and place the pan on a wire rack. Allow the bars to cool completely before cutting—this can take at least 1–2 hours, but it’s worth the wait for neat, clean slices. Once cooled, use a sharp knife to cut into squares, rectangles, or diamonds.











Leave a Reply