When it comes to classic American desserts, few recipes are as comforting, simple, and universally loved as custard. For many of us, custard brings back memories of childhood—those cozy evenings when a warm bowl was served at the end of dinner or the refreshing chilled version enjoyed on a hot summer afternoon. This recipe for Fail-Proof Egg Custard is exactly that: reliable, creamy, and timeless. It’s a dish that has stood the test of time, appearing on dinner tables across generations and regions.
I remember watching my grandmother carefully tempering eggs with steaming milk, moving slowly and patiently to make sure the custard was just right. She always emphasized that custard was a dessert of patience, not haste. It wasn’t about rushing to the finish line but about giving care and attention to each step. Her reward was a smooth, golden custard with just the right jiggle and a hint of nutmeg on top. This version captures that same charm, updated with clear instructions to ensure that no matter your cooking experience, you’ll achieve perfect results every time.
What makes this recipe truly special is that it adapts beautifully to any season. Serve it warm in winter with a dusting of cinnamon, and it’s as cozy as a blanket by the fireplace. Serve it chilled in summer, topped with fresh berries or a dollop of whipped cream, and it’s instantly refreshing. No matter the time of year, Fail-Proof Egg Custard has a place at the table.
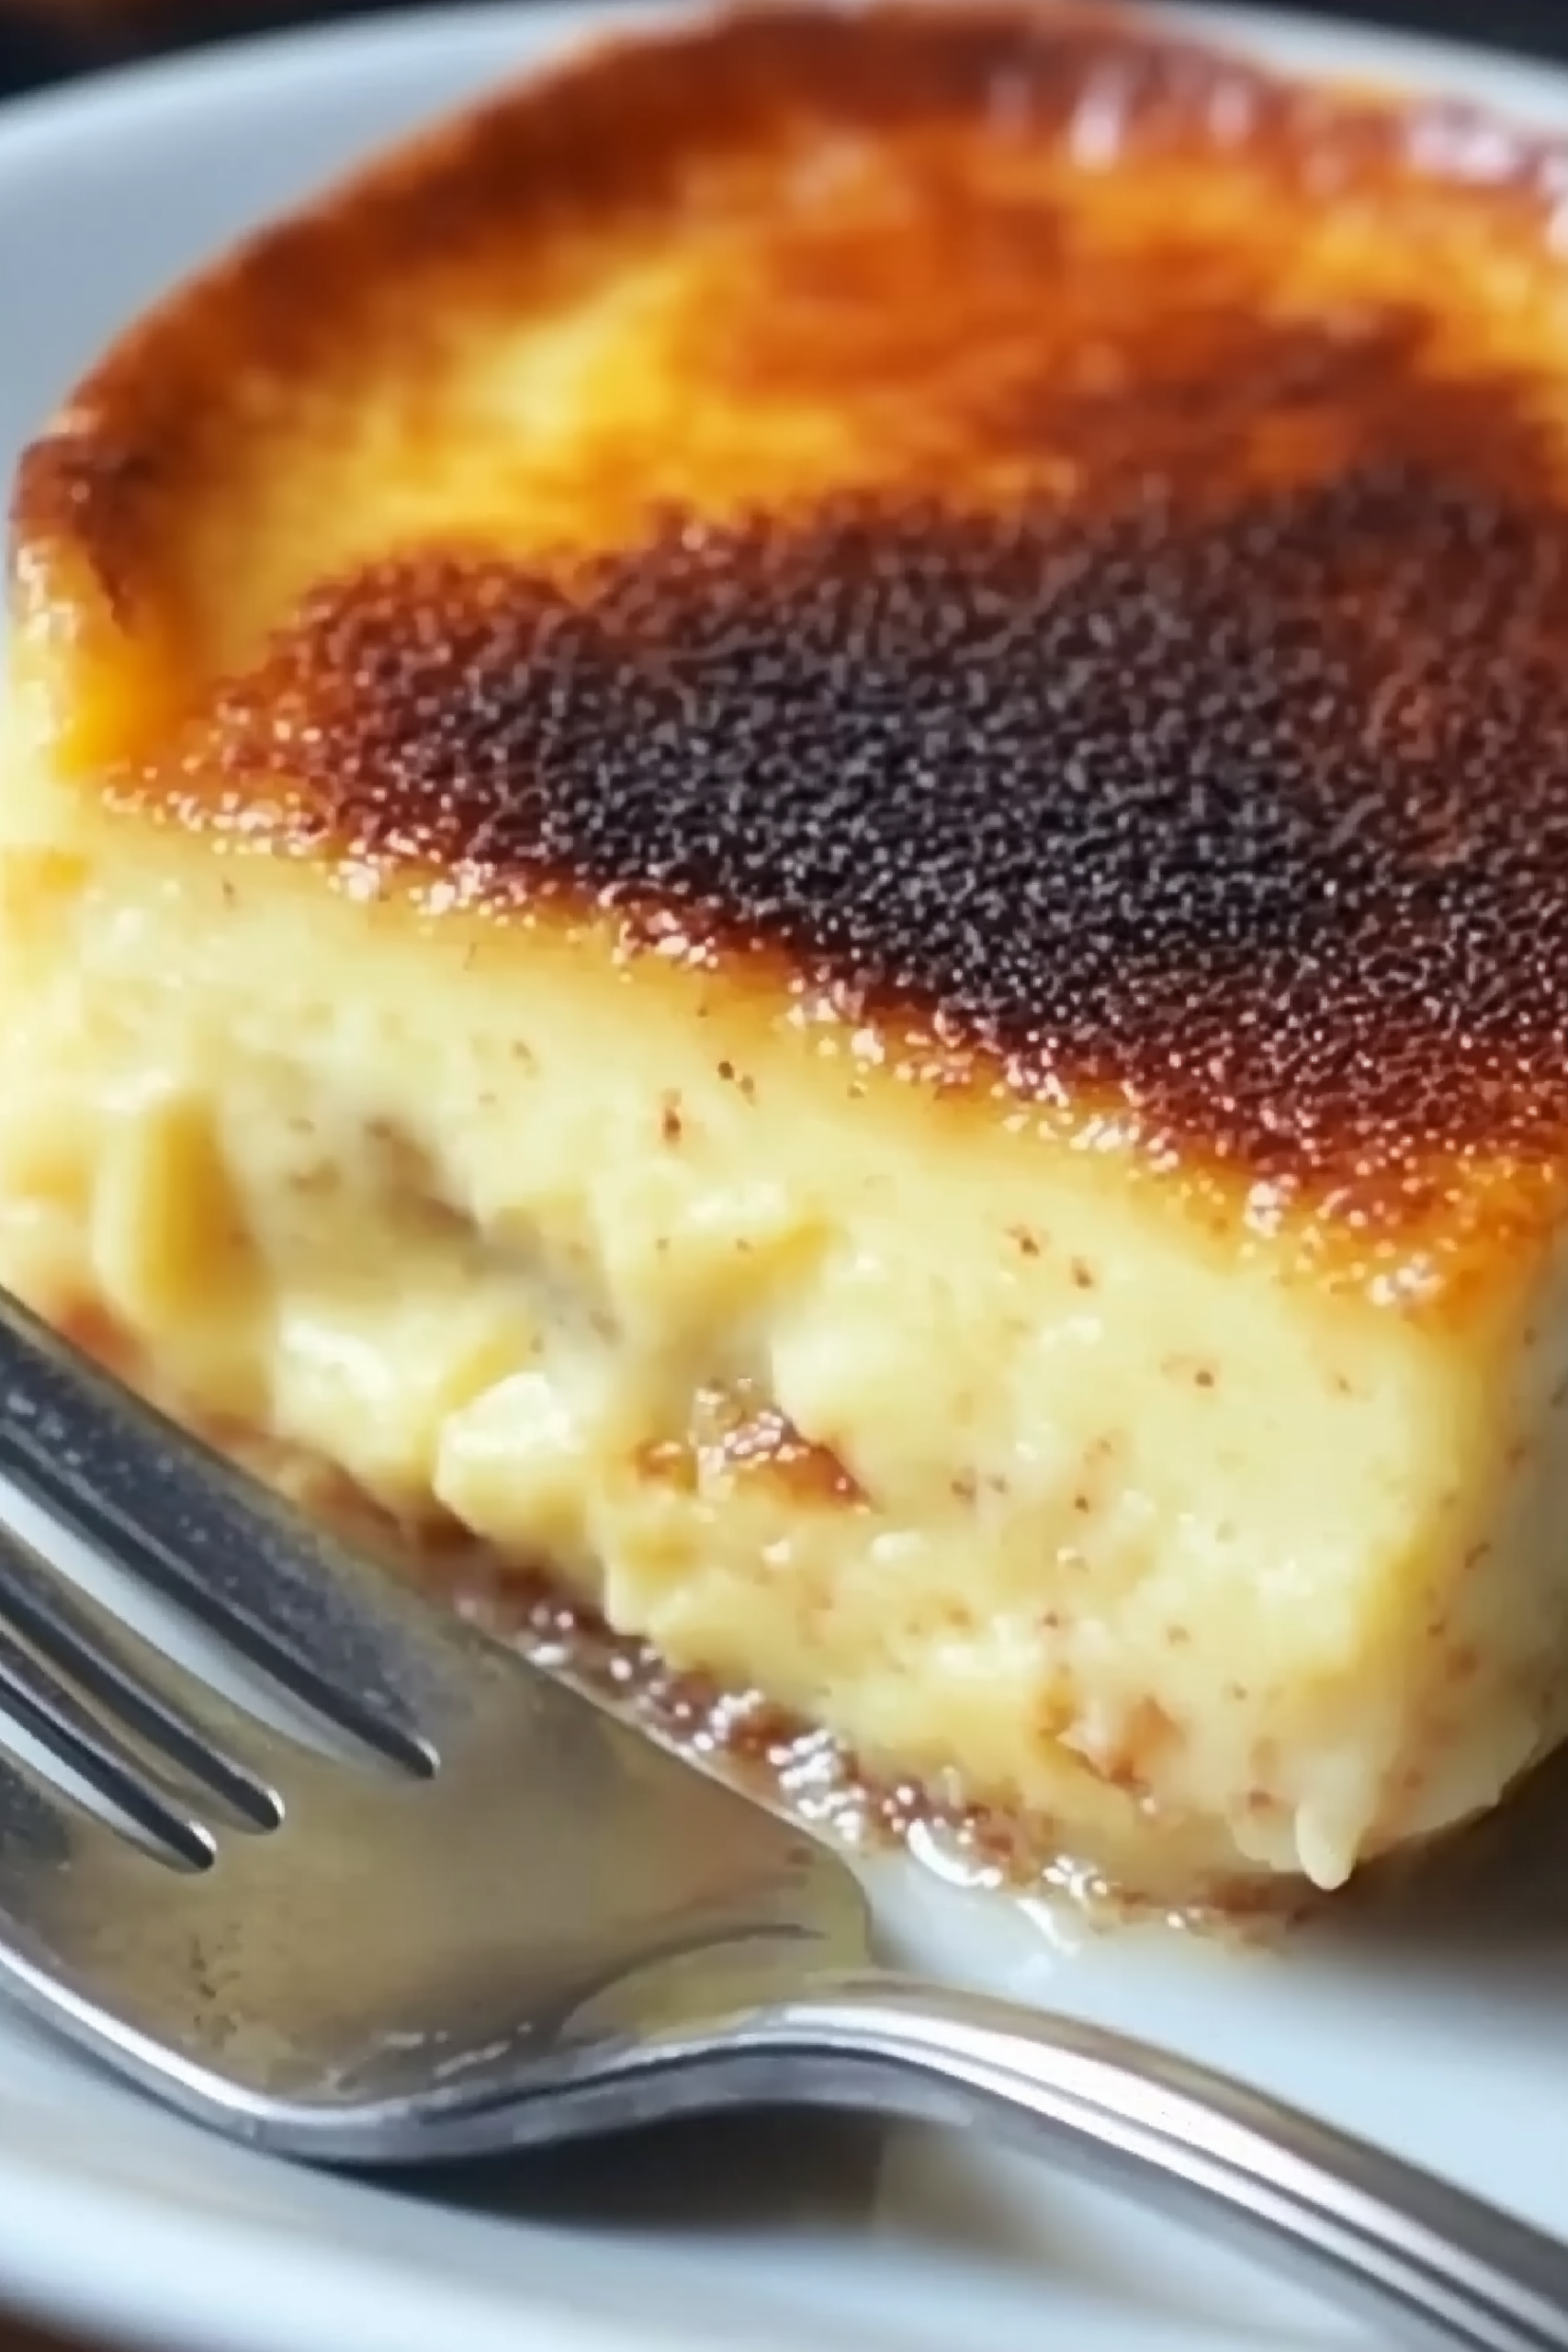
Why You’ll Love This Fail-Proof Egg Custard
There are countless custard recipes out there, but this one has a few qualities that make it truly dependable. First, the method ensures a silky-smooth texture without the risk of curdling, which can be a custard-maker’s biggest fear. The water bath technique is foolproof, giving you even heat and preventing overcooking. Second, the ingredients are simple. Eggs, milk, sugar, and vanilla are all pantry staples, which means you can whip this up whenever a craving strikes. Finally, it’s versatile. This custard shines on its own, but it also works as a base for creative variations.
You’ll love that it:
- Cooks evenly without cracking or curdling
- Uses everyday ingredients you already have
- Can be served warm or cold, depending on the season
- Appeals to both kids and adults with its gentle sweetness
This dessert proves that sometimes the simplest recipes are the best ones.
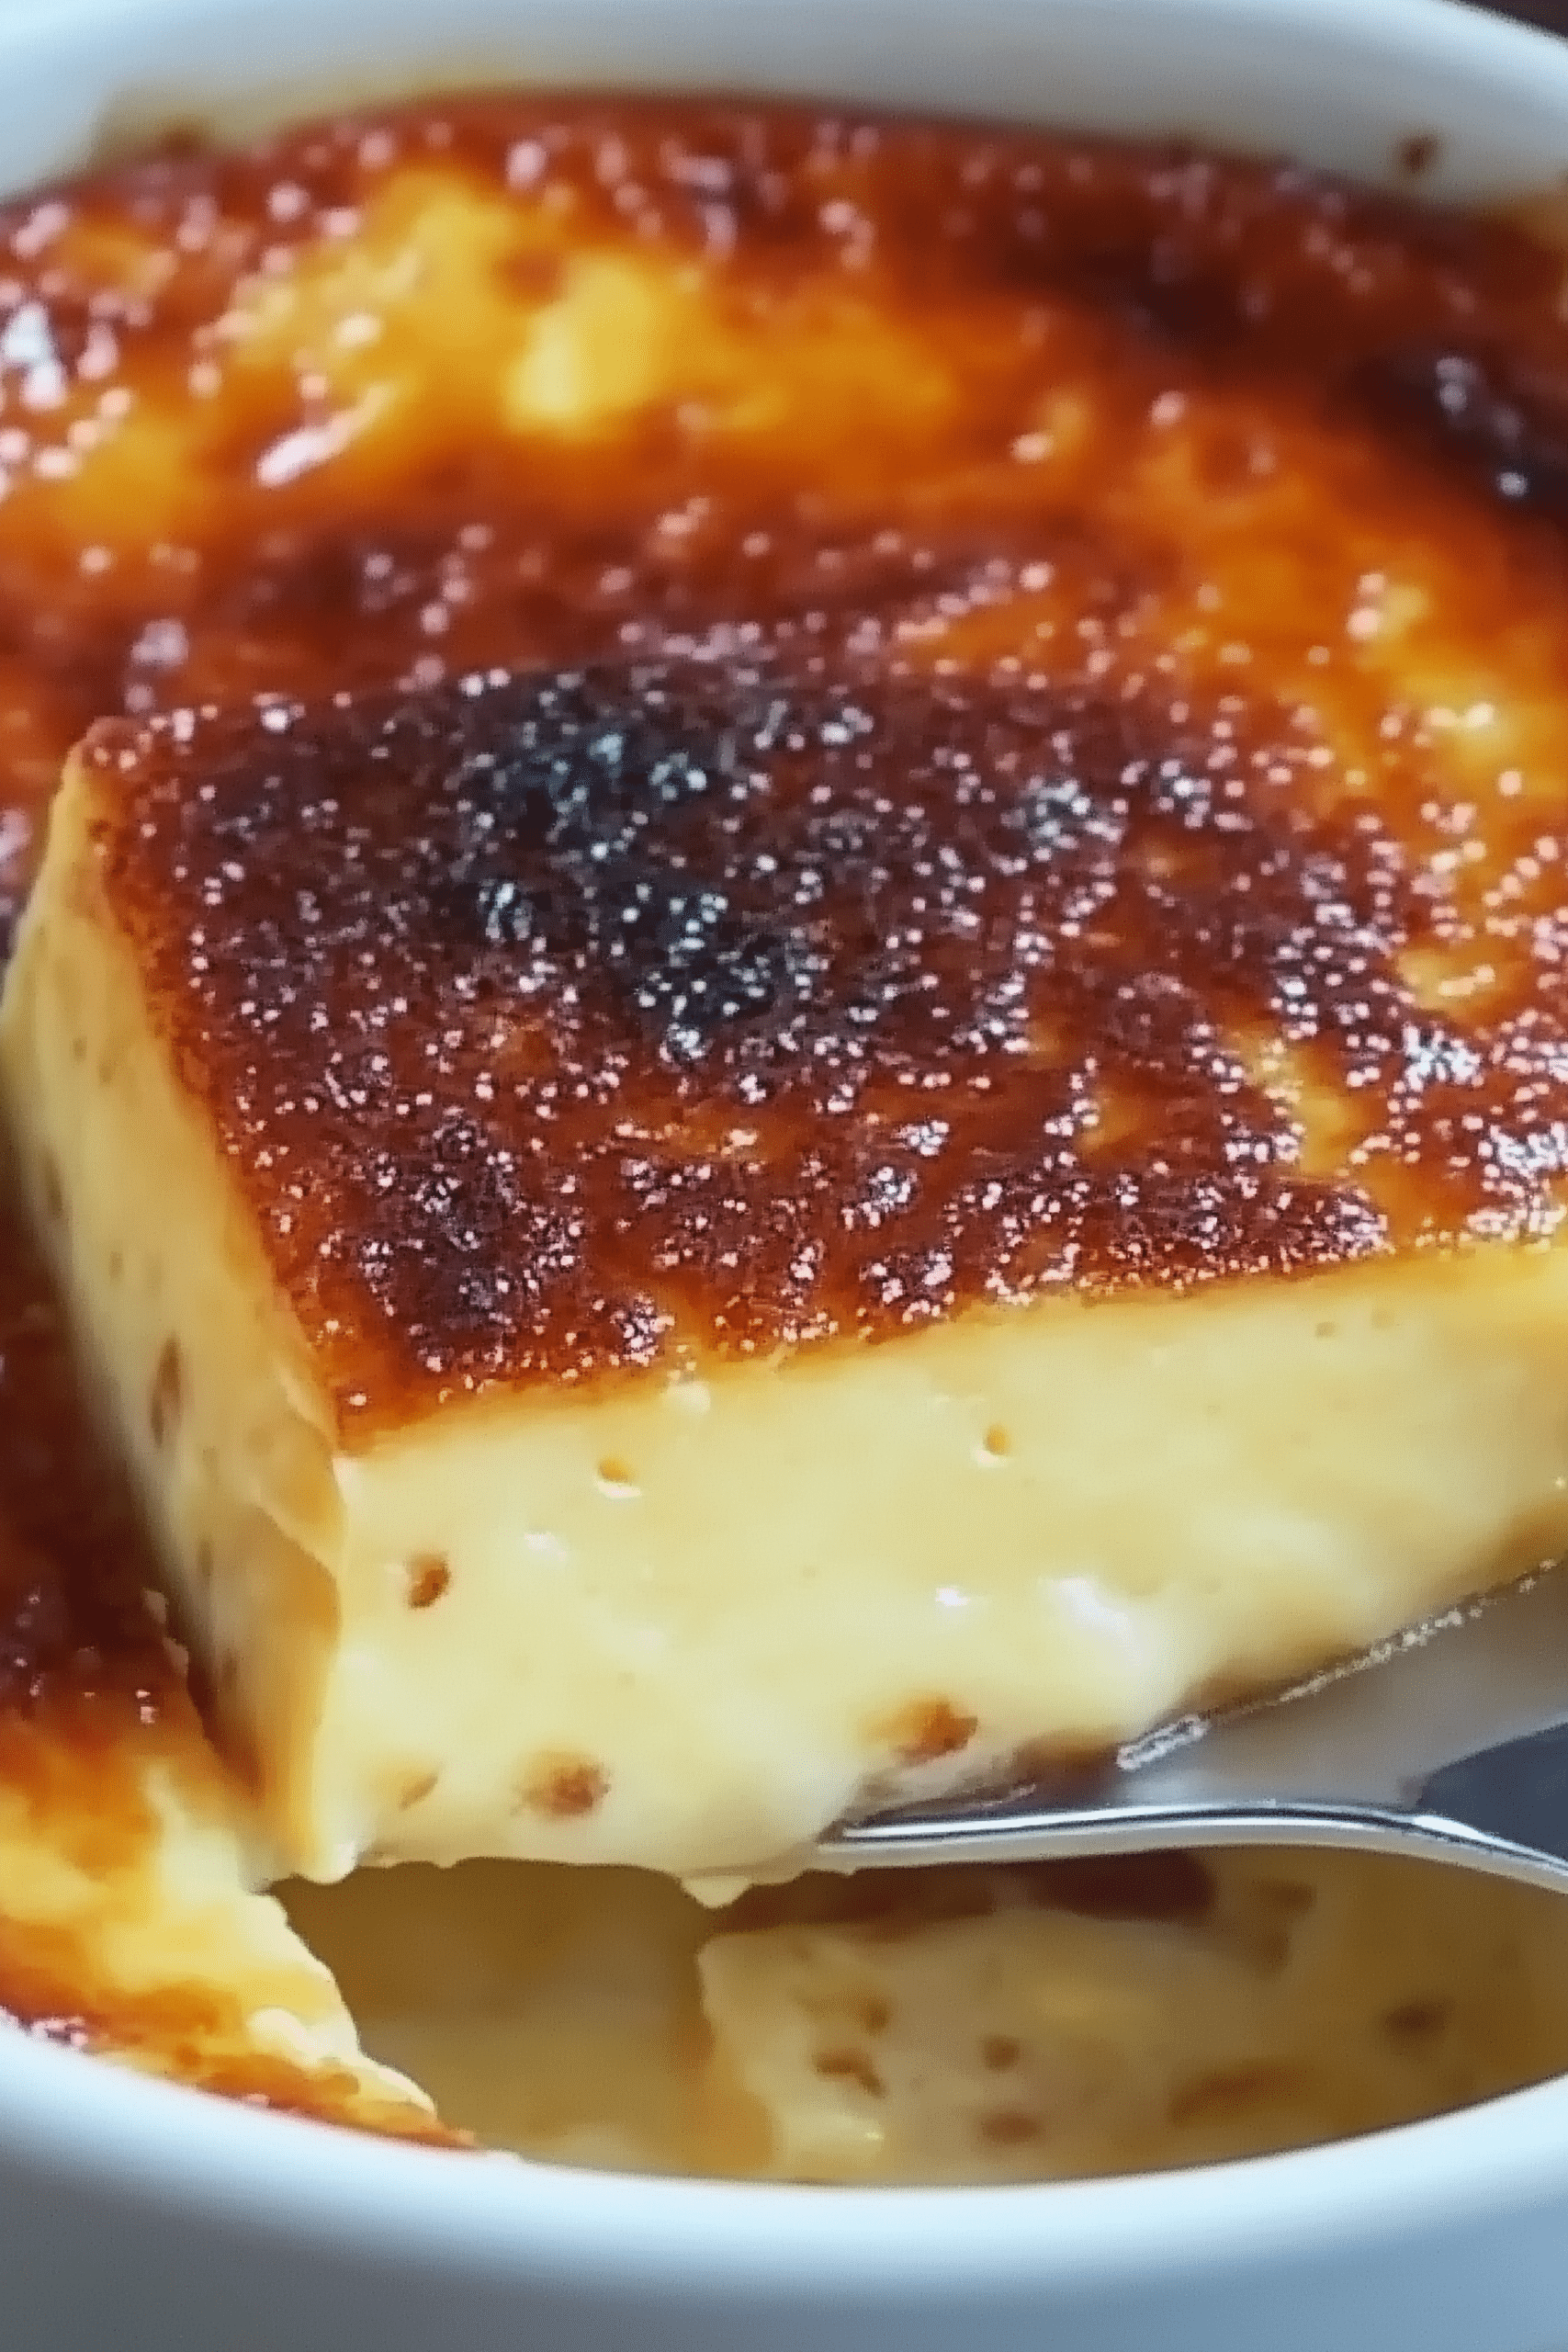
Ingredients
To make this classic, you’ll need:
- 5 large eggs
- ½ cup granulated sugar
- 1½ teaspoons vanilla extract
- ½ teaspoon salt
- 4 cups 2% or whole milk
- Freshly grated nutmeg (optional, for topping)
The beauty of this custard is its simplicity. Each ingredient plays a role: eggs provide the structure, sugar balances the flavor, vanilla adds depth, and milk creates the creamy body. Nutmeg is traditional but optional; it adds a warm, aromatic finish that elevates the dish without overpowering it.
Step-by-Step Instructions
Step 1: Preheat and Prepare
Begin by preheating your oven to 350°F (175°C). Lightly grease an 8×8-inch baking dish or use individual ramekins if you’d like single servings. Greasing prevents sticking and makes serving easier.
Step 2: Whisk the Egg Base
In a large bowl, whisk together the eggs, sugar, vanilla extract, and salt. Keep whisking until the mixture is smooth and the sugar has dissolved completely. This step is important because an uneven base can cause small lumps later. Whisking gently but thoroughly ensures a smooth custard.
Step 3: Heat the Milk
Pour the milk into a small saucepan and heat it slowly over medium heat until it’s just about to simmer. You’re aiming for it to reach around 180°F (82°C). It should be steaming but not boiling. If the milk boils, it can scald, which will affect both the flavor and the texture of your custard.
Step 4: Temper the Eggs
This is where the magic happens—and also where mistakes are most likely if you rush. To temper, slowly add the hot milk to the egg mixture in a thin, steady stream, whisking constantly. The key here is patience. By introducing the heat gradually, the eggs warm up without scrambling. Once all the milk is combined, whisk the mixture for another minute to ensure it’s smooth and fully incorporated.
Step 5: Pour and Top
Pour the custard mixture into your prepared dish or ramekins. If you like, sprinkle a light dusting of nutmeg on top. This not only adds flavor but also creates that signature custard look.
Step 6: Bake with a Water Bath
Place your custard dish inside a larger pan and fill the larger pan with about one inch of hot water. This is called a water bath, or bain-marie, and it ensures gentle, even cooking. Without it, custards can crack or curdle from uneven heat. Slide the whole setup into your oven and bake until the custard is set. You’ll know it’s ready when a knife inserted into the center comes out clean, but the custard still has a slight jiggle.
Step 7: Cool and Serve
Remove the custard carefully from the oven and water bath. Let it cool slightly before serving. The beauty of custard is that it’s equally delicious warm or cold. For winter, serve warm with a sprinkle of cinnamon. For summer, chill it in the fridge and top with fresh fruit for a refreshing dessert.
Storage Tips
Egg custard is best enjoyed fresh, but it stores well if you want to make it ahead or keep leftovers. Once cooled, cover the custard tightly with plastic wrap or store in an airtight container in the refrigerator. It will stay fresh for up to three days. If you’re using individual ramekins, cover each one separately to keep the tops from drying out.
Freezing custard is not recommended because the creamy texture changes and can become grainy after thawing. If you need to reheat, do so gently in the microwave in short intervals, stirring lightly between heating to maintain smoothness.
Tips for Perfect Custard
- Temper slowly to avoid scrambled eggs.
- Always use a water bath for even heat.
- Whole milk makes the richest custard, though 2% works in a pinch.
- Don’t overbake—look for that gentle jiggle in the center.
- Use a kitchen thermometer if you want precision; the custard should reach 170–175°F internally.
Variations
Once you’ve mastered the classic, try experimenting with variations:
- Coconut Custard: Replace one cup of milk with coconut milk for a tropical twist.
- Caramel Custard: Pour a layer of caramel sauce into the bottom of your dish before adding the custard.
- Spiced Custard: Add a teaspoon of cinnamon or cardamom to the egg mixture for warmth and complexity.
- Citrus Custard: Infuse the milk with lemon or orange zest while heating, then strain before tempering.
FAQ About Egg Custard
1. Can I use skim milk?
Yes, but the custard will be less rich and creamy. Whole milk is recommended for the best texture.
2. How do I know it’s baked correctly?
The knife test is reliable: insert a knife in the center, and if it comes out clean but the custard still jiggles, it’s perfect.
3. Can I make this ahead of time?
Absolutely. Prepare it the night before and refrigerate. Custard often tastes even better once chilled and set overnight.
4. Why did my custard curdle?
Curdling usually means the custard was overbaked or the milk was added too quickly. Always temper slowly and use a water bath.
5. Can I make this dairy-free?
Yes, you can substitute almond, soy, or oat milk, but the flavor and texture will be slightly different. Coconut milk works especially well for richness.
Wrapping It Up
This Fail-Proof Egg Custard is more than just a recipe—it’s a connection to tradition, family, and the art of simple cooking. It’s a dessert that proves elegance doesn’t have to be complicated. With just a few basic ingredients and a gentle cooking process, you can create a dish that delights every time.
Whether you’re serving it warm by the fire in winter or cold with berries in summer, this custard adapts effortlessly to the season and occasion. It’s a recipe to keep in your collection, one that you’ll return to whenever you want comfort, nostalgia, or just something sweet and reliable.
So the next time you’re craving a dessert that never disappoints, remember this Fail-Proof Egg Custard. Smooth, creamy, and always comforting, it’s proof that the classics never go out of style.
The Goods

Fail-Proof Egg Custard
We appreciate you taking the time to rate!
Recipes
- 5 large eggs
- ½ cup granulated sugar
- 1½ teaspoons vanilla extract
- ½ teaspoon salt
- 4 cups 2% or whole milk
- Freshly grated nutmeg optional, for topping
Instructions
Step 1: Preheat and Prepare
- Begin by preheating your oven to 350°F (175°C). Lightly grease an 8×8-inch baking dish or use individual ramekins if you’d like single servings. Greasing prevents sticking and makes serving easier.
Step 2: Whisk the Egg Base
- In a large bowl, whisk together the eggs, sugar, vanilla extract, and salt. Keep whisking until the mixture is smooth and the sugar has dissolved completely. This step is important because an uneven base can cause small lumps later. Whisking gently but thoroughly ensures a smooth custard.
Step 3: Heat the Milk
- Pour the milk into a small saucepan and heat it slowly over medium heat until it’s just about to simmer. You’re aiming for it to reach around 180°F (82°C). It should be steaming but not boiling. If the milk boils, it can scald, which will affect both the flavor and the texture of your custard.
Step 4: Temper the Eggs
- This is where the magic happens—and also where mistakes are most likely if you rush. To temper, slowly add the hot milk to the egg mixture in a thin, steady stream, whisking constantly. The key here is patience. By introducing the heat gradually, the eggs warm up without scrambling. Once all the milk is combined, whisk the mixture for another minute to ensure it’s smooth and fully incorporated.
Step 5: Pour and Top
- Pour the custard mixture into your prepared dish or ramekins. If you like, sprinkle a light dusting of nutmeg on top. This not only adds flavor but also creates that signature custard look.
Step 6: Bake with a Water Bath
- Place your custard dish inside a larger pan and fill the larger pan with about one inch of hot water. This is called a water bath, or bain-marie, and it ensures gentle, even cooking. Without it, custards can crack or curdle from uneven heat. Slide the whole setup into your oven and bake until the custard is set. You’ll know it’s ready when a knife inserted into the center comes out clean, but the custard still has a slight jiggle.
Step 7: Cool and Serve
- Remove the custard carefully from the oven and water bath. Let it cool slightly before serving. The beauty of custard is that it’s equally delicious warm or cold. For winter, serve warm with a sprinkle of cinnamon. For summer, chill it in the fridge and top with fresh fruit for a refreshing dessert.




Leave a Reply