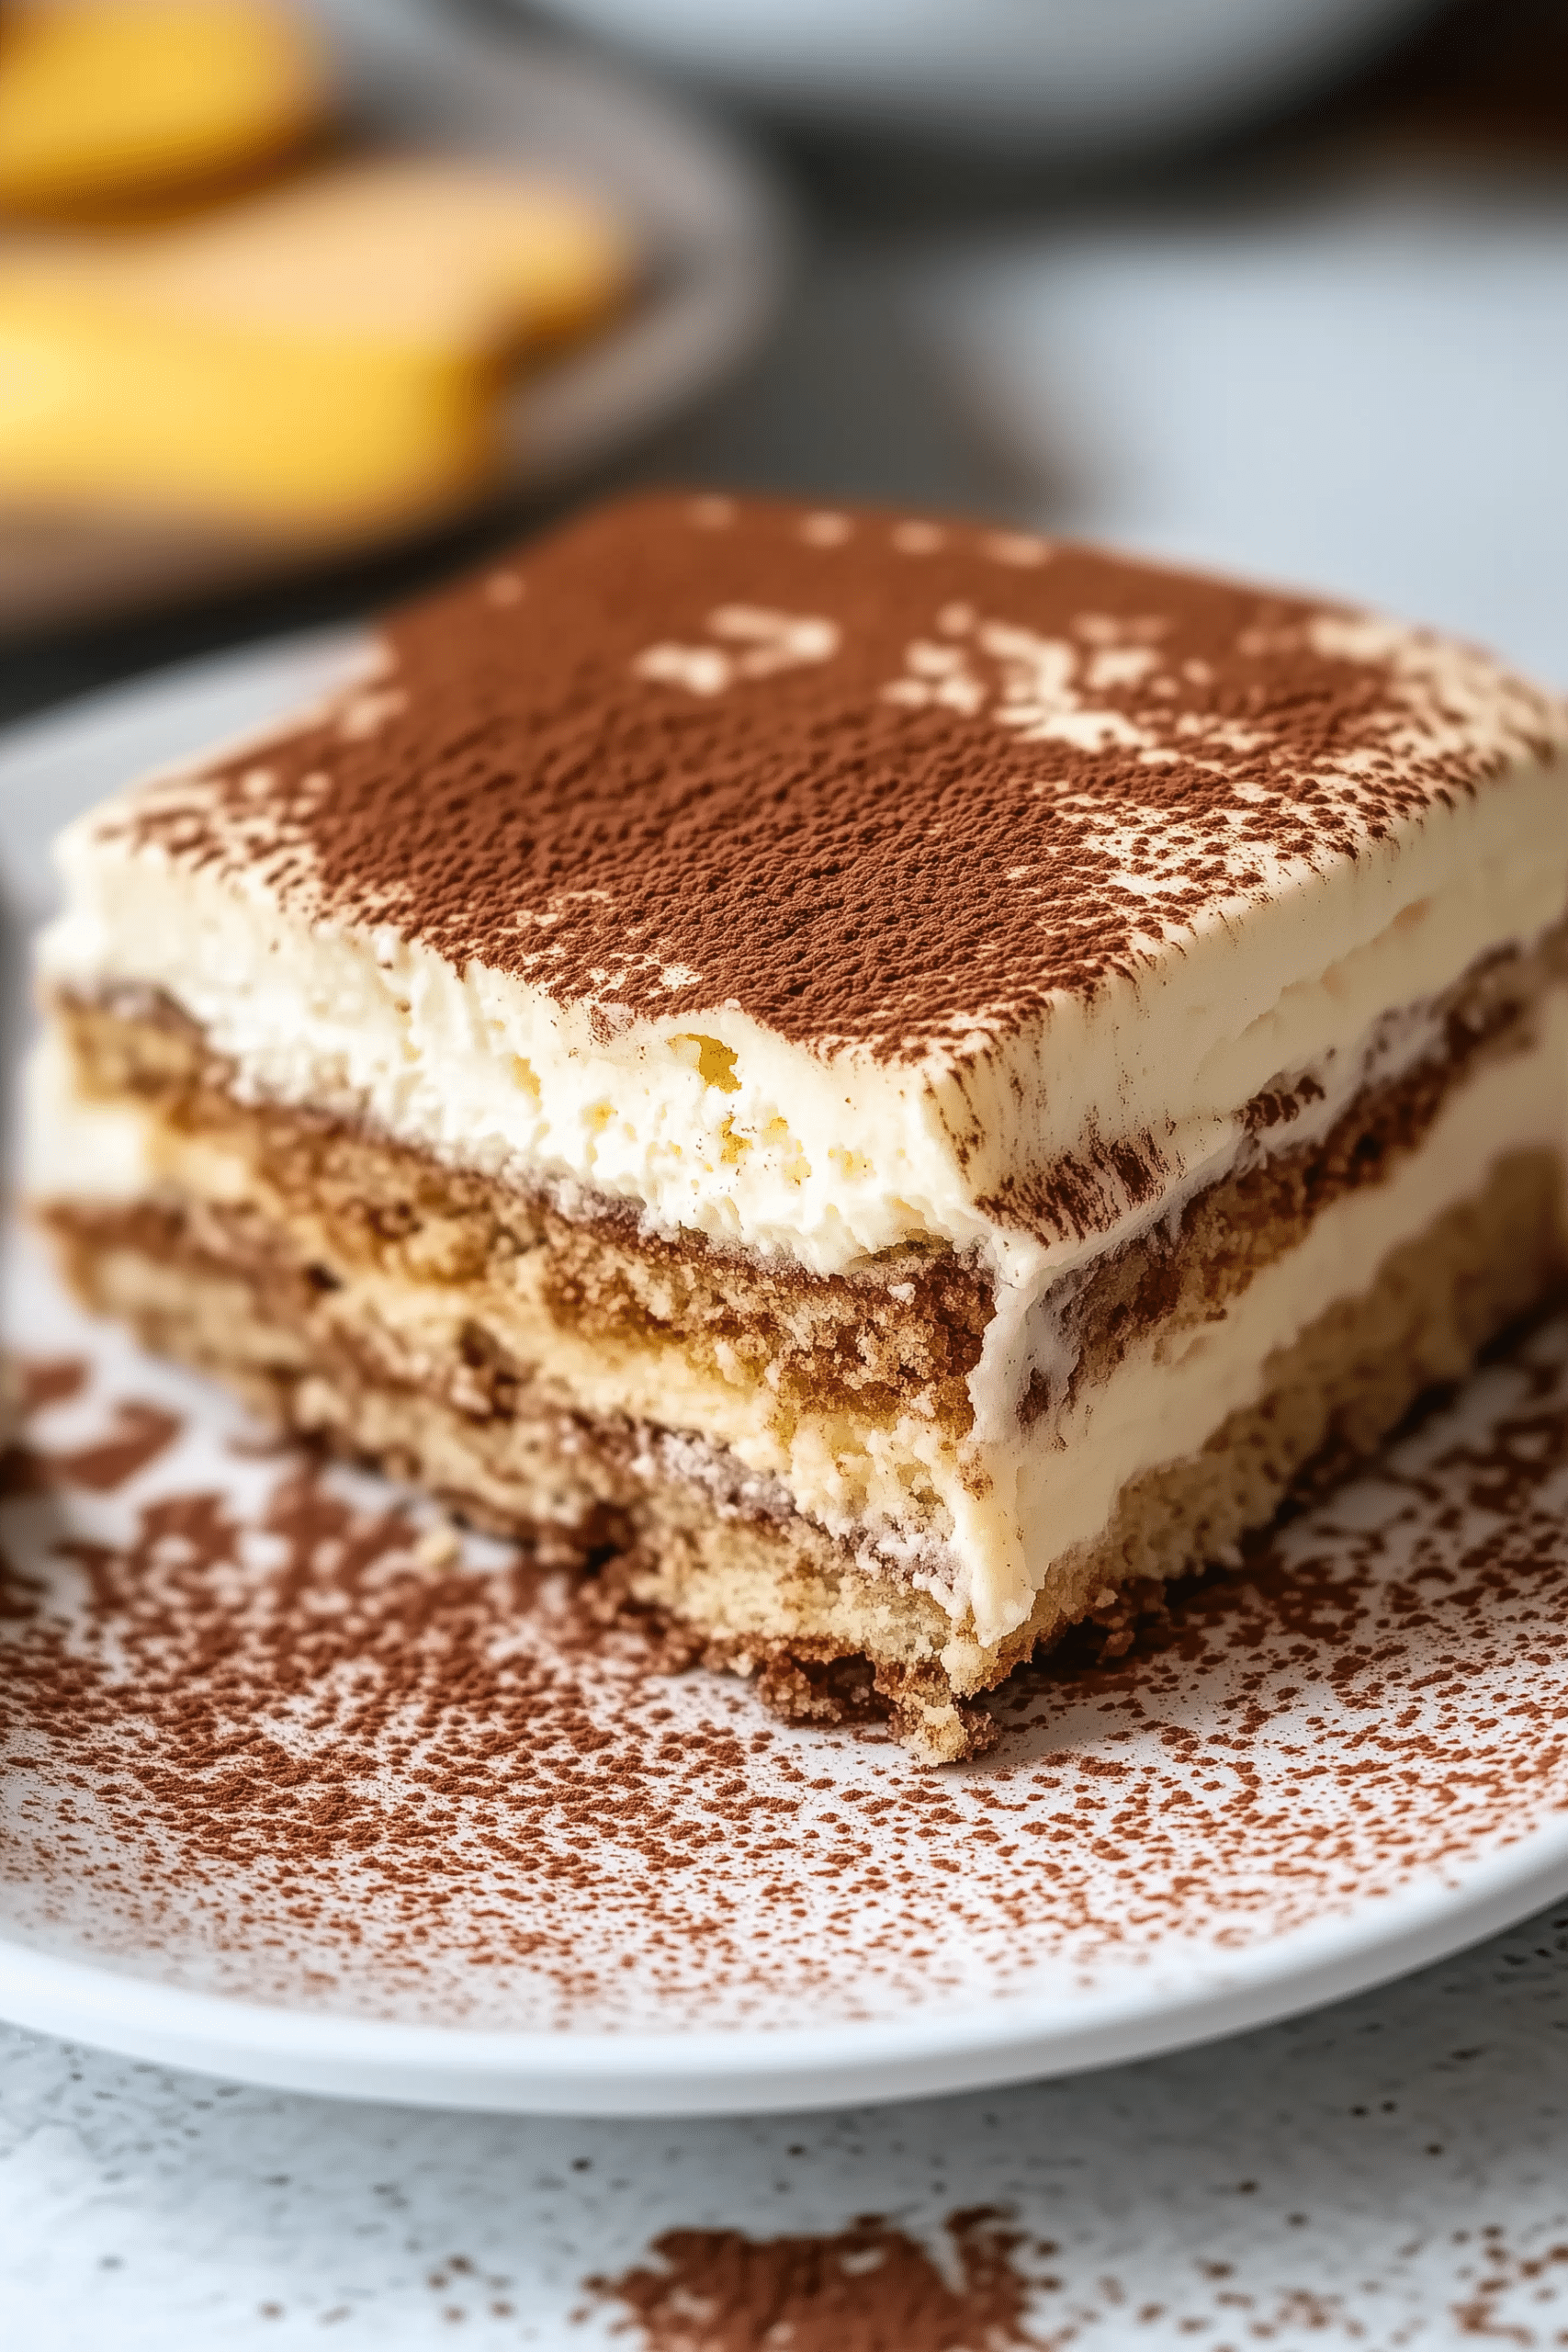
Tiramisu is one of those timeless Italian desserts that never fails to impress. Rich, creamy layers of mascarpone cheese, espresso-soaked ladyfingers, and a dusting of cocoa powder come together to create an indulgent, restaurant-quality treat right in your own kitchen.
This recipe is authentic, with no shortcuts — you’ll gently heat egg yolks over a double boiler to create a safe, creamy custard base, then fold in whipped cream for an airy, luscious texture. Once assembled, the flavors deepen overnight in the fridge, giving you a perfectly soft, melt-in-your-mouth dessert that’s perfect for both summer gatherings and cozy winter dinners.
Why You’ll Love This Tiramisu
- Classic Italian flavors with authentic technique
- Creamy, dreamy texture from fresh mascarpone
- Perfect for parties — makes 16 servings
- No baking required, just assemble and chill
- Elevates any occasion from holidays to birthdays
Ingredients (Serves 16)
- 6 large egg yolks
- ⅔ cup (135 grams) granulated sugar
- ¼ teaspoon salt
- 24 ounces (680 grams) cold mascarpone cheese
- 2 teaspoons (10 ml) pure vanilla extract
- 1 ½ cups (360 ml) cold heavy whipping cream
- 2 cups (480 ml) cold espresso
- ¼ cup (60 ml) Kahlua (optional, but recommended)
- 40–45 ladyfingers
- ¼ cup (22 grams) unsweetened cocoa powder, for dusting
Step-by-Step Instructions
Step 1: Make the Egg Custard
In a large heat-proof bowl, combine the egg yolks, granulated sugar, and salt. Set the bowl over a saucepan of simmering water to create a double boiler. Whisk constantly for about 10 to 13 minutes, until the mixture thickens, becomes pale, and reaches 165–170°F.
Remove from heat and allow to cool for about 5–10 minutes.
Step 2: Combine Mascarpone and Vanilla
Once the custard is slightly cooled, whisk in the cold mascarpone cheese and vanilla extract. Mix until smooth, but do not overmix — mascarpone can break if handled too much.
Step 3: Whip the Cream
In a separate bowl with cold beaters, whip the heavy cream to medium-stiff peaks.
Fold half of the whipped cream into the mascarpone mixture gently until combined, then fold in the remaining whipped cream. Set aside.
Step 4: Prepare the Coffee Mixture
In a shallow dish, combine the cold espresso with the Kahlua.
Step 5: Assemble the Layers
Quickly dip each ladyfinger into the coffee mixture (do not soak — just a quick dunk) and line them in a single layer in a 9×13-inch baking dish.
Spread half of the mascarpone mixture over the ladyfingers, smoothing the top.
Add another layer of dipped ladyfingers, then top with the remaining mascarpone mixture.
Dust generously with unsweetened cocoa powder.
Step 6: Chill and Serve
Cover the dish tightly with plastic wrap and refrigerate for at least 8 hours, or preferably overnight. This resting time allows the ladyfingers to soften and the flavors to meld beautifully.
When ready to serve, slice into squares and garnish with additional cocoa powder or even shaved chocolate for an elegant finish.
Tips for Success
- Use cold mascarpone straight from the fridge; it helps keep the mixture from turning runny.
- Don’t soak the ladyfingers too long — they absorb liquid quickly and will fall apart.
- Whip the cream to medium-stiff peaks for a light, mousse-like texture.
- Let it rest overnight for the best flavor and consistency.
- If you like a stronger coffee flavor, use espresso made with dark-roast beans.
Storage
- Fridge: Tiramisu will keep well in the refrigerator, covered, for up to 4 days.
- Freezing: You can freeze leftovers in an airtight container for up to 2 months. Thaw overnight in the refrigerator.
Variations
- Alcohol-free: Skip the Kahlua and stick with espresso alone.
- Chocolate twist: Add a layer of grated chocolate between the mascarpone layers.
- Berry tiramisu: Swap the coffee soak for berry syrup and layer with fresh strawberries or raspberries for a summer variation.
- Nutty finish: Sprinkle chopped toasted hazelnuts on top before serving.
Why This Tiramisu Works
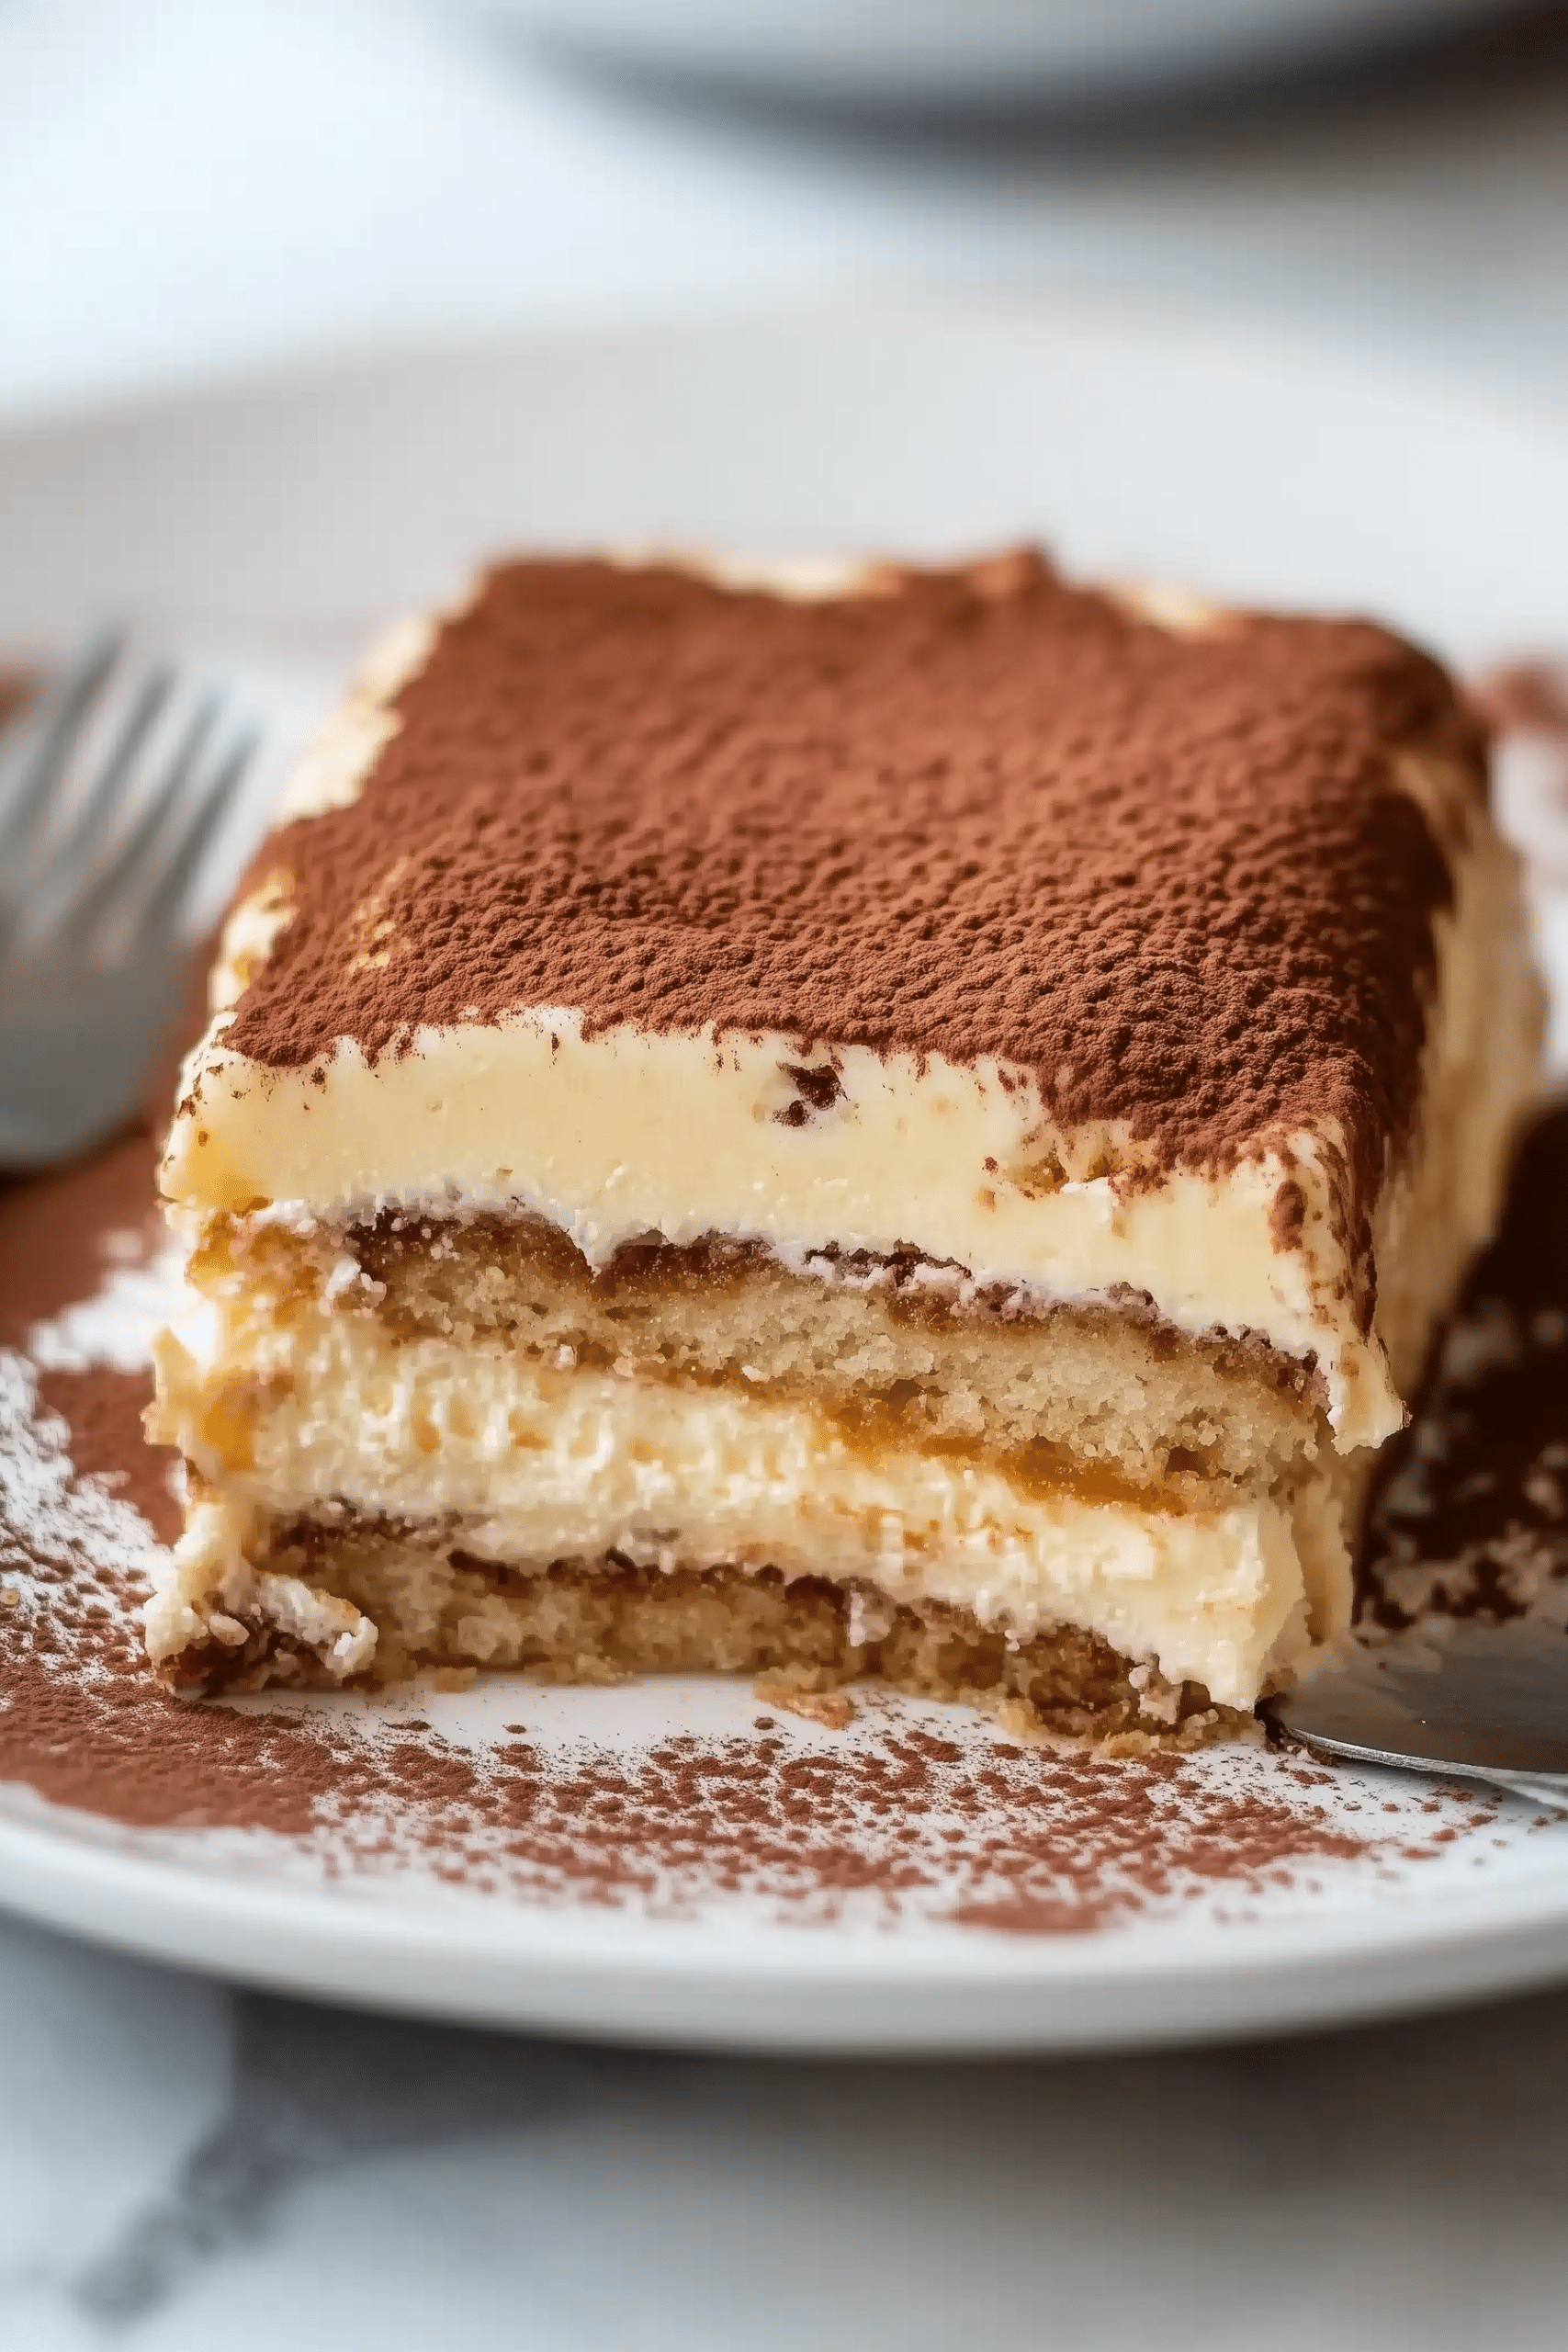
Traditional tiramisu relies on balance: rich but not heavy, sweet but not cloying, with the slight bitterness of coffee and cocoa to tie it all together. Heating the egg yolks makes the custard safe to eat while giving the mascarpone mixture a velvety, luxurious texture.
Layering the soaked ladyfingers with the fluffy mascarpone cream ensures every bite is light, airy, and perfectly soaked in espresso flavor.
Serving Suggestions
- Pair with an after-dinner espresso or cappuccino
- Serve with a small glass of Vin Santo, a traditional Italian dessert wine
- Top with chocolate curls for extra elegance
- Slice into neat squares for a beautiful dessert tray presentation
Perfect Occasions to Serve
- Christmas or Easter
- Mother’s Day brunch
- Birthdays and anniversaries
- Summer barbecues (it’s a no-bake dessert!)
- Dinner parties
Final Thoughts
Classic Tiramisu is one of those desserts that never goes out of style. With its rich espresso flavor, creamy mascarpone filling, and a hint of cocoa, it satisfies every sweet craving and makes any occasion feel special.
Try making this traditional tiramisu recipe once, and you’ll find it becomes a favorite to return to time and time again. With simple ingredients and a little patience, you can bring an authentic taste of Italy right to your kitchen.
The Goods
Tiramisu
We appreciate you taking the time to rate!
Recipes
- 6 large egg yolks
- ⅔ cup 135 grams granulated sugar
- ¼ teaspoon salt
- 24 ounces 680 grams cold mascarpone cheese
- 2 teaspoons 10 ml pure vanilla extract
- 1 ½ cups 360 ml cold heavy whipping cream
- 2 cups 480 ml cold espresso
- ¼ cup 60 ml Kahlua (optional, but recommended)
- 40 –45 ladyfingers
- ¼ cup 22 grams unsweetened cocoa powder, for dusting
Instructions
Step 1: Make the Egg Custard
- In a large heat-proof bowl, combine the egg yolks, granulated sugar, and salt. Set the bowl over a saucepan of simmering water to create a double boiler. Whisk constantly for about 10 to 13 minutes, until the mixture thickens, becomes pale, and reaches 165–170°F.
- Remove from heat and allow to cool for about 5–10 minutes.
Step 2: Combine Mascarpone and Vanilla
- Once the custard is slightly cooled, whisk in the cold mascarpone cheese and vanilla extract. Mix until smooth, but do not overmix — mascarpone can break if handled too much.
Step 3: Whip the Cream
- In a separate bowl with cold beaters, whip the heavy cream to medium-stiff peaks.
- Fold half of the whipped cream into the mascarpone mixture gently until combined, then fold in the remaining whipped cream. Set aside.
Step 4: Prepare the Coffee Mixture
- In a shallow dish, combine the cold espresso with the Kahlua.
Step 5: Assemble the Layers
- Quickly dip each ladyfinger into the coffee mixture (do not soak — just a quick dunk) and line them in a single layer in a 9×13-inch baking dish.
- Spread half of the mascarpone mixture over the ladyfingers, smoothing the top.
- Add another layer of dipped ladyfingers, then top with the remaining mascarpone mixture.
- Dust generously with unsweetened cocoa powder.
Step 6: Chill and Serve
- Cover the dish tightly with plastic wrap and refrigerate for at least 8 hours, or preferably overnight. This resting time allows the ladyfingers to soften and the flavors to meld beautifully.
- When ready to serve, slice into squares and garnish with additional cocoa powder or even shaved chocolate for an elegant finish.







Leave a Reply