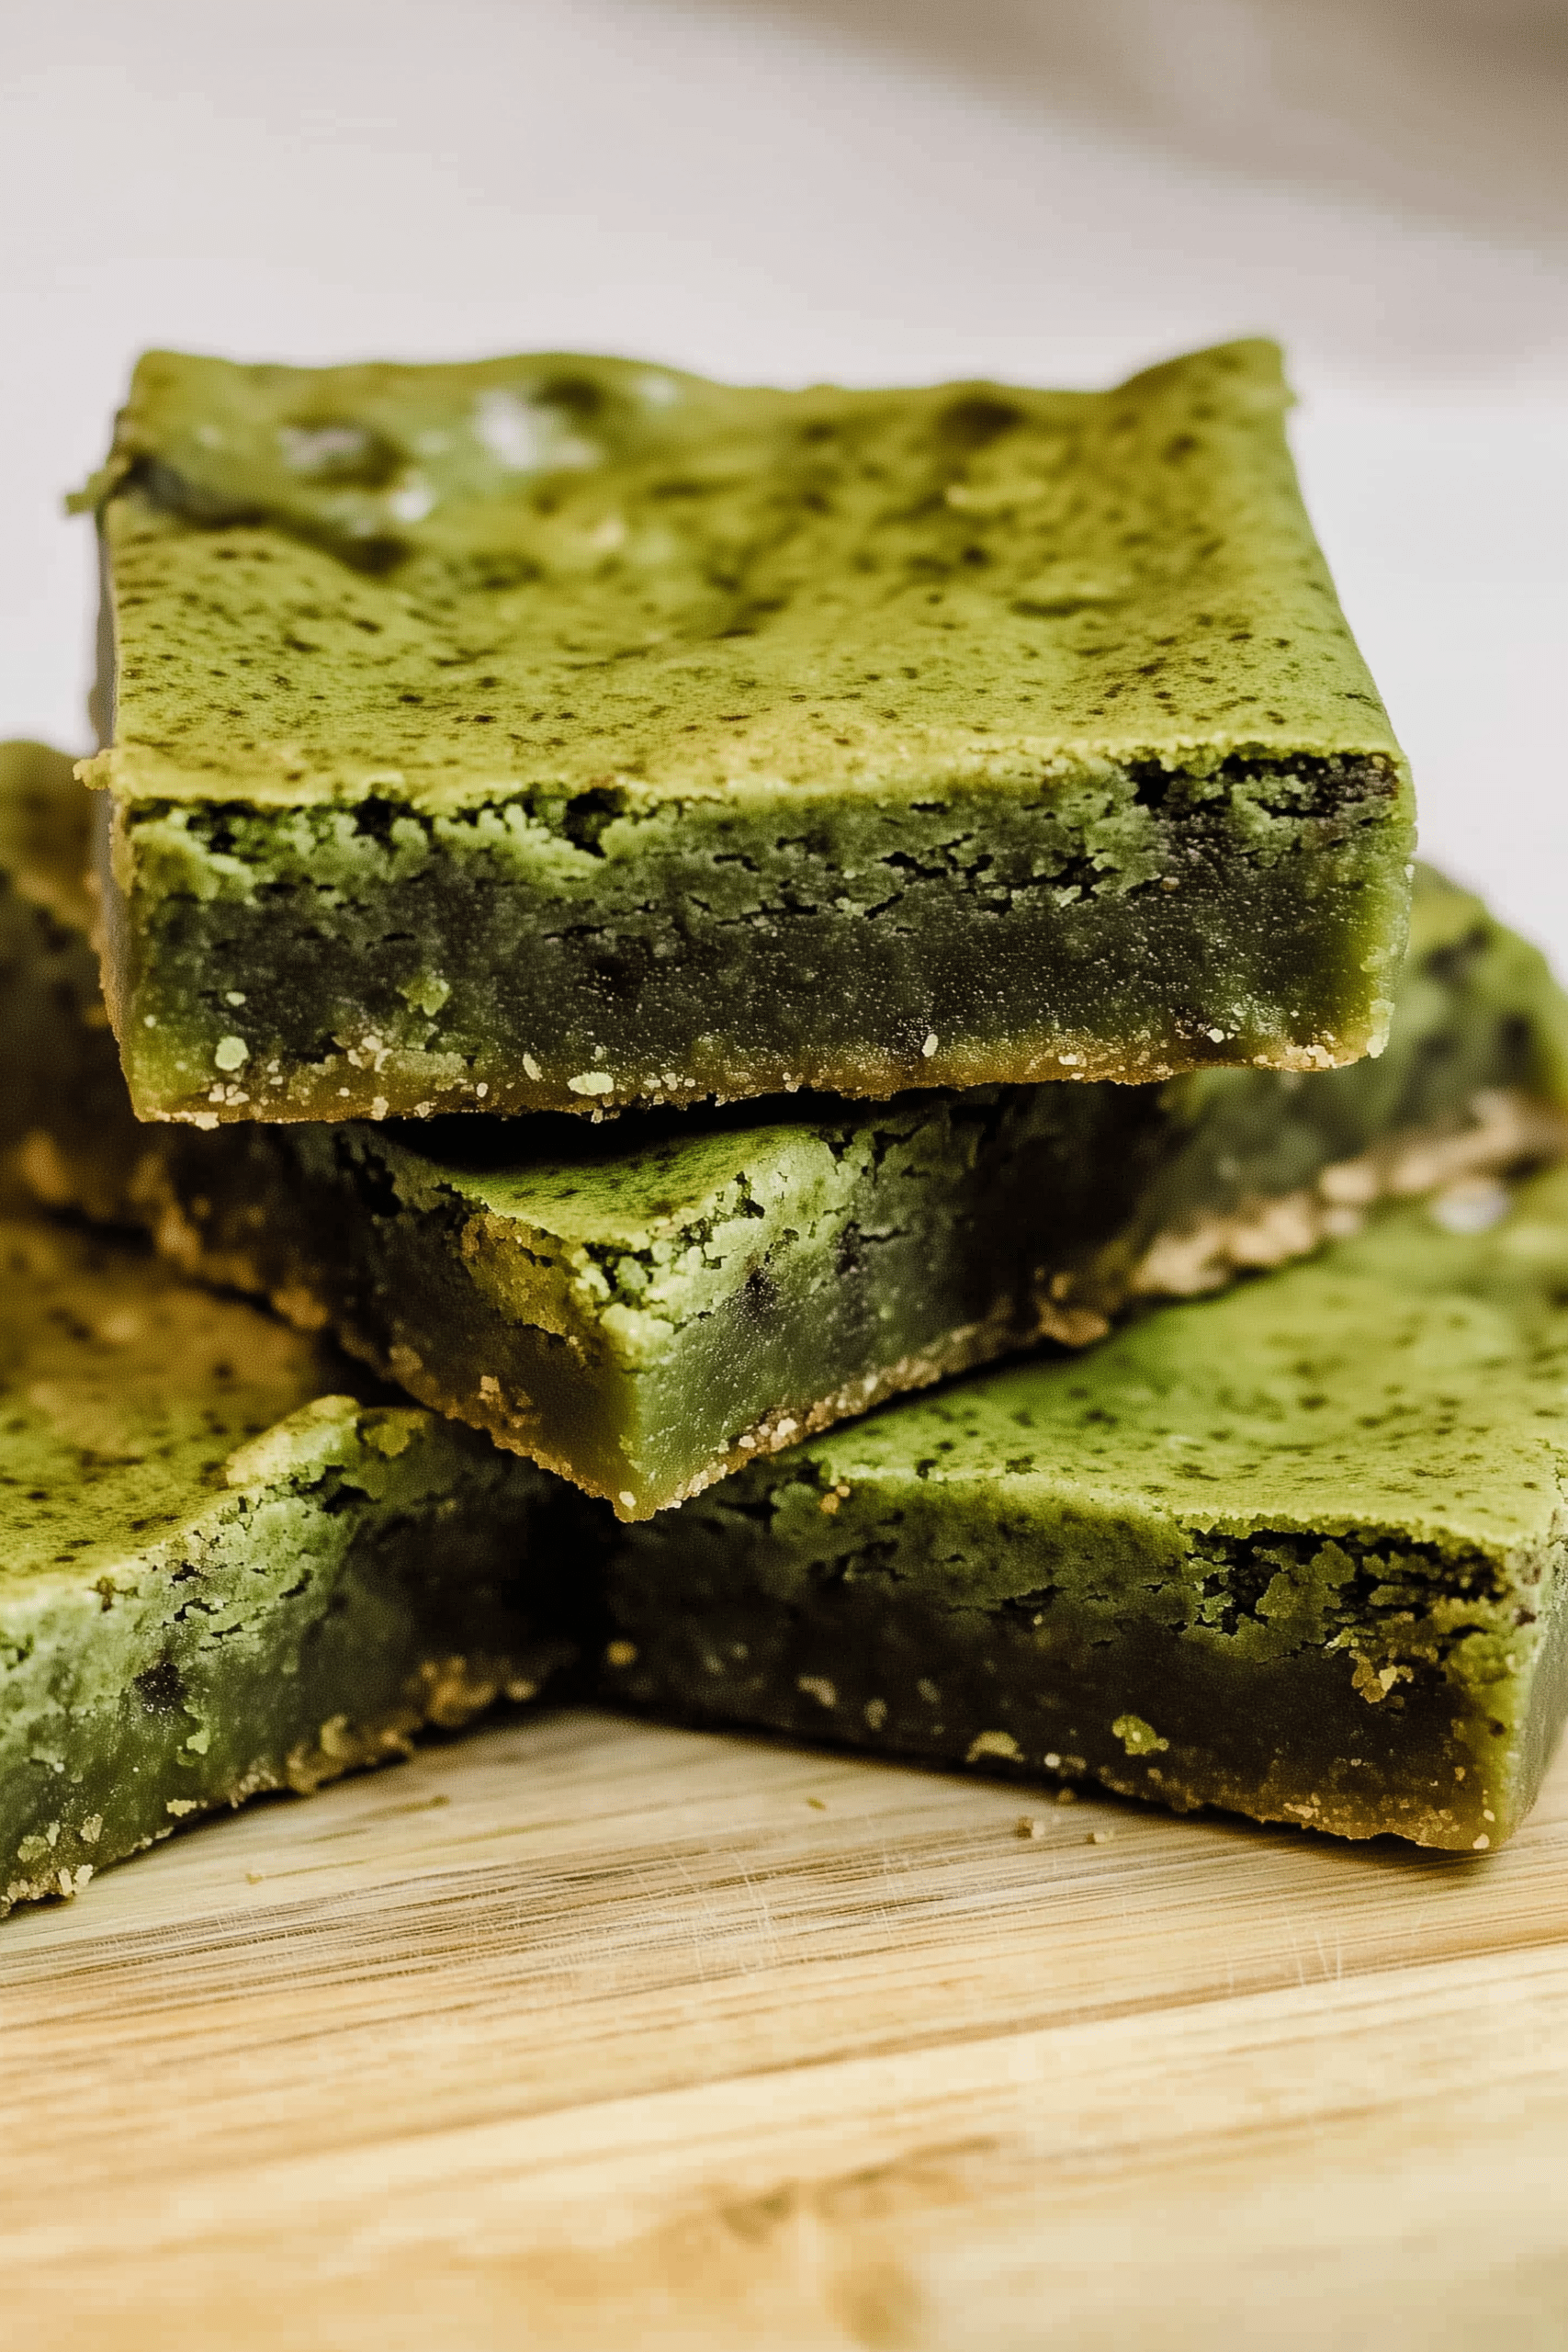
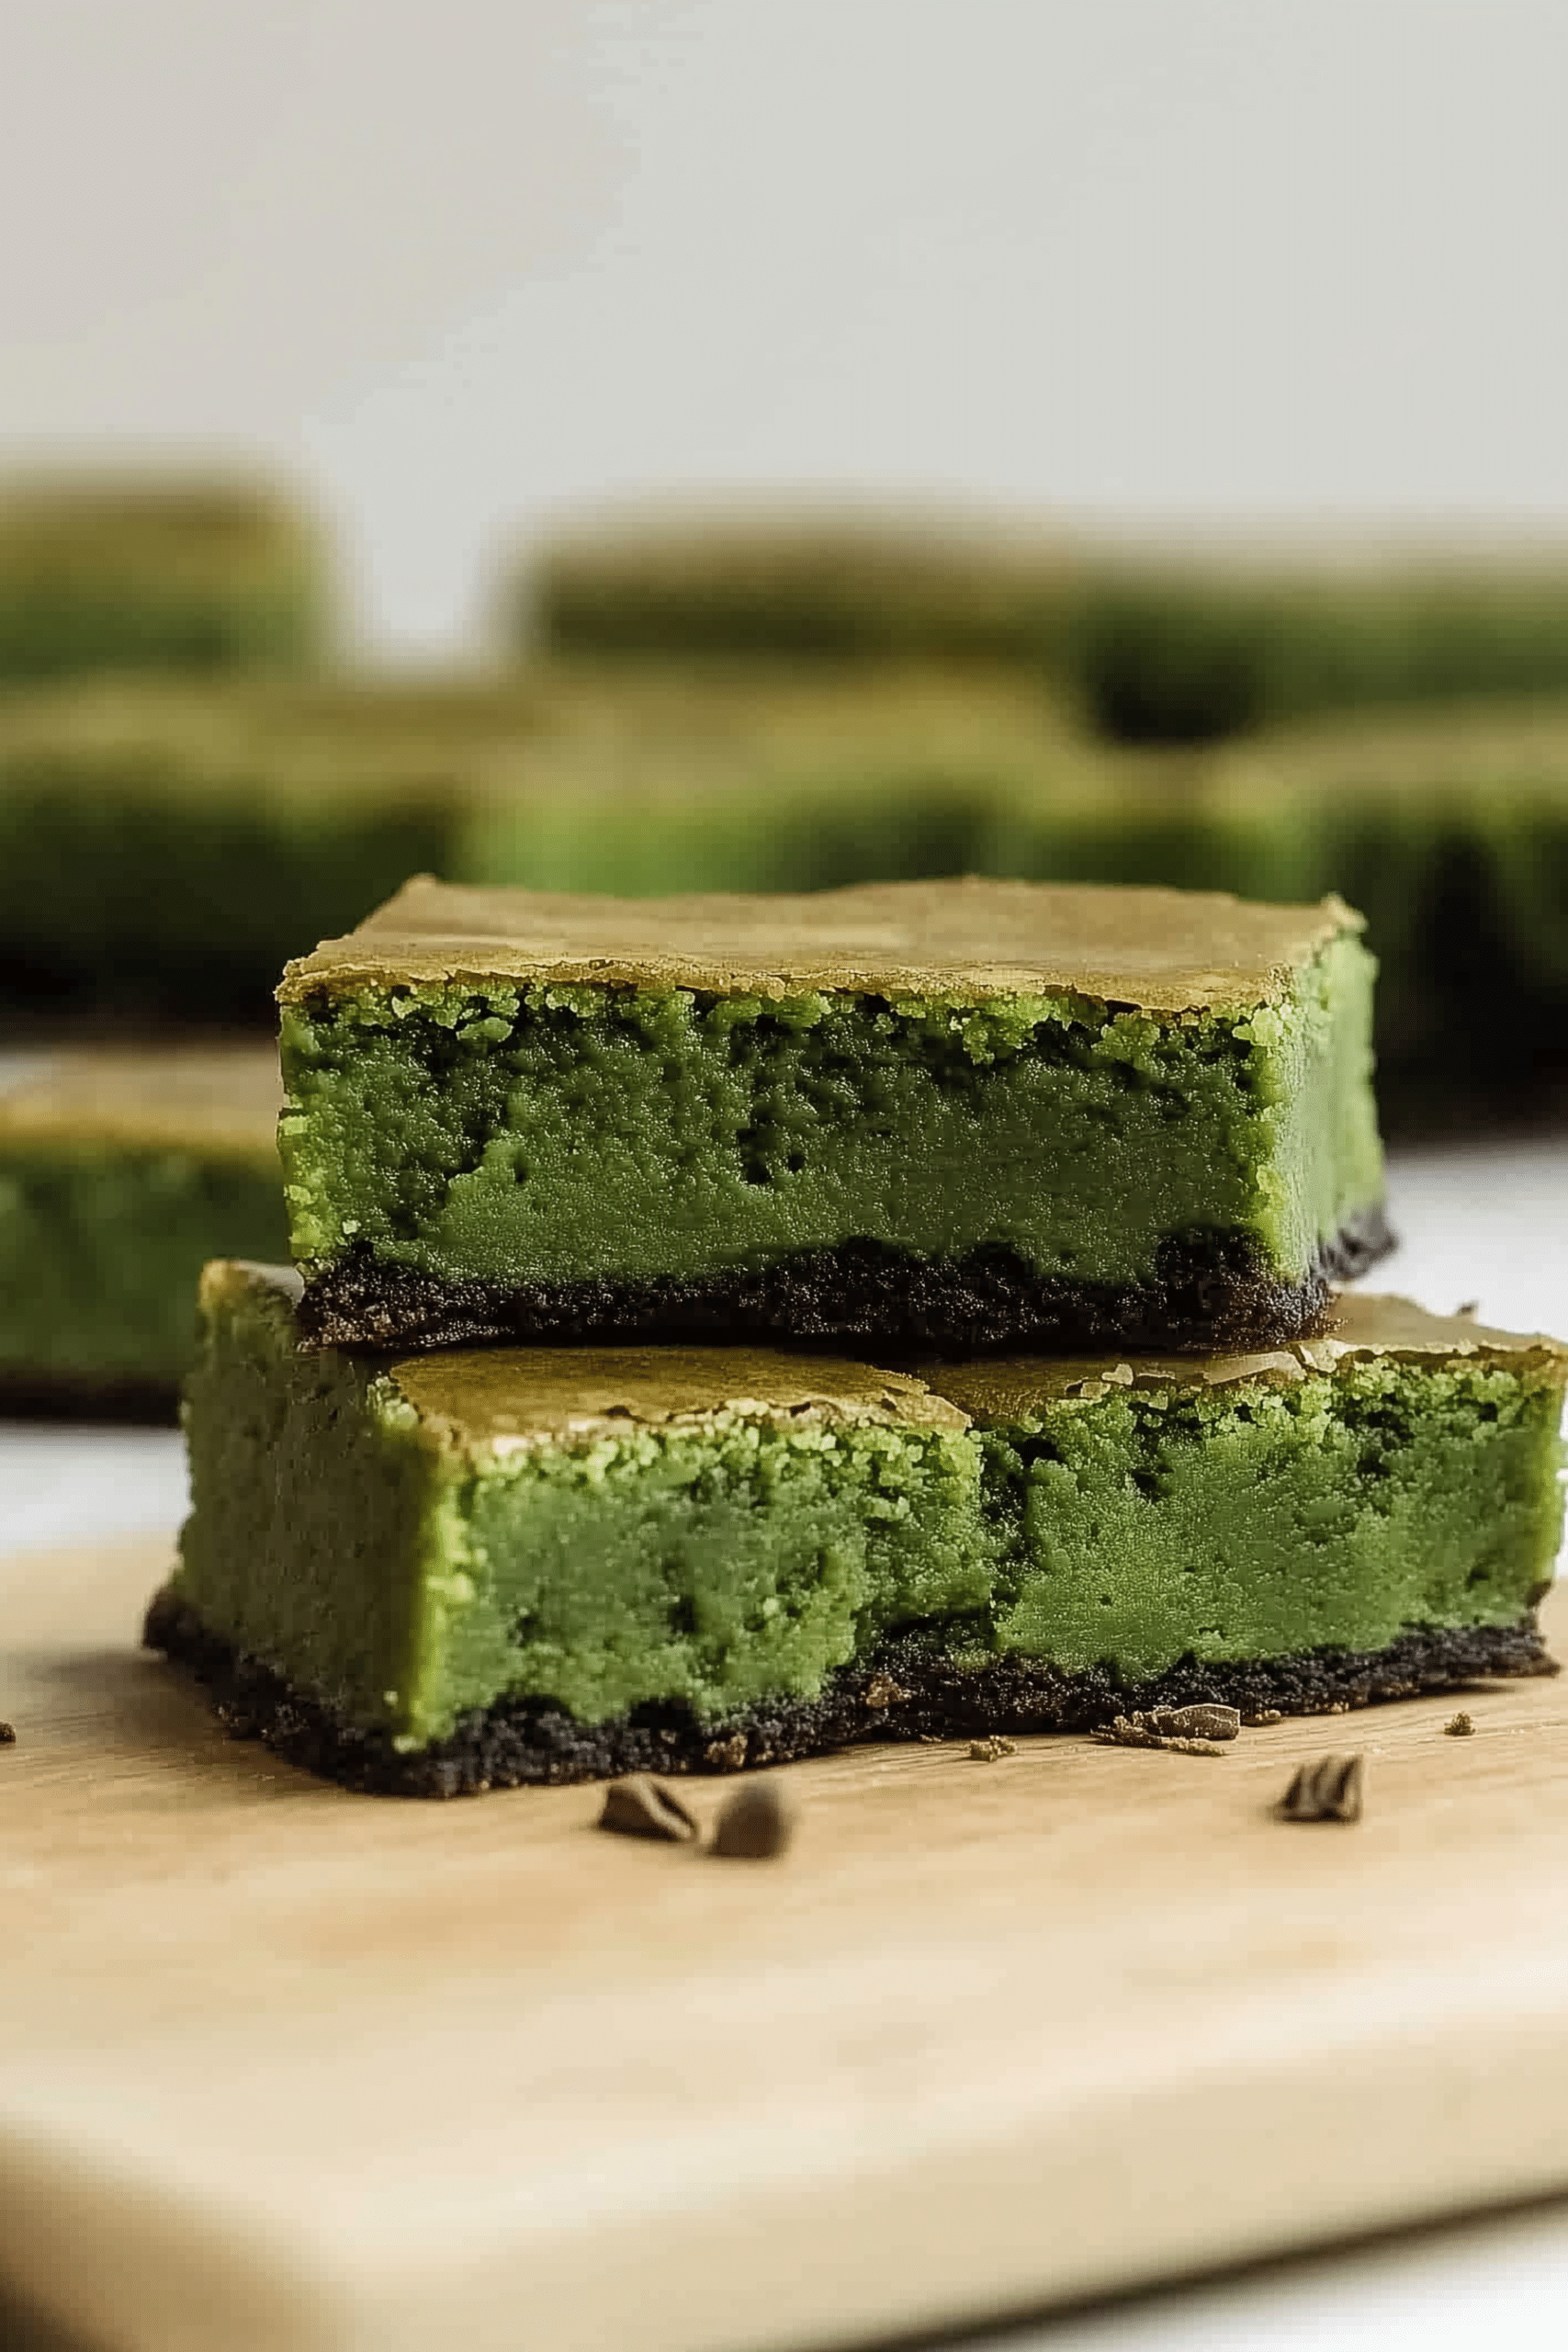
If you love matcha and you love mochi, wait until you try this Matcha Brownie Mochi! Often called brochi, these chewy, slightly sweet squares deliver the best of both worlds: the satisfying, earthy flavor of premium matcha blended with the dense, toothsome texture of mochi. Baked instead of steamed, this recipe is simple, naturally gluten-free, and perfect for enjoying year-round.
Growing up, matcha was a staple in our kitchen — my grandmother would whisk up a steaming bowl of ceremonial matcha as an afternoon pick-me-up, while my mother baked classic mochi treats. Combining those traditions, this Matcha Brownie Mochi brings together Japanese green tea flavor with a fun, fusion-style baked treat that’s ideal for sharing with friends or indulging in solo with a hot cup of tea.
Why You’ll Love This Matcha Brownie Mochi
- Chewy, slightly fudgy, and rich in matcha flavor
- Naturally gluten-free thanks to mochiko flour
- Simple, easy-to-find pantry ingredients
- Baked in under an hour
- Perfect for tea parties, dessert tables, or lunchbox treats
- An elegant twist on classic mochi
Ingredients
- 1 cup mochiko glutinous rice flour
- ½ cup granulated sugar (reduce to ⅓ cup for less sweetness)
- 1 teaspoon baking powder
- Pinch of sea salt
- 1 tablespoon high-quality matcha powder
- 2 tablespoons vegetable oil (omit if using canned coconut milk)
- 1 large egg
- 1 cup canned coconut milk or whole milk
- Additional matcha powder for dusting
How to Make Matcha Brownie Mochi
Step 1: Prep Your Pan
Preheat your oven to 350°F (177°C). Line an 8″x8″ square baking pan with parchment paper, letting it overhang slightly for easy removal later. You can use either a glass or metal pan — both work beautifully.
Step 2: Combine the Dry Ingredients
In a large mixing bowl, whisk together the mochiko flour, sugar, baking powder, and sea salt. Sift in the matcha powder to ensure there are no lumps and the color stays bright. Mix well until fully combined.
Step 3: Mix the Wet Ingredients
In a separate bowl, whisk together the egg, oil, and milk of choice (either canned coconut milk for a richer flavor or whole milk for a classic touch).
Step 4: Bring It All Together
Pour the wet ingredients into the dry mixture. Use a spatula to fold everything together until the batter is smooth and no lumps remain. The batter should be slightly runny but cohesive.
Step 5: Bake
Pour the batter into the prepared pan. Tap the pan gently on the counter to release any air bubbles. Bake in the center of your oven for 35–40 minutes, or until a toothpick inserted into the center comes out clean.
Step 6: Cool and Serve
Let the matcha brownie mochi cool in the pan on a wire rack for at least 30 minutes before removing and slicing. Dust lightly with additional matcha powder if desired, then cut into 8 generous pieces (or up to 16 smaller squares if serving as bite-sized treats).
Tips for Success
- Use high-quality matcha for the best earthy, slightly sweet flavor and vibrant green color
- Don’t overbake — baked mochi should be slightly chewy in the center
- Use canned coconut milk if you want a richer, creamier flavor
- Store at room temperature in an airtight container for up to 2 days; avoid refrigerating as mochi tends to harden
- For perfect slicing, wait until the brochi is fully cooled
Serving Suggestions
Matcha Brownie Mochi is delicious on its own, but you can also enjoy it with:
- A hot cup of green tea or hojicha
- Fresh berries
- A scoop of matcha or vanilla ice cream
- A dusting of kinako (roasted soybean flour) for extra Japanese flair
Storage & Make-Ahead Tips
These treats are best enjoyed fresh but can be kept at room temperature for up to 2 days in an airtight container. If you’d like to freeze them, wrap individually and store for up to one month; thaw at room temperature before serving.
FAQs
Can I make this vegan?
Yes — simply use a plant-based milk and a vegan egg substitute like a flax egg.
Can I use other flavors?
Absolutely! Try cocoa powder instead of matcha for a chocolate brochi, or add black sesame powder for a nutty twist.
Is this gluten-free?
Yes — mochiko glutinous rice flour is naturally gluten-free.
Let’s Stay Connected
If you try this Matcha Brownie Mochi, I’d love to hear what you think! Share your photos or leave a comment — your baking creations always inspire me.
The Goods
Matcha Brownie Mochi
We appreciate you taking the time to rate!
Recipes
- 1 cup mochiko glutinous rice flour
- ½ cup granulated sugar reduce to ⅓ cup for less sweetness
- 1 teaspoon baking powder
- Pinch of sea salt
- 1 tablespoon high-quality matcha powder
- 2 tablespoons vegetable oil omit if using canned coconut milk
- 1 large egg
- 1 cup canned coconut milk or whole milk
- Additional matcha powder for dusting
Instructions
Step 1: Prep Your Pan
- Preheat your oven to 350°F (177°C). Line an 8″x8″ square baking pan with parchment paper, letting it overhang slightly for easy removal later. You can use either a glass or metal pan — both work beautifully.
Step 2: Combine the Dry Ingredients
- In a large mixing bowl, whisk together the mochiko flour, sugar, baking powder, and sea salt. Sift in the matcha powder to ensure there are no lumps and the color stays bright. Mix well until fully combined.
Step 3: Mix the Wet Ingredients
- In a separate bowl, whisk together the egg, oil, and milk of choice (either canned coconut milk for a richer flavor or whole milk for a classic touch).
Step 4: Bring It All Together
- Pour the wet ingredients into the dry mixture. Use a spatula to fold everything together until the batter is smooth and no lumps remain. The batter should be slightly runny but cohesive.
Step 5: Bake
- Pour the batter into the prepared pan. Tap the pan gently on the counter to release any air bubbles. Bake in the center of your oven for 35–40 minutes, or until a toothpick inserted into the center comes out clean.
Step 6: Cool and Serve
- Let the matcha brownie mochi cool in the pan on a wire rack for at least 30 minutes before removing and slicing. Dust lightly with additional matcha powder if desired, then cut into 8 generous pieces (or up to 16 smaller squares if serving as bite-sized treats).





Leave a Reply