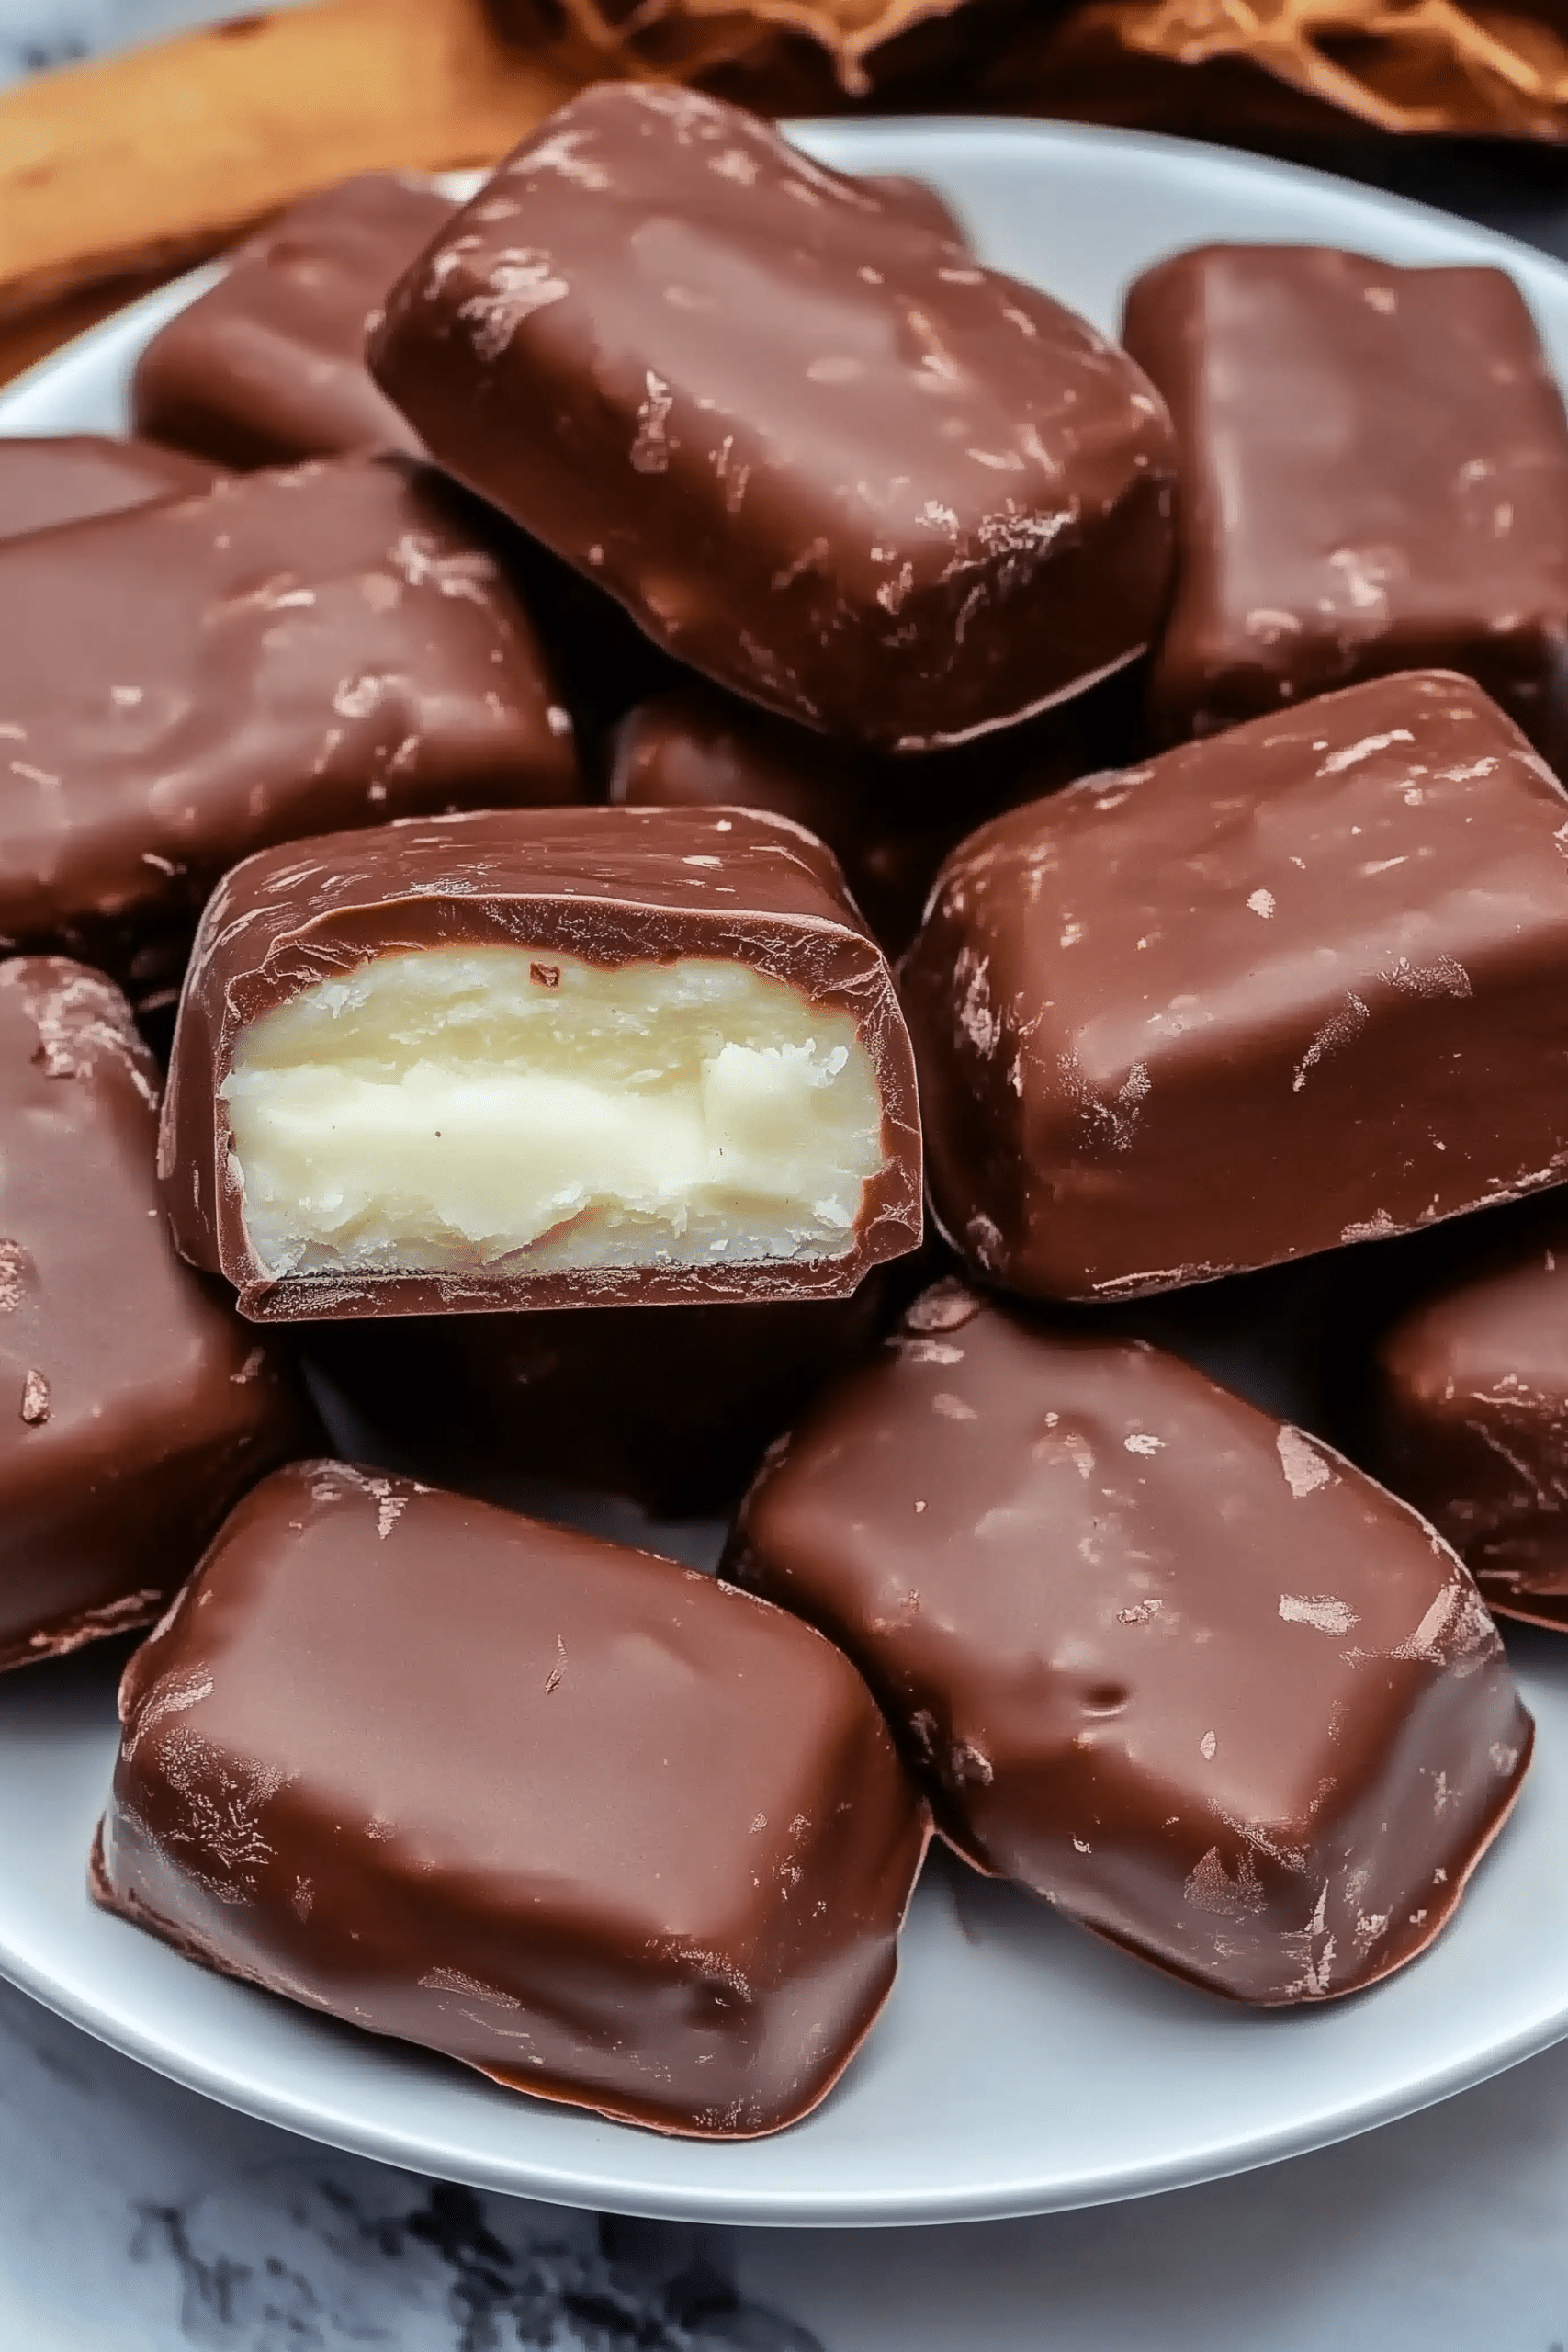
These Homemade Bounty Chocolate Bars bring the irresistible combination of creamy coconut and smooth milk chocolate right to your kitchen. With simple ingredients and no fancy equipment, this recipe recreates the beloved store-bought treat in the most delicious way. Each bar features a soft, rich coconut center encased in a glossy chocolate shell—perfect for satisfying your sweet tooth or gifting to friends.
Why You’ll Love This Recipe
- Better Than Store-Bought: Pure, simple ingredients with none of the additives.
- Perfect Texture: The filling is creamy yet firm, coated in a smooth, glossy chocolate shell.
- Easy to Make: A beginner-friendly recipe that looks professional and tastes amazing.
- Freezer-Friendly: Store for weeks and enjoy whenever a chocolate craving hits.
- Customizable: Try dark, milk, or even white chocolate for different flavor profiles.
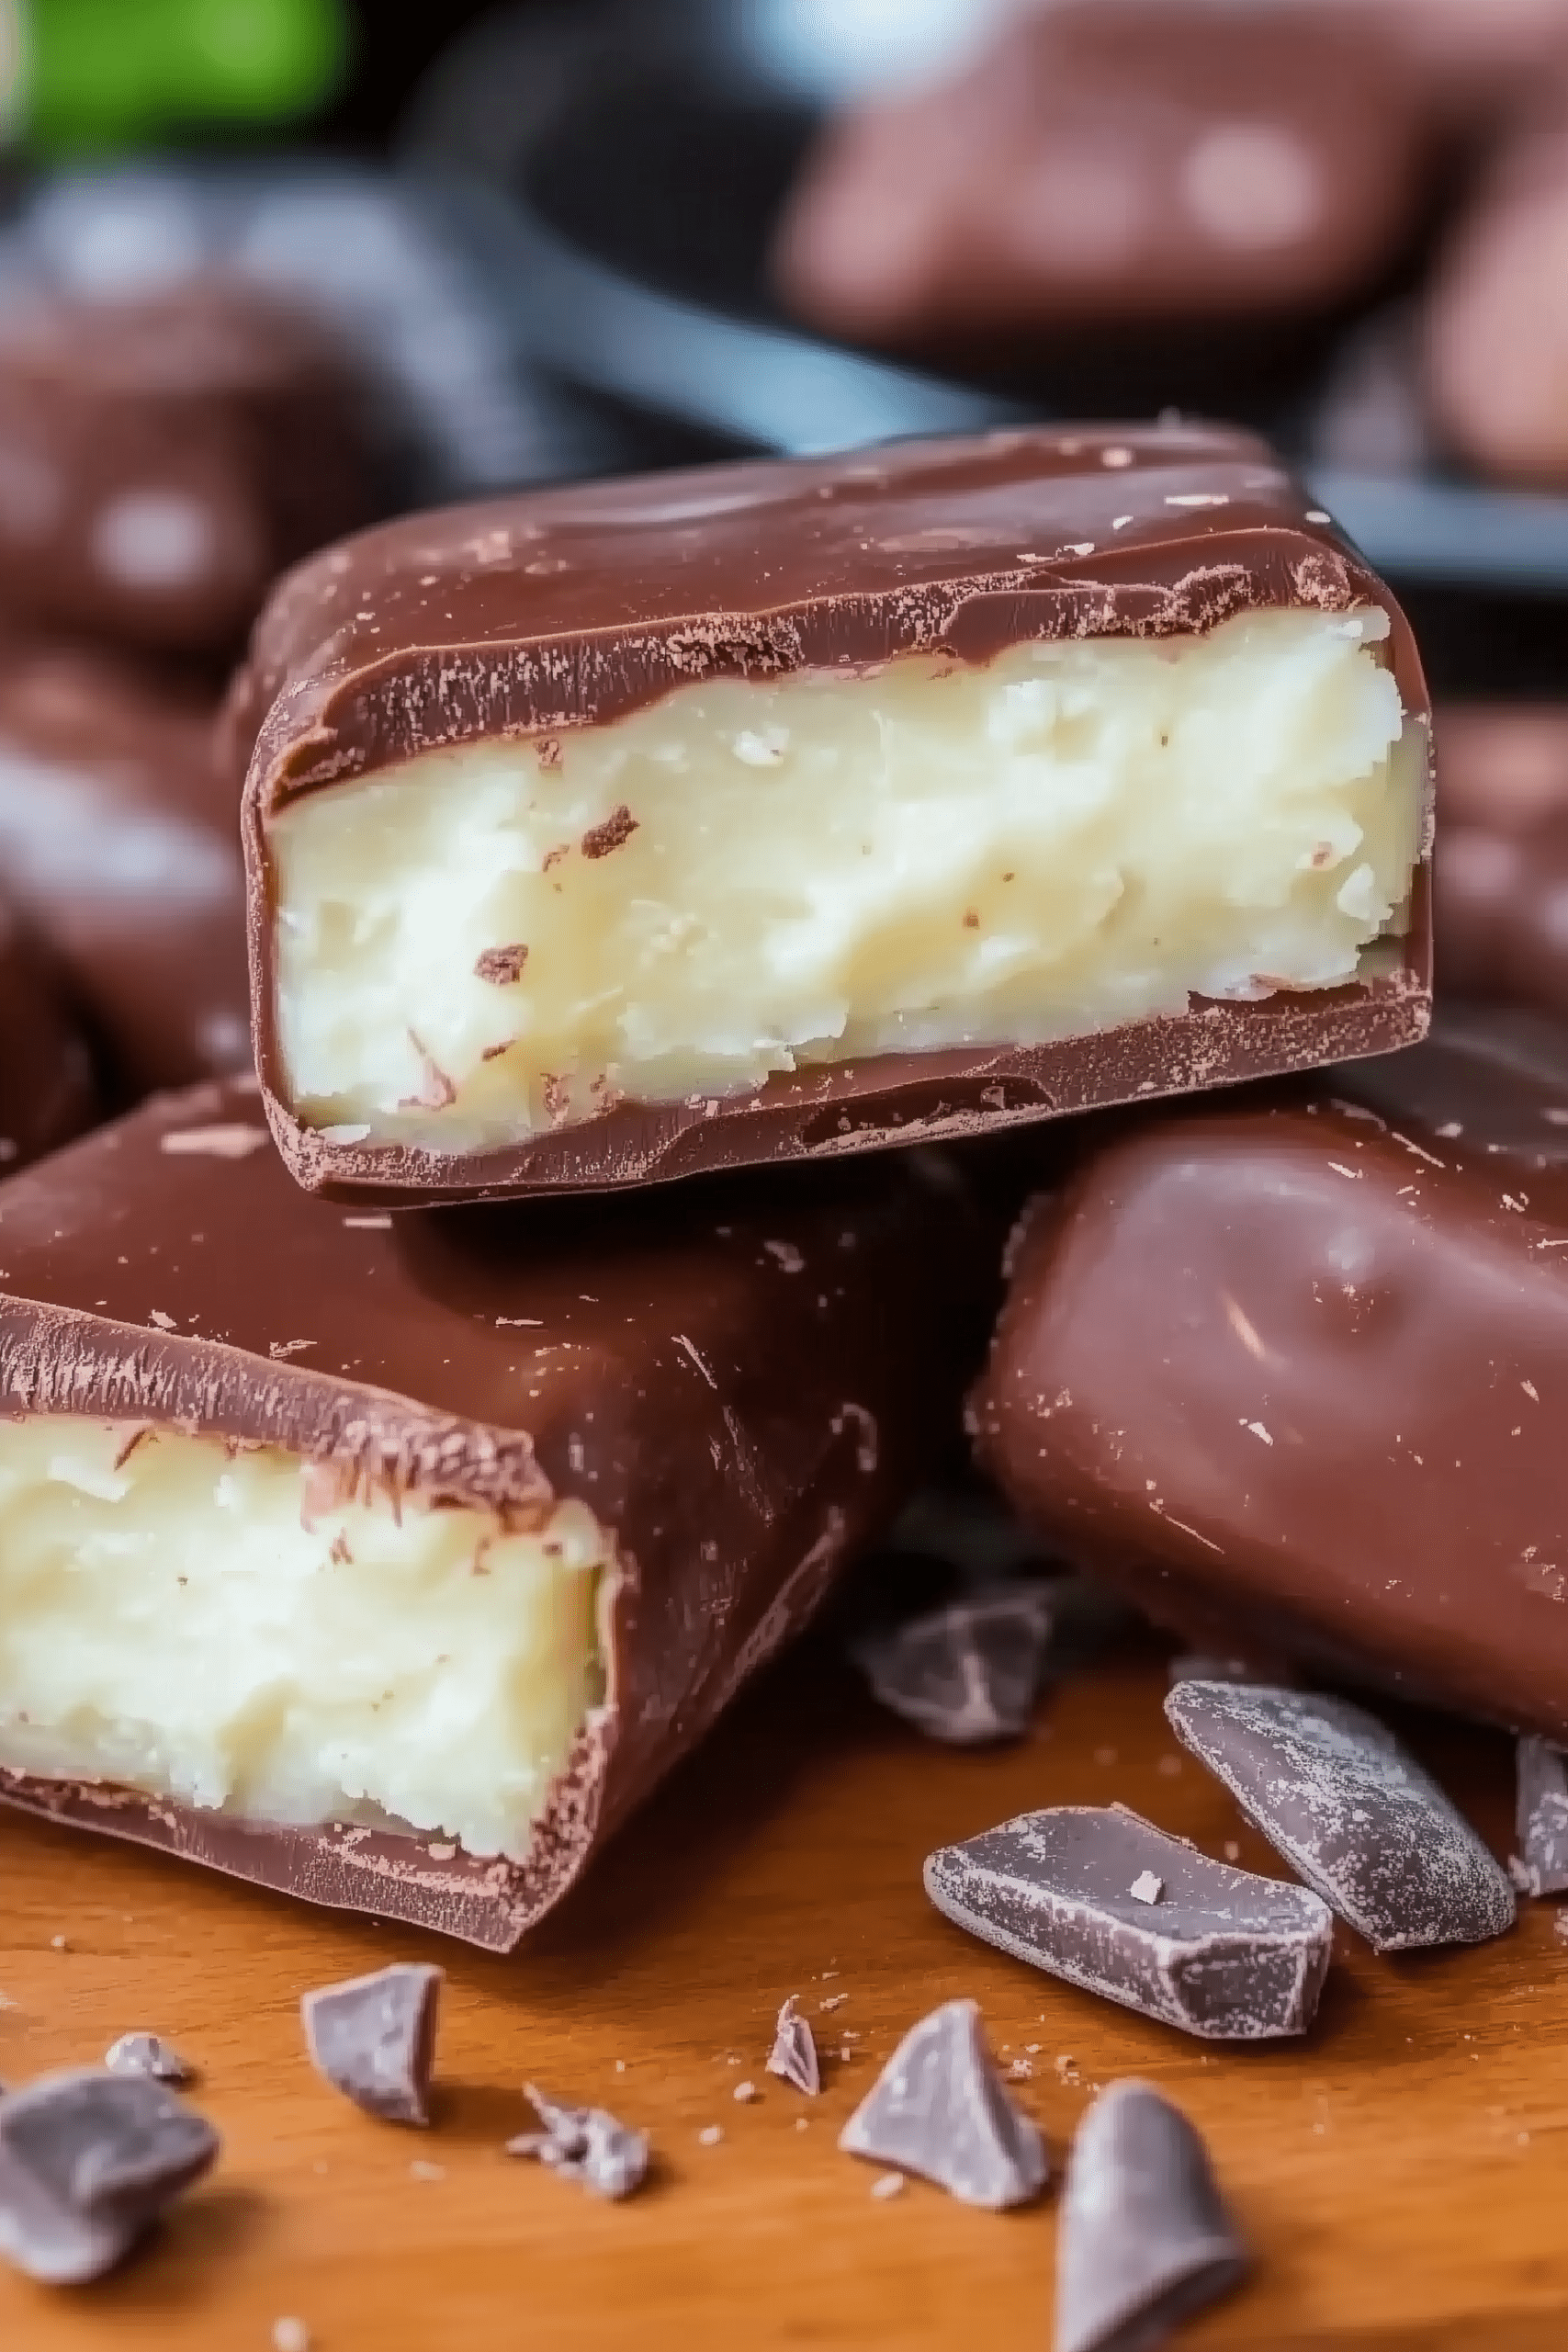
Ingredients
- 1½ cups milk
- ¾ cup sugar
- 2 cups desiccated coconut
- ¼ cup cream
- 300 grams milk chocolate
Instructions
- Make the Coconut Filling:
In a large kadai or saucepan, combine milk and sugar. Stir over medium heat until sugar is fully dissolved. - Add Coconut and Cream:
Stir in desiccated coconut and cream. Continue cooking on medium heat until the mixture thickens and starts holding its shape. - Shape the Bars:
Transfer the mixture to a plate and let it cool slightly. Shape into small bars or rectangles using your hands. - Chill the Bars:
Refrigerate for 1 hour, or until the coconut mixture sets completely. - Prepare the Chocolate Coating:
Melt the milk chocolate using a double boiler or microwave (stirring every 20 seconds until smooth). Let it cool slightly so it’s not too hot. - Dip and Decorate:
Dip each chilled coconut bar into the melted chocolate, coating evenly. Place them on butter paper and mark three lines on top with a butter knife to mimic store-bought bounty bars. - Set the Chocolate:
Refrigerate for at least 1 hour, or until the chocolate shell hardens. - Serve:
Enjoy your homemade bounty bars chilled or at room temperature.
Tips / Storage / FAQs
Tips:
- Use high-quality chocolate for a glossy finish and smooth taste.
- If your chocolate is too thick, add 1 teaspoon of coconut oil to thin it slightly.
- Chill the coconut mixture thoroughly before dipping—it helps keep the bars intact.
Storage:
Store the finished bars in an airtight container in the refrigerator for up to 1 week. You can also freeze them for up to 1 month.
FAQs:
Can I use dark or white chocolate instead of milk chocolate?
Yes, you can! Dark chocolate adds a richer taste, while white chocolate gives a sweeter variation.
Why is my chocolate coating uneven?
Ensure your chocolate is fully melted and slightly cooled before dipping. A thick coating usually means the chocolate was too cool or too thick.
Can I make these vegan?
Yes, substitute the milk with coconut milk, use coconut cream instead of dairy cream, and choose vegan chocolate.
Do I need to temper the chocolate?
Tempering isn’t necessary, but it gives a shinier and more professional look if you want to go the extra step.
Final Thoughts
These homemade Bounty Chocolate Bars perfectly capture the tropical essence of coconut and the indulgence of rich milk chocolate. With a creamy center and smooth shell, they’re simple, satisfying, and a wonderful DIY version of a timeless favorite. Whether served as an after-dinner treat or wrapped up for gifting, these bars will quickly become a household favorite.
The Goods

Bounty Chocolate Bars
We appreciate you taking the time to rate!
Recipes
- 1½ cups milk
- ¾ cup sugar
- 2 cups desiccated coconut
- ¼ cup cream
- 300 grams milk chocolate
Instructions
Make the Coconut Filling:
- In a large kadai or saucepan, combine milk and sugar. Stir over medium heat until sugar is fully dissolved.
Add Coconut and Cream:
- Stir in desiccated coconut and cream. Continue cooking on medium heat until the mixture thickens and starts holding its shape.
Shape the Bars:
- Transfer the mixture to a plate and let it cool slightly. Shape into small bars or rectangles using your hands.
Chill the Bars:
- Refrigerate for 1 hour, or until the coconut mixture sets completely.
Prepare the Chocolate Coating:
- Melt the milk chocolate using a double boiler or microwave (stirring every 20 seconds until smooth). Let it cool slightly so it’s not too hot.
Dip and Decorate:
- Dip each chilled coconut bar into the melted chocolate, coating evenly. Place them on butter paper and mark three lines on top with a butter knife to mimic store-bought bounty bars.
Set the Chocolate:
- Refrigerate for at least 1 hour, or until the chocolate shell hardens.
Serve:
- Enjoy your homemade bounty bars chilled or at room temperature.
Notes
Store the finished bars in an airtight container in the refrigerator for up to 1 week. You can also freeze them for up to 1 month. FAQs: Can I use dark or white chocolate instead of milk chocolate?
Yes, you can! Dark chocolate adds a richer taste, while white chocolate gives a sweeter variation. Why is my chocolate coating uneven?
Ensure your chocolate is fully melted and slightly cooled before dipping. A thick coating usually means the chocolate was too cool or too thick. Can I make these vegan?
Yes, substitute the milk with coconut milk, use coconut cream instead of dairy cream, and choose vegan chocolate. Do I need to temper the chocolate?




Leave a Reply