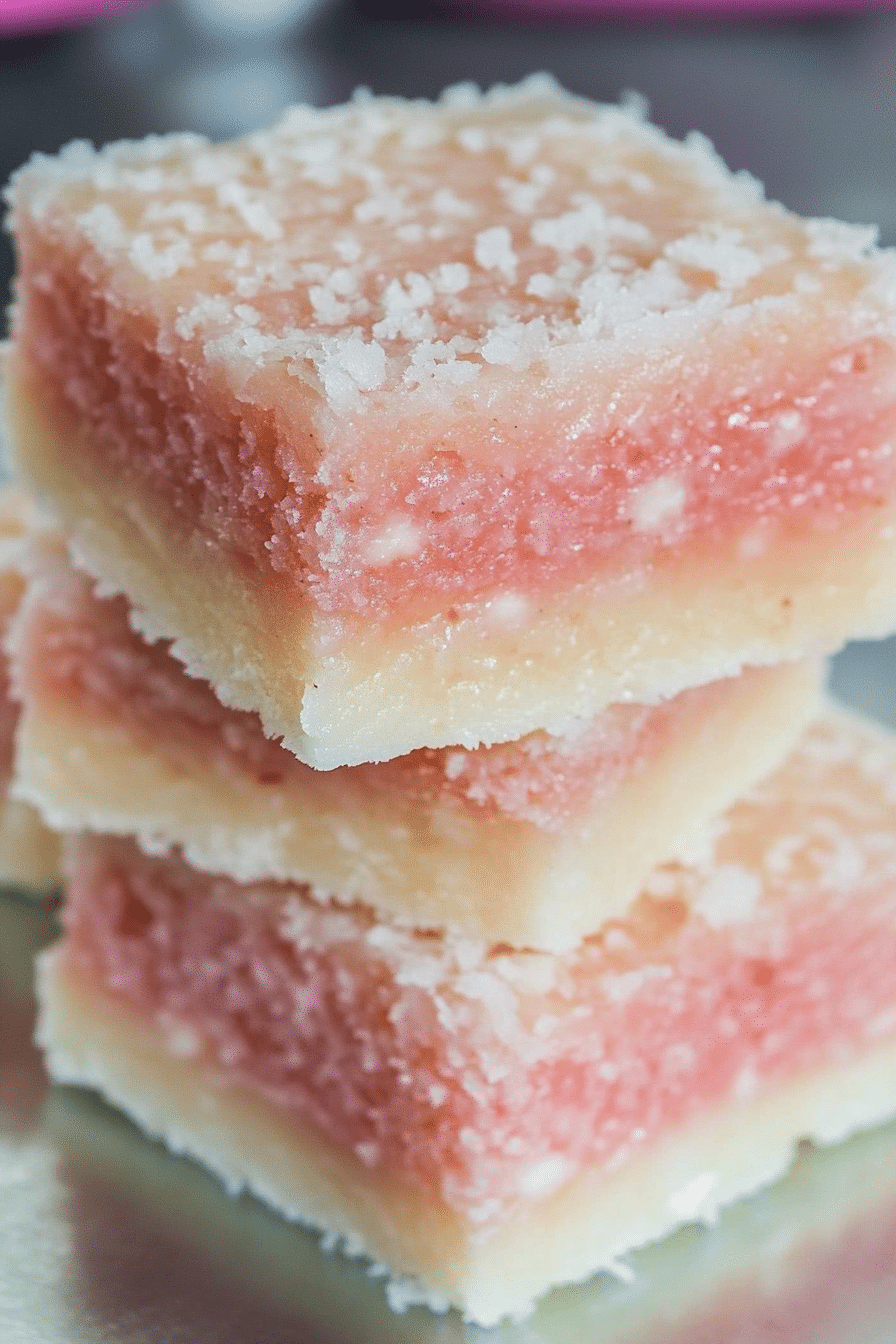
If you’re looking for a quick, nostalgic sweet treat, this Easy Coconut Ice is a must-try! This classic no-bake slice is sweet, soft, and incredibly easy to make—just mix, press, chill, and slice. Made with only four simple ingredients and no stovetop cooking, it’s perfect for getting the kids involved or whipping up a last-minute festive gift. Whether you’re prepping for a bake sale, holiday dessert platter, or just craving a sweet coconut hit, this recipe delivers every time.
Why You’ll Love This Recipe
- No cooking needed – skip the boiling sugar stage.
- Only 4 ingredients – pantry staples and one bowl!
- Kid-friendly – fun to color and press.
- Perfect for gifting – especially during holidays.
- Naturally gluten-free – no flour involved.
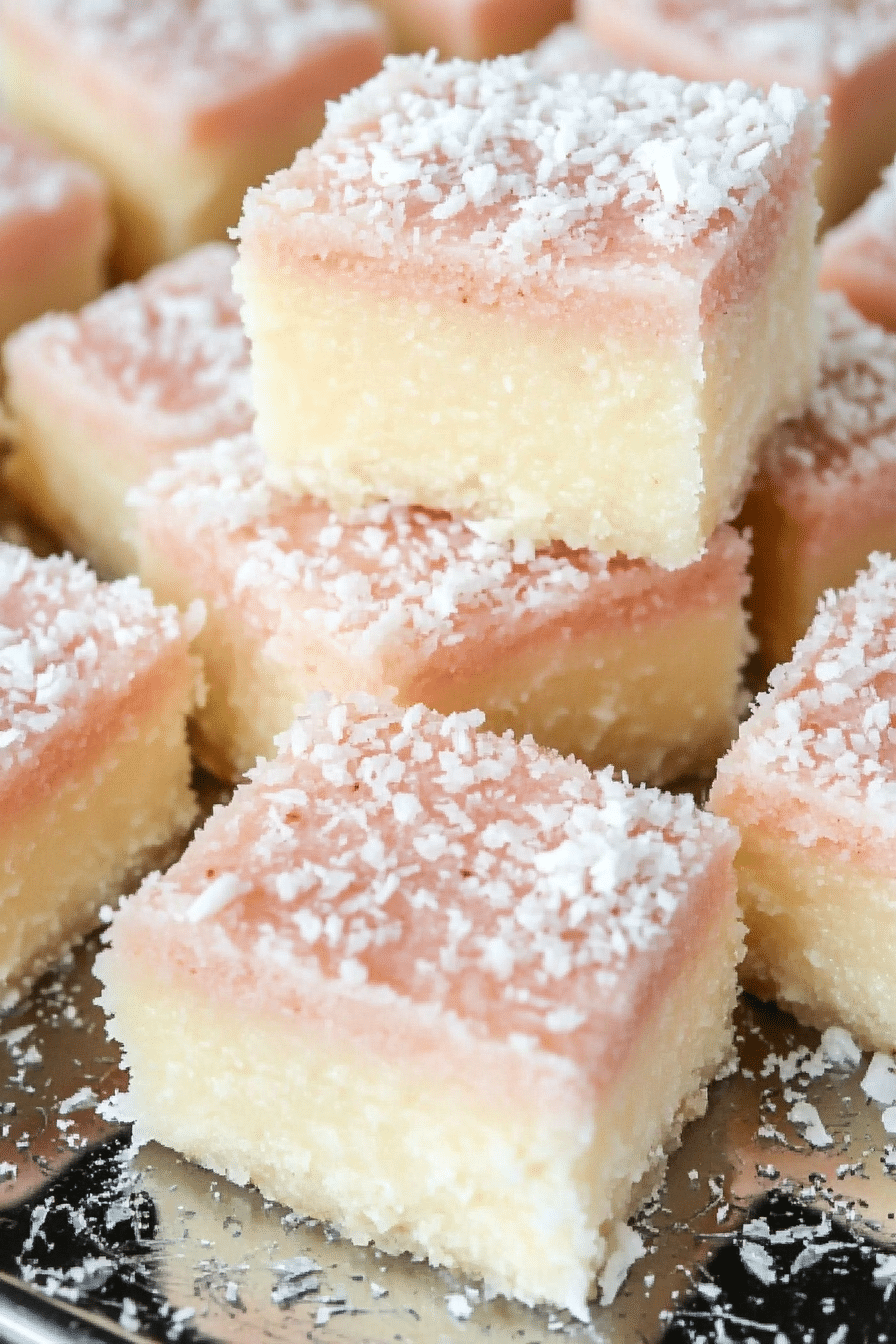
Ingredients
- 200g (2 cups) icing sugar
- 300g (3.5 cups) desiccated coconut
- 400ml (1 tin) sweetened condensed milk
- 3 drops red food coloring (or use beetroot or berry powder)
Equipment
- Large mixing bowl
- 24cm (9×9 inch) square baking tin
- Baking paper
- Spatula or spoon
Instructions
- In a large bowl, mix icing sugar, desiccated coconut, and condensed milk using a spoon, then your hands. You’ll form a thick, sticky dough.
- Transfer half the dough into the lined cake tin. Press it down with your hands or a spatula until smooth and even.
- Add a few drops of red food coloring to the remaining dough. Knead with your hands until the color is evenly distributed.
- Spoon the pink dough over the white layer. Use a fork to gently spread and level, then press flat with hands or a spatula for a clean finish.
- Refrigerate for 1–2 hours until set. Slice into small 2.5cm / 1-inch squares for perfect bite-sized treats.
Tips & Variations
Chilling is key: Makes slicing easier and cleaner. Use a sharp, long knife for best results.
Serving size: Keep pieces small—they’re super sweet!
Storage:
- Room temp (softer texture) – lasts 3–4 weeks in an airtight container
- Fridge (firmer texture) – also up to 4 weeks
- Freezer – store for up to 3 months, tightly wrapped
Fun Flavor Variations
Festive colors: Try green and red layers for Christmas.
Add extracts: Peppermint, almond, cherry, or rose water for a twist.
Citrus version: Add lemon zest and a splash of juice for a tangy kick.
The Goods
Easy Coconut Ice Recipe
We appreciate you taking the time to rate!
Equipment
- Large mixing bowlsquare
- 24cm (9×9 inch) baking tin
- Baking paper
- Spatula or spoon
Recipes
- 200 g 2 cups icing sugar
- 300 g 3.5 cups desiccated coconut
- 400 ml 1 tin sweetened condensed milk
- 3 drops red food coloring or use beetroot or berry powder
Instructions
- In a large bowl, mix icing sugar, desiccated coconut, and condensed milk using a spoon, then your hands. You’ll form a thick, sticky dough.
- Transfer half the dough into the lined cake tin. Press it down with your hands or a spatula until smooth and even.
- Add a few drops of red food coloring to the remaining dough. Knead with your hands until the color is evenly distributed.
- Spoon the pink dough over the white layer. Use a fork to gently spread and level, then press flat with hands or a spatula for a clean finish.
- Refrigerate for 1–2 hours until set. Slice into small 2.5cm / 1-inch squares for perfect bite-sized treats.
Tips & Variations
- Chilling is key: Makes slicing easier and cleaner. Use a sharp, long knife for best results.
- Serving size: Keep pieces small—they’re super sweet!
- Storage:
- Room temp (softer texture) – lasts 3–4 weeks in an airtight container
- Fridge (firmer texture) – also up to 4 weeks
- Freezer – store for up to 3 months, tightly wrapped
Fun Flavor Variations
- Festive colors: Try green and red layers for Christmas.
- Add extracts: Peppermint, almond, cherry, or rose water for a twist.
- Citrus version: Add lemon zest and a splash of juice for a tangy kick.





Leave a Reply