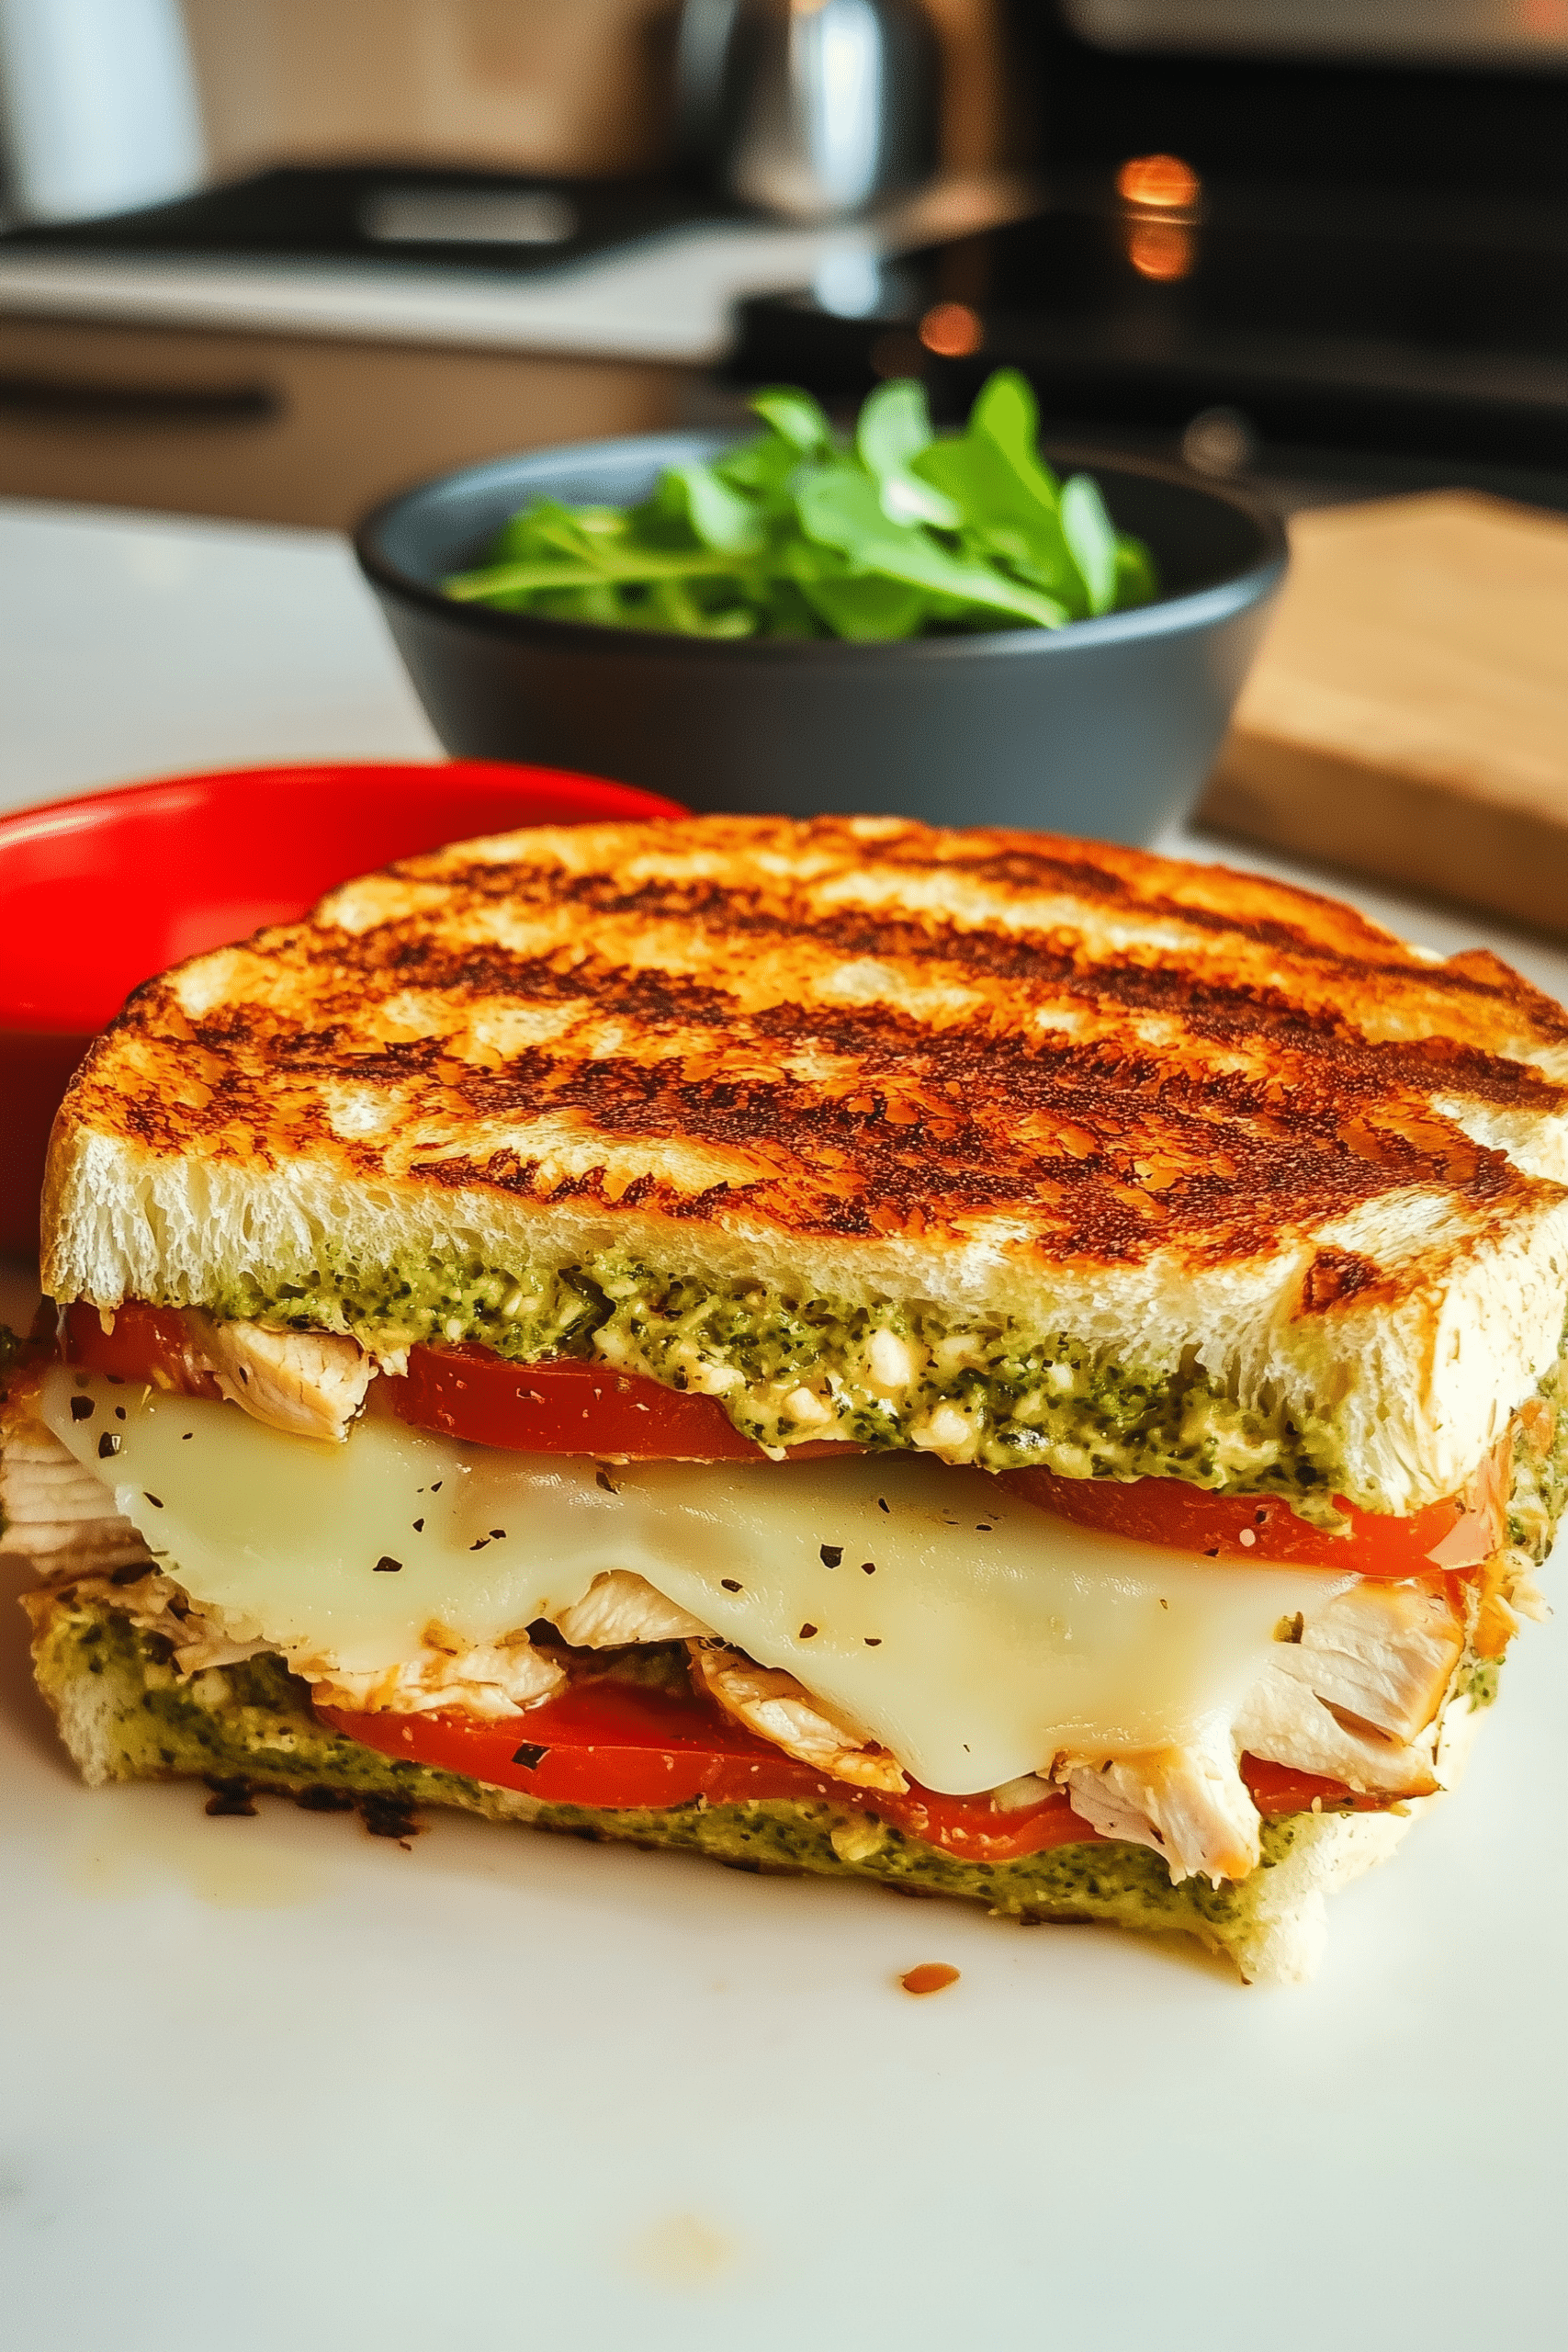
When it comes to sandwiches that feel gourmet but are simple to prepare, a panini is hard to beat. The combination of warm, crusty bread, melty cheese, and fresh fillings makes it a crowd favorite—whether you’re enjoying it for lunch, dinner, or a casual weekend bite. This Loaded Chicken Pesto Panini takes the panini game to the next level with layers of creamy avocado, tangy roasted red peppers, savory artichokes, and zesty Calabrian peppers for a little kick.
The star of this recipe is the homemade basil pesto, which delivers a fresh, herby flavor that pairs beautifully with the chicken and cheese. Store-bought pesto works in a pinch, but making it yourself ensures a vibrant taste and allows you to adjust the seasoning to your liking. Plus, this recipe makes extra pesto, so you can enjoy it later on pasta, roasted veggies, or as a sandwich spread during the week.
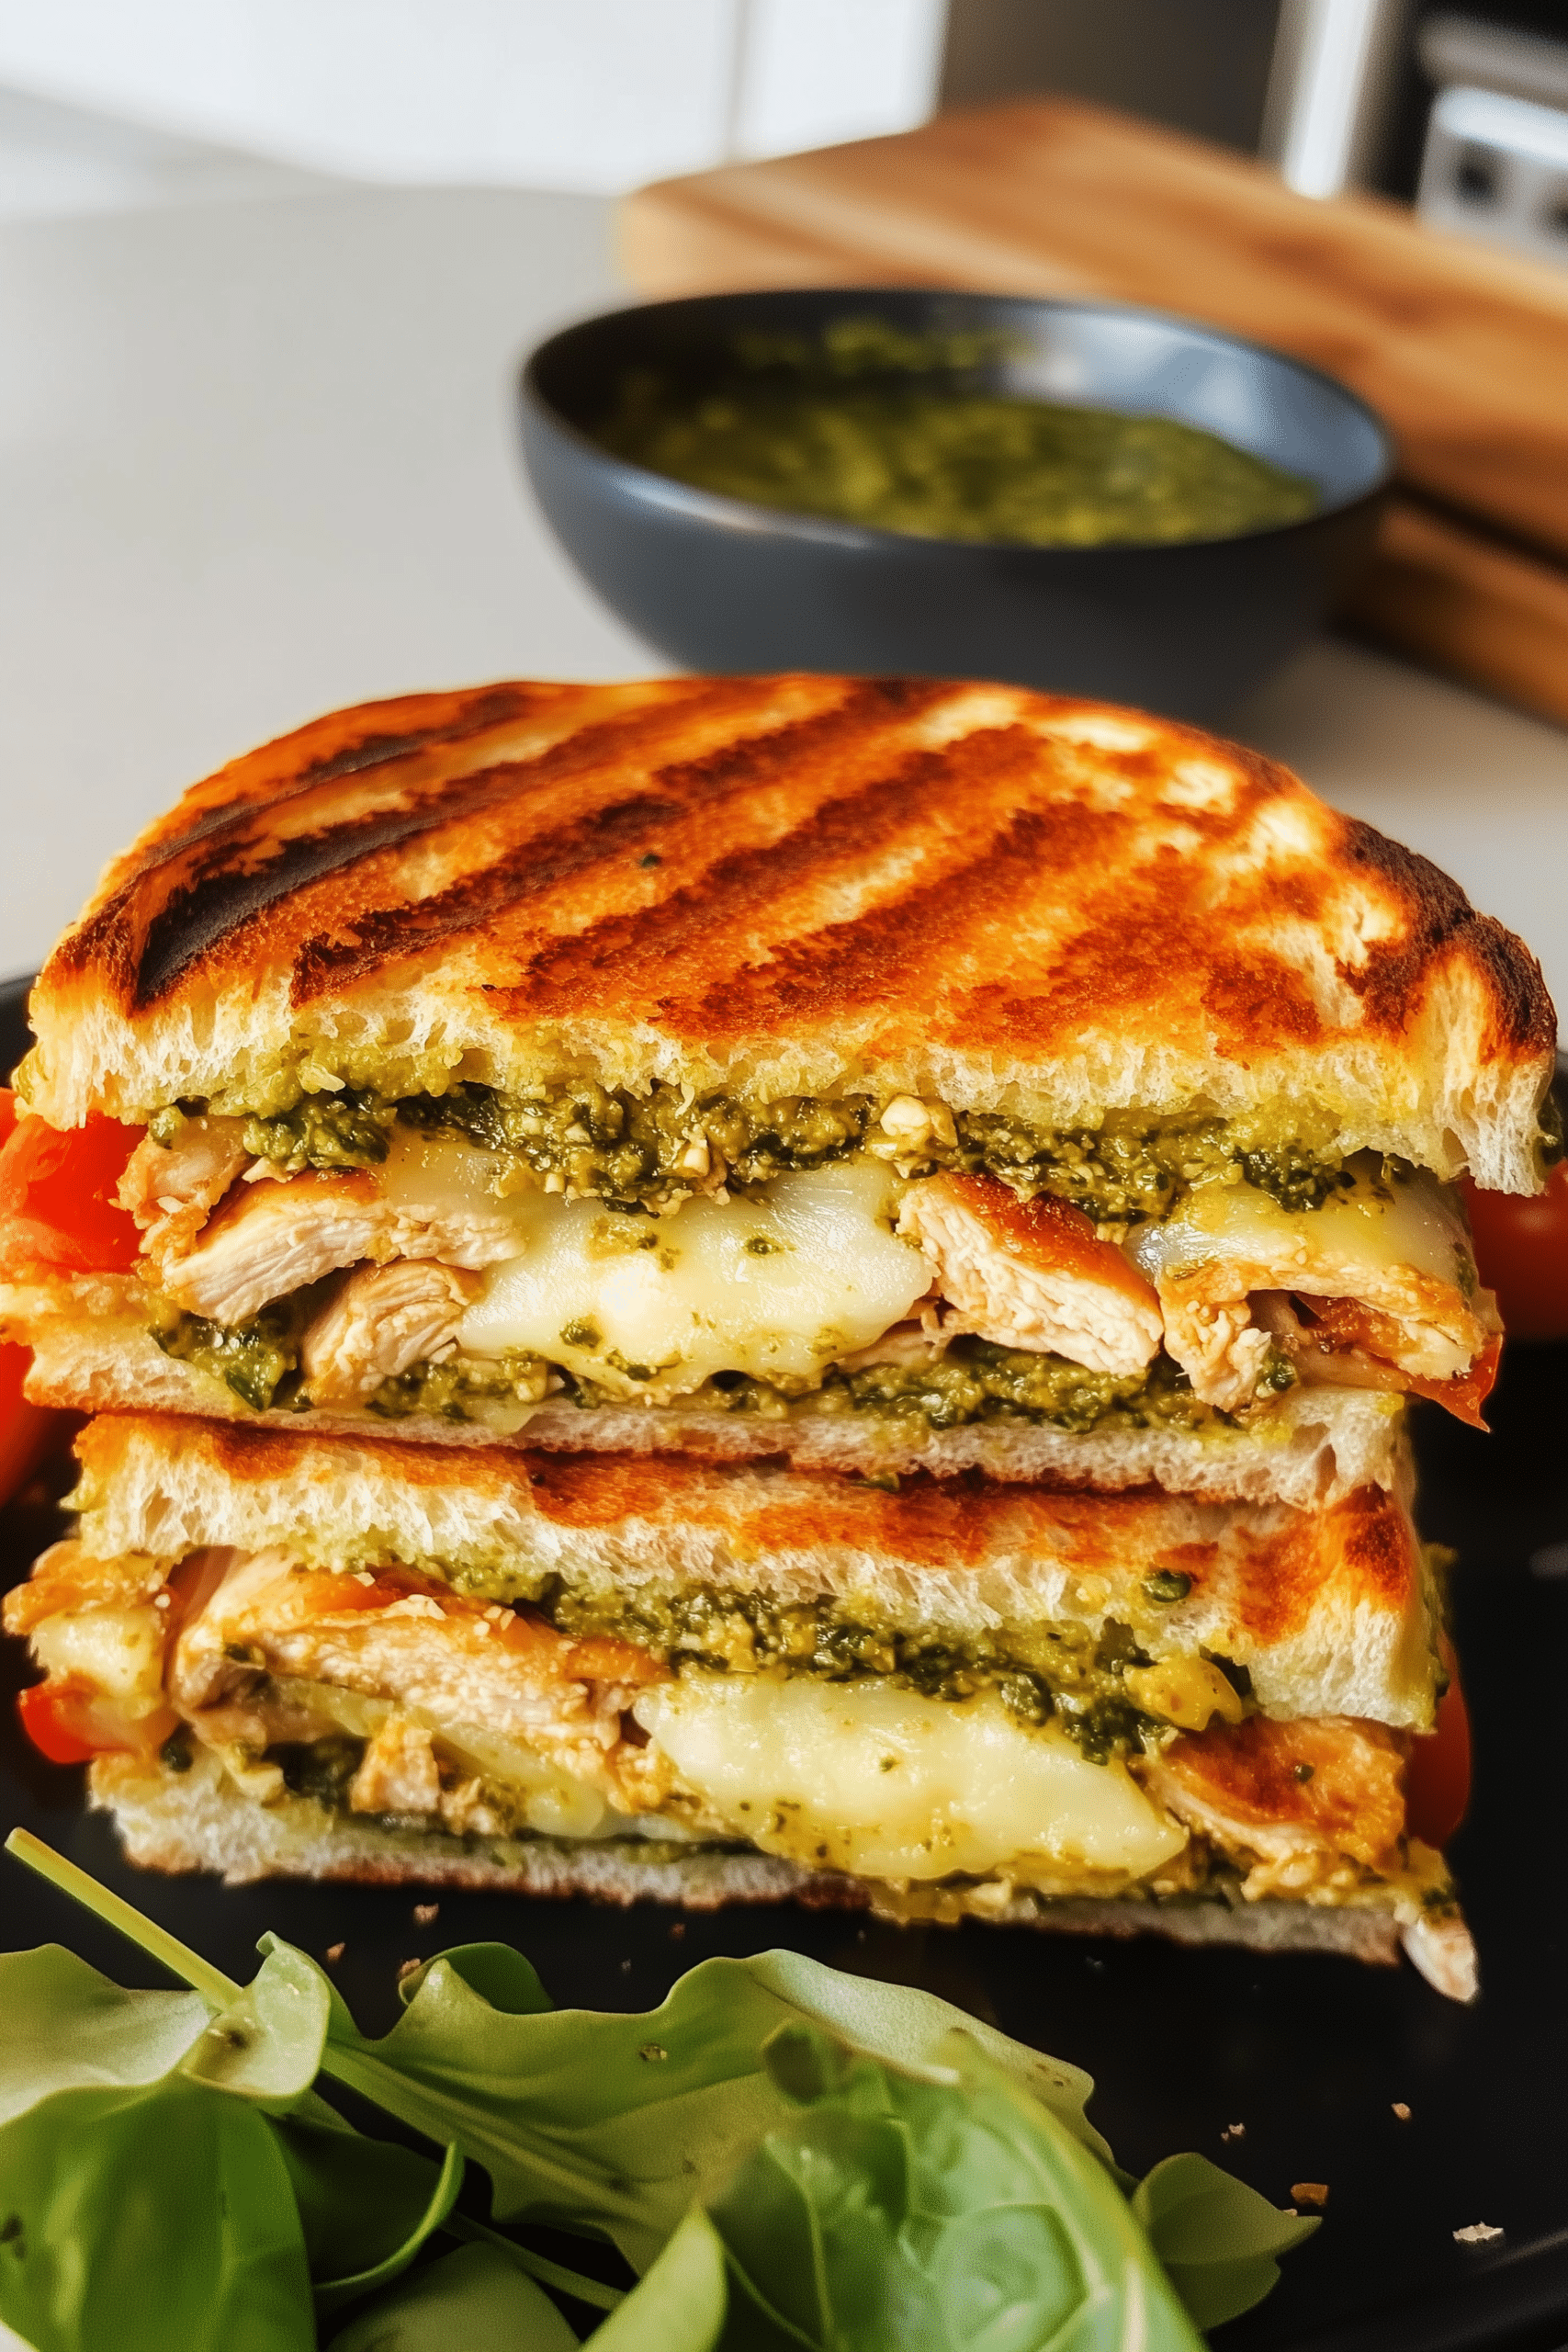
What truly makes this panini stand out is the balance of textures and flavors. You get the crunch from toasted rosemary sourdough, the creamy smoothness of avocado, the smoky sweetness from roasted peppers, and the slight bitterness from fresh arugula. It’s a layered bite that keeps you coming back for more—and thanks to the panini press, every slice is warm, melty, and irresistibly crisp.
Why This Recipe Works
- Homemade pesto gives a fresher, more vibrant flavor than store-bought.
- Multiple layers of veggies and cheese keep the sandwich interesting.
- Panini press cooking creates a crisp exterior and melty interior.
- Customizable ingredients let you adapt to your taste and dietary needs.
- Make-ahead pesto saves time for future meals.
Ingredients You’ll Need
Homemade Basil Pesto
- ¼ cup extra virgin olive oil
- ⅓ cup nuts (walnuts, pine nuts, or a mix)
- ½ teaspoon sea salt
- Juice of 1 lemon
- 2 handfuls fresh basil leaves
- 1 tablespoon nutritional yeast
- ½ teaspoon minced garlic
- ¼ teaspoon ground black pepper
- 2 tablespoons water
Panini
- 2 slices bread of choice (rosemary sourdough recommended)
- 1 tablespoon ghee (or butter)
- 3 tablespoons pesto (homemade or store-bought)
- Calabrian peppers (optional, for heat)
- ½ avocado, thinly sliced
- 1 jar marinated roasted sweet red peppers
- 2–4 slices cheese (goat cheese recommended)
- 4 artichoke hearts, quartered
- 6 slices organic deli chicken
- 1 cup fresh arugula
- Fresh cracked pepper, to taste
- Sea salt, to taste
Step-by-Step Instructions
Step 1: Make the Homemade Basil Pesto
In a food processor, combine olive oil, nuts, sea salt, lemon juice, basil leaves, nutritional yeast, minced garlic, black pepper, and water. Pulse until the mixture is smooth and creamy. Taste and adjust seasoning if needed. Transfer to an airtight container and refrigerate for up to a week, or freeze in ice cube trays for up to 3 months.
Step 2: Prepare the Bread and Spread
Spread ghee on the outer sides of both slices of bread—this will ensure a golden, crispy crust once grilled. On the inside of one slice, spread the basil pesto generously. On the other slice, spread Calabrian peppers for a spicy, tangy kick. If you prefer a milder flavor, you can skip the peppers or replace them with sun-dried tomatoes.
Step 3: Layer the Fillings
Start building your panini by layering avocado slices over the pesto side. Add roasted red peppers, followed by slices of deli chicken. Sprinkle with freshly cracked pepper and a pinch of sea salt. Lay the cheese slices over the chicken, then add the fresh arugula. Finally, tuck in the quartered artichoke hearts for an earthy, tangy bite.
Step 4: Grill the Panini
Preheat your panini press or grill pan over medium heat. Place the assembled sandwich onto the heated surface, ghee-side down. Close the press and cook for about 4–5 minutes, or until the bread is golden brown and the cheese has fully melted. If you’re using a grill pan, press down with a spatula and flip halfway through cooking to ensure even browning.
Step 5: Serve and Enjoy
Once cooked, remove the panini from the press and let it rest for a minute before slicing. This allows the cheese to set slightly, preventing all the fillings from sliding out when cut. Slice in half and serve warm, preferably with a side salad, chips, or a cup of tomato soup for a comforting meal.
Tips & Variations
- Switch the protein – Swap deli chicken for grilled chicken breast, turkey slices, or even roasted vegetables for a vegetarian version.
- Change the cheese – Goat cheese adds tang, but mozzarella, provolone, or Havarti melt beautifully too.
- Extra crunch – Add a few slices of crispy bacon for an indulgent twist.
- Low-carb option – Wrap the fillings in a low-carb tortilla and grill it burrito-style.
- Batch prep pesto – Make a large batch of pesto and freeze in small portions for quick weeknight meals.
What to Serve With Loaded Chicken Pesto Panini
- Light side salad with lemon vinaigrette for freshness.
- Tomato basil soup for a cozy pairing.
- Oven-baked sweet potato fries for a healthier indulgence.
- Marinated olives and a small cheese board for a café-style lunch spread.
Storage & Reheating
- Refrigerate – Store leftover panini in an airtight container for up to 2 days.
- Reheat in oven – Warm in a 350°F oven for 8–10 minutes to restore crispness.
- Avoid microwaving – This can make the bread soggy. Instead, use a skillet to re-crisp the exterior.
Nutritional Highlights
This panini packs protein from the chicken and cheese, healthy fats from avocado and olive oil, and plenty of antioxidants from basil, peppers, and arugula. While it’s an indulgent sandwich, it’s also nutrient-rich thanks to its variety of whole-food ingredients.
Final Thoughts
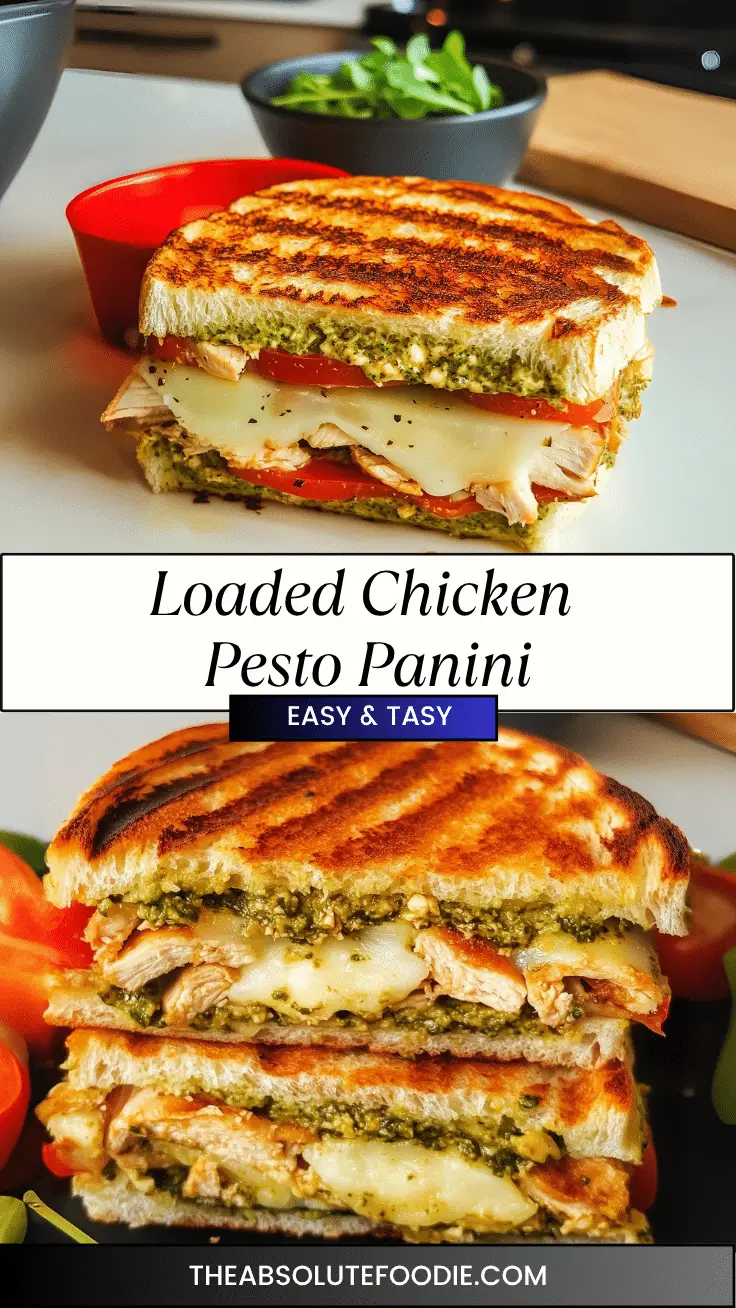
This Loaded Chicken Pesto Panini is proof that a sandwich can be both satisfying and elevated. With its layers of bold flavors, crisp bread, and melty cheese, it’s the kind of meal that feels special without being complicated. Whether you’re making it for a quick solo lunch, a weekend brunch, or even as part of a casual dinner, this panini delivers every time. Once you try it, it’s likely to become a permanent part of your sandwich rotation.
The Goods

Loaded Chicken Pesto Panini
We appreciate you taking the time to rate!
Recipes
Homemade Basil Pesto
- ¼ cup extra virgin olive oil
- ⅓ cup nuts walnuts, pine nuts, or a mix
- ½ teaspoon sea salt
- Juice of 1 lemon
- 2 handfuls fresh basil leaves
- 1 tablespoon nutritional yeast
- ½ teaspoon minced garlic
- ¼ teaspoon ground black pepper
- 2 tablespoons water
Panini
- 2 slices bread of choice rosemary sourdough recommended
- 1 tablespoon ghee or butter
- 3 tablespoons pesto homemade or store-bought
- Calabrian peppers optional, for heat
- ½ avocado thinly sliced
- 1 jar marinated roasted sweet red peppers
- 2 –4 slices cheese goat cheese recommended
- 4 artichoke hearts quartered
- 6 slices organic deli chicken
- 1 cup fresh arugula
- Fresh cracked pepper to taste
- Sea salt to taste
Instructions
Step 1: Make the Homemade Basil Pesto
- In a food processor, combine olive oil, nuts, sea salt, lemon juice, basil leaves, nutritional yeast, minced garlic, black pepper, and water. Pulse until the mixture is smooth and creamy. Taste and adjust seasoning if needed. Transfer to an airtight container and refrigerate for up to a week, or freeze in ice cube trays for up to 3 months.
Step 2: Prepare the Bread and Spread
- Spread ghee on the outer sides of both slices of bread—this will ensure a golden, crispy crust once grilled. On the inside of one slice, spread the basil pesto generously. On the other slice, spread Calabrian peppers for a spicy, tangy kick. If you prefer a milder flavor, you can skip the peppers or replace them with sun-dried tomatoes.
Step 3: Layer the Fillings
- Start building your panini by layering avocado slices over the pesto side. Add roasted red peppers, followed by slices of deli chicken. Sprinkle with freshly cracked pepper and a pinch of sea salt. Lay the cheese slices over the chicken, then add the fresh arugula. Finally, tuck in the quartered artichoke hearts for an earthy, tangy bite.
Step 4: Grill the Panini
- Preheat your panini press or grill pan over medium heat. Place the assembled sandwich onto the heated surface, ghee-side down. Close the press and cook for about 4–5 minutes, or until the bread is golden brown and the cheese has fully melted. If you’re using a grill pan, press down with a spatula and flip halfway through cooking to ensure even browning.
Step 5: Serve and Enjoy
- Once cooked, remove the panini from the press and let it rest for a minute before slicing. This allows the cheese to set slightly, preventing all the fillings from sliding out when cut. Slice in half and serve warm, preferably with a side salad, chips, or a cup of tomato soup for a comforting meal.








Leave a Reply