


If you’re looking for a simple yet crowd-pleasing dessert, these Mini Cherry Pies deliver all the homemade charm of a classic cherry pie in a fun, bite-sized form. Perfect for potlucks, parties, picnics, or even holiday gatherings, these mini pies are as delightful to look at as they are to eat.
Thanks to store-bought crust and canned cherry pie filling, this recipe comes together quickly—no rolling pins or fancy techniques required (though you can absolutely use homemade crust if you’d like to go the extra mile).
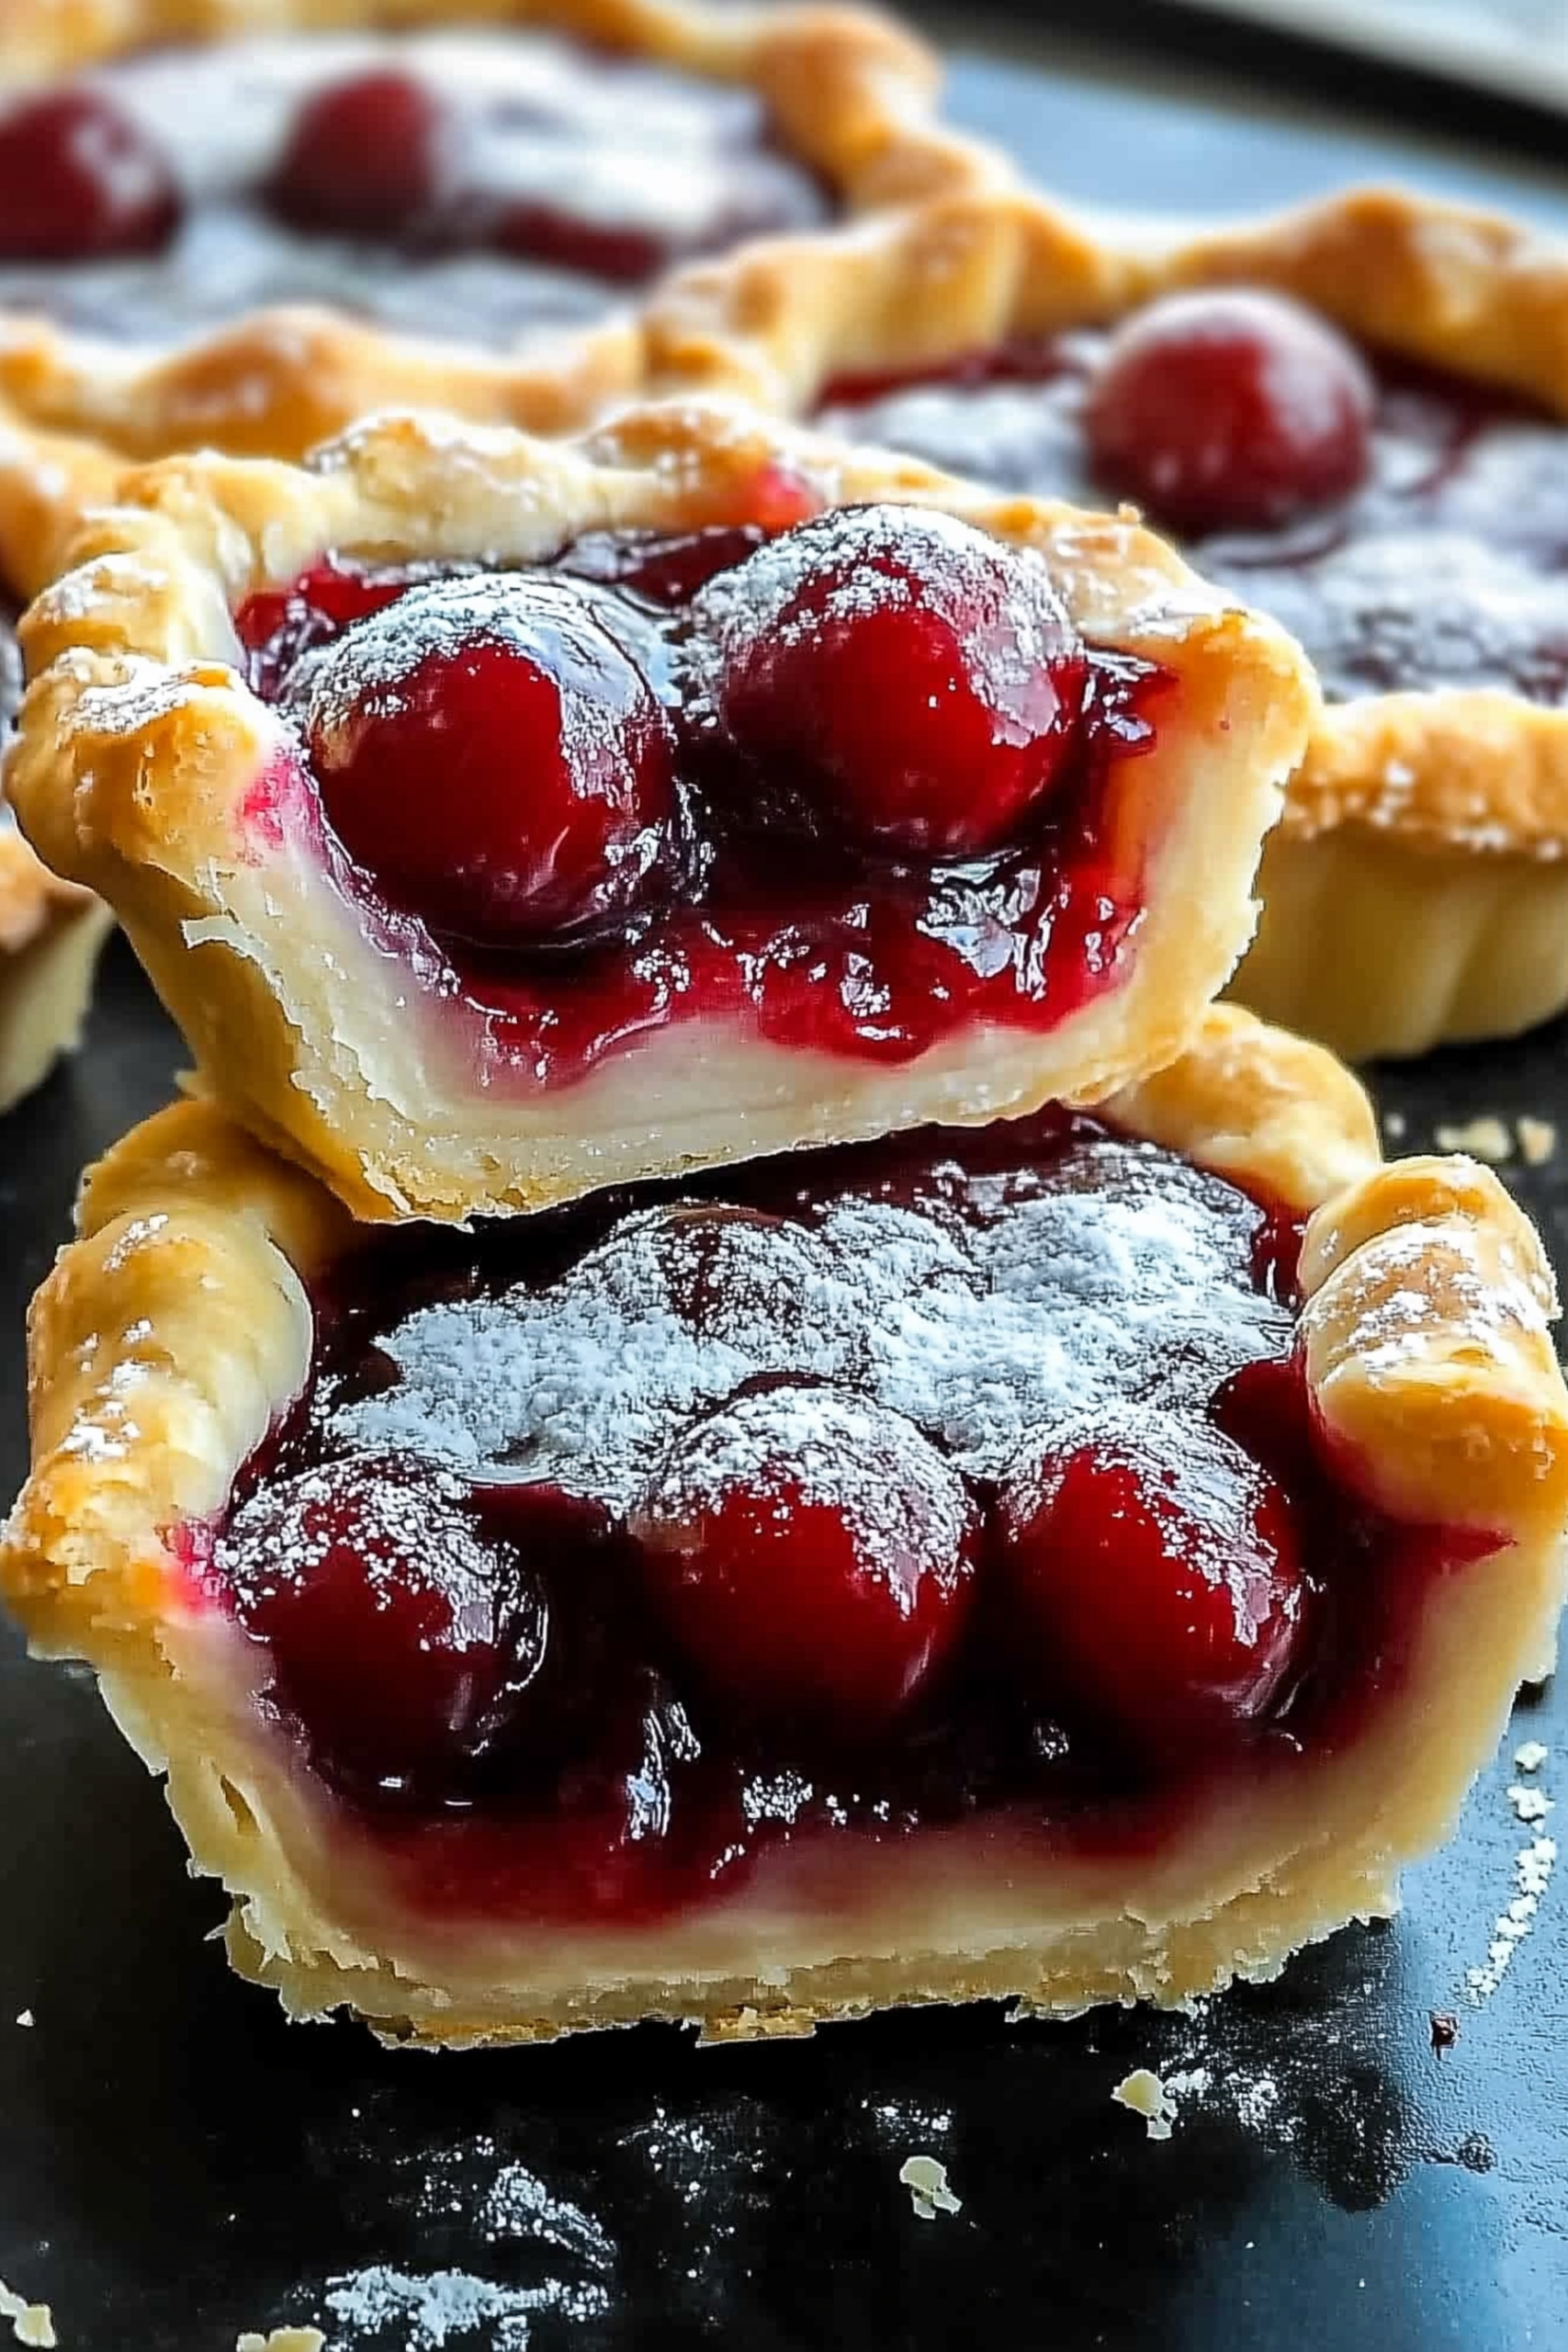
These individual pies boast flaky, golden crusts, a vibrant, juicy cherry filling, and a sparkling sugar finish for that bakery-quality look.
Why You’ll Love These Mini Cherry Pies
- Portable & shareable: Great for gatherings, lunchboxes, or bake sales
- No slicing needed: Already portioned and ready to enjoy
- Time-saving: Uses store-bought crust and filling
- Customizable: Add a lattice or leave them open-faced
- All-seasons friendly: Cherries feel summery, but these pies work beautifully on winter holiday dessert tables too
Ingredients (Serves 8)
For the Crust:
- 1 package (2 9-inch) store-bought pie crust
(homemade dough works, too, if you prefer)
For the Filling:
- 2 cups canned cherry pie filling
For the Topping:
- 1 egg white, slightly beaten
- Sugar for sprinkling
Step-by-Step Instructions
Step 1: Preheat & Prepare the Muffin Tin
Preheat your oven to 350°F (175°C).
Lightly grease an 8-cup muffin tin to help the mini pies release easily after baking.
Step 2: Cut the Pie Crust
Unroll one of the pie crusts on a clean surface. Using a round cookie cutter or the rim of a glass (about 3 ½ to 4 inches in diameter), cut out circles of dough. Repeat with the second crust if needed to get 8 circles.
Step 3: Shape the Mini Crusts
Gently press each dough circle into a muffin cup, pushing it down to fit the bottom and up the sides, forming a mini pie shell.
Step 4: Add the Cherry Filling
Spoon cherry pie filling into each mini crust, filling about two-thirds full to leave room for bubbling.
Step 5: Optional Lattice Tops
If you’d like to add a lattice top (totally optional but extra cute):
- Roll out leftover dough
- Cut into thin strips, about ¼ inch wide
- Weave into a lattice pattern
- Place the lattice on top of the pies and gently press to seal the edges
- Trim away any excess dough
Step 6: Brush and Sprinkle
Brush each mini pie (or lattice top) lightly with the beaten egg white.
Sprinkle a pinch of sugar on top for a sparkling finish and sweet crunch.
Step 7: Bake
Place the muffin tin in your preheated oven and bake for 25–30 minutes, or until the crust is lightly golden and the filling is bubbly.
Step 8: Cool and Remove
Let the pies cool in the muffin tin for at least 15–20 minutes to help them firm up.
Use a small knife to loosen the edges, then gently lift each pie out of the muffin tin.
Tips for Success
- Use cold crust: Cold dough is easier to handle and holds its shape better while baking.
- Don’t overfill: Too much filling can bubble over and stick.
- Cooling is key: Allowing the pies to cool completely before removing helps the filling set.
- Lattice top tip: If you find weaving strips tricky, simply lay strips in one direction for a rustic look.
Serving Ideas
These mini cherry pies taste wonderful on their own, but you can also serve them with:
- A scoop of vanilla ice cream
- A drizzle of chocolate sauce
- Fresh whipped cream
- Dusting of powdered sugar
Variations
- Mini blueberry pies: Use blueberry filling instead of cherry
- Apple pie version: Swap for apple pie filling and add a sprinkle of cinnamon
- Chocolate cherry twist: Stir a handful of chocolate chips into the cherry filling
- Homemade filling: Simmer fresh or frozen cherries with sugar and cornstarch for a made-from-scratch flavor
Why Mini Pies Are So Popular
Mini pies have become a favorite for home bakers because they’re practical, easy to serve, and adorable. You get all the flavor of a traditional pie in a smaller, more convenient package. No forks or plates required!
Whether you’re prepping for a summer picnic or a winter holiday spread, these Mini Cherry Pies will add a festive and colorful touch.
Storage & Make-Ahead
- Store cooled pies in an airtight container at room temperature for 1–2 days, or refrigerate for up to 4 days.
- Warm in a 300°F oven for a few minutes before serving if desired.
- These pies do not freeze well after baking, but you can freeze the unbaked dough rounds for up to 2 months.
Final Thoughts
There’s no denying the charm of these Mini Cherry Pies. With their flaky crusts, sweet cherry filling, and bakery-style sparkle, they’ll disappear from the dessert table in no time. They’re easy, delicious, and guaranteed to bring smiles, no matter the season.
Next time you’re craving a nostalgic treat that’s as fun to make as it is to eat, give these mini pies a try.
The Goods

Mini Cherry Pies
We appreciate you taking the time to rate!
Recipes
For the Crust:
- 1 package 2 9-inch store-bought pie crust
- homemade dough works, too, if you prefer
For the Filling:
- 2 cups canned cherry pie filling
For the Topping:
- 1 egg white slightly beaten
- Sugar for sprinkling
Instructions
Step 1: Preheat & Prepare the Muffin Tin
- Preheat your oven to 350°F (175°C).
- Lightly grease an 8-cup muffin tin to help the mini pies release easily after baking.
Step 2: Cut the Pie Crust
- Unroll one of the pie crusts on a clean surface. Using a round cookie cutter or the rim of a glass (about 3 ½ to 4 inches in diameter), cut out circles of dough. Repeat with the second crust if needed to get 8 circles.
Step 3: Shape the Mini Crusts
- Gently press each dough circle into a muffin cup, pushing it down to fit the bottom and up the sides, forming a mini pie shell.
Step 4: Add the Cherry Filling
- Spoon cherry pie filling into each mini crust, filling about two-thirds full to leave room for bubbling.
Step 5: Optional Lattice Tops
If you’d like to add a lattice top (totally optional but extra cute):
- Roll out leftover dough
- Cut into thin strips, about ¼ inch wide
- Weave into a lattice pattern
- Place the lattice on top of the pies and gently press to seal the edges
- Trim away any excess dough
Step 6: Brush and Sprinkle
- Brush each mini pie (or lattice top) lightly with the beaten egg white.
- Sprinkle a pinch of sugar on top for a sparkling finish and sweet crunch.
Step 7: Bake
- Place the muffin tin in your preheated oven and bake for 25–30 minutes, or until the crust is lightly golden and the filling is bubbly.
Step 8: Cool and Remove
- Let the pies cool in the muffin tin for at least 15–20 minutes to help them firm up.
- Use a small knife to loosen the edges, then gently lift each pie out of the muffin tin.


Leave a Reply