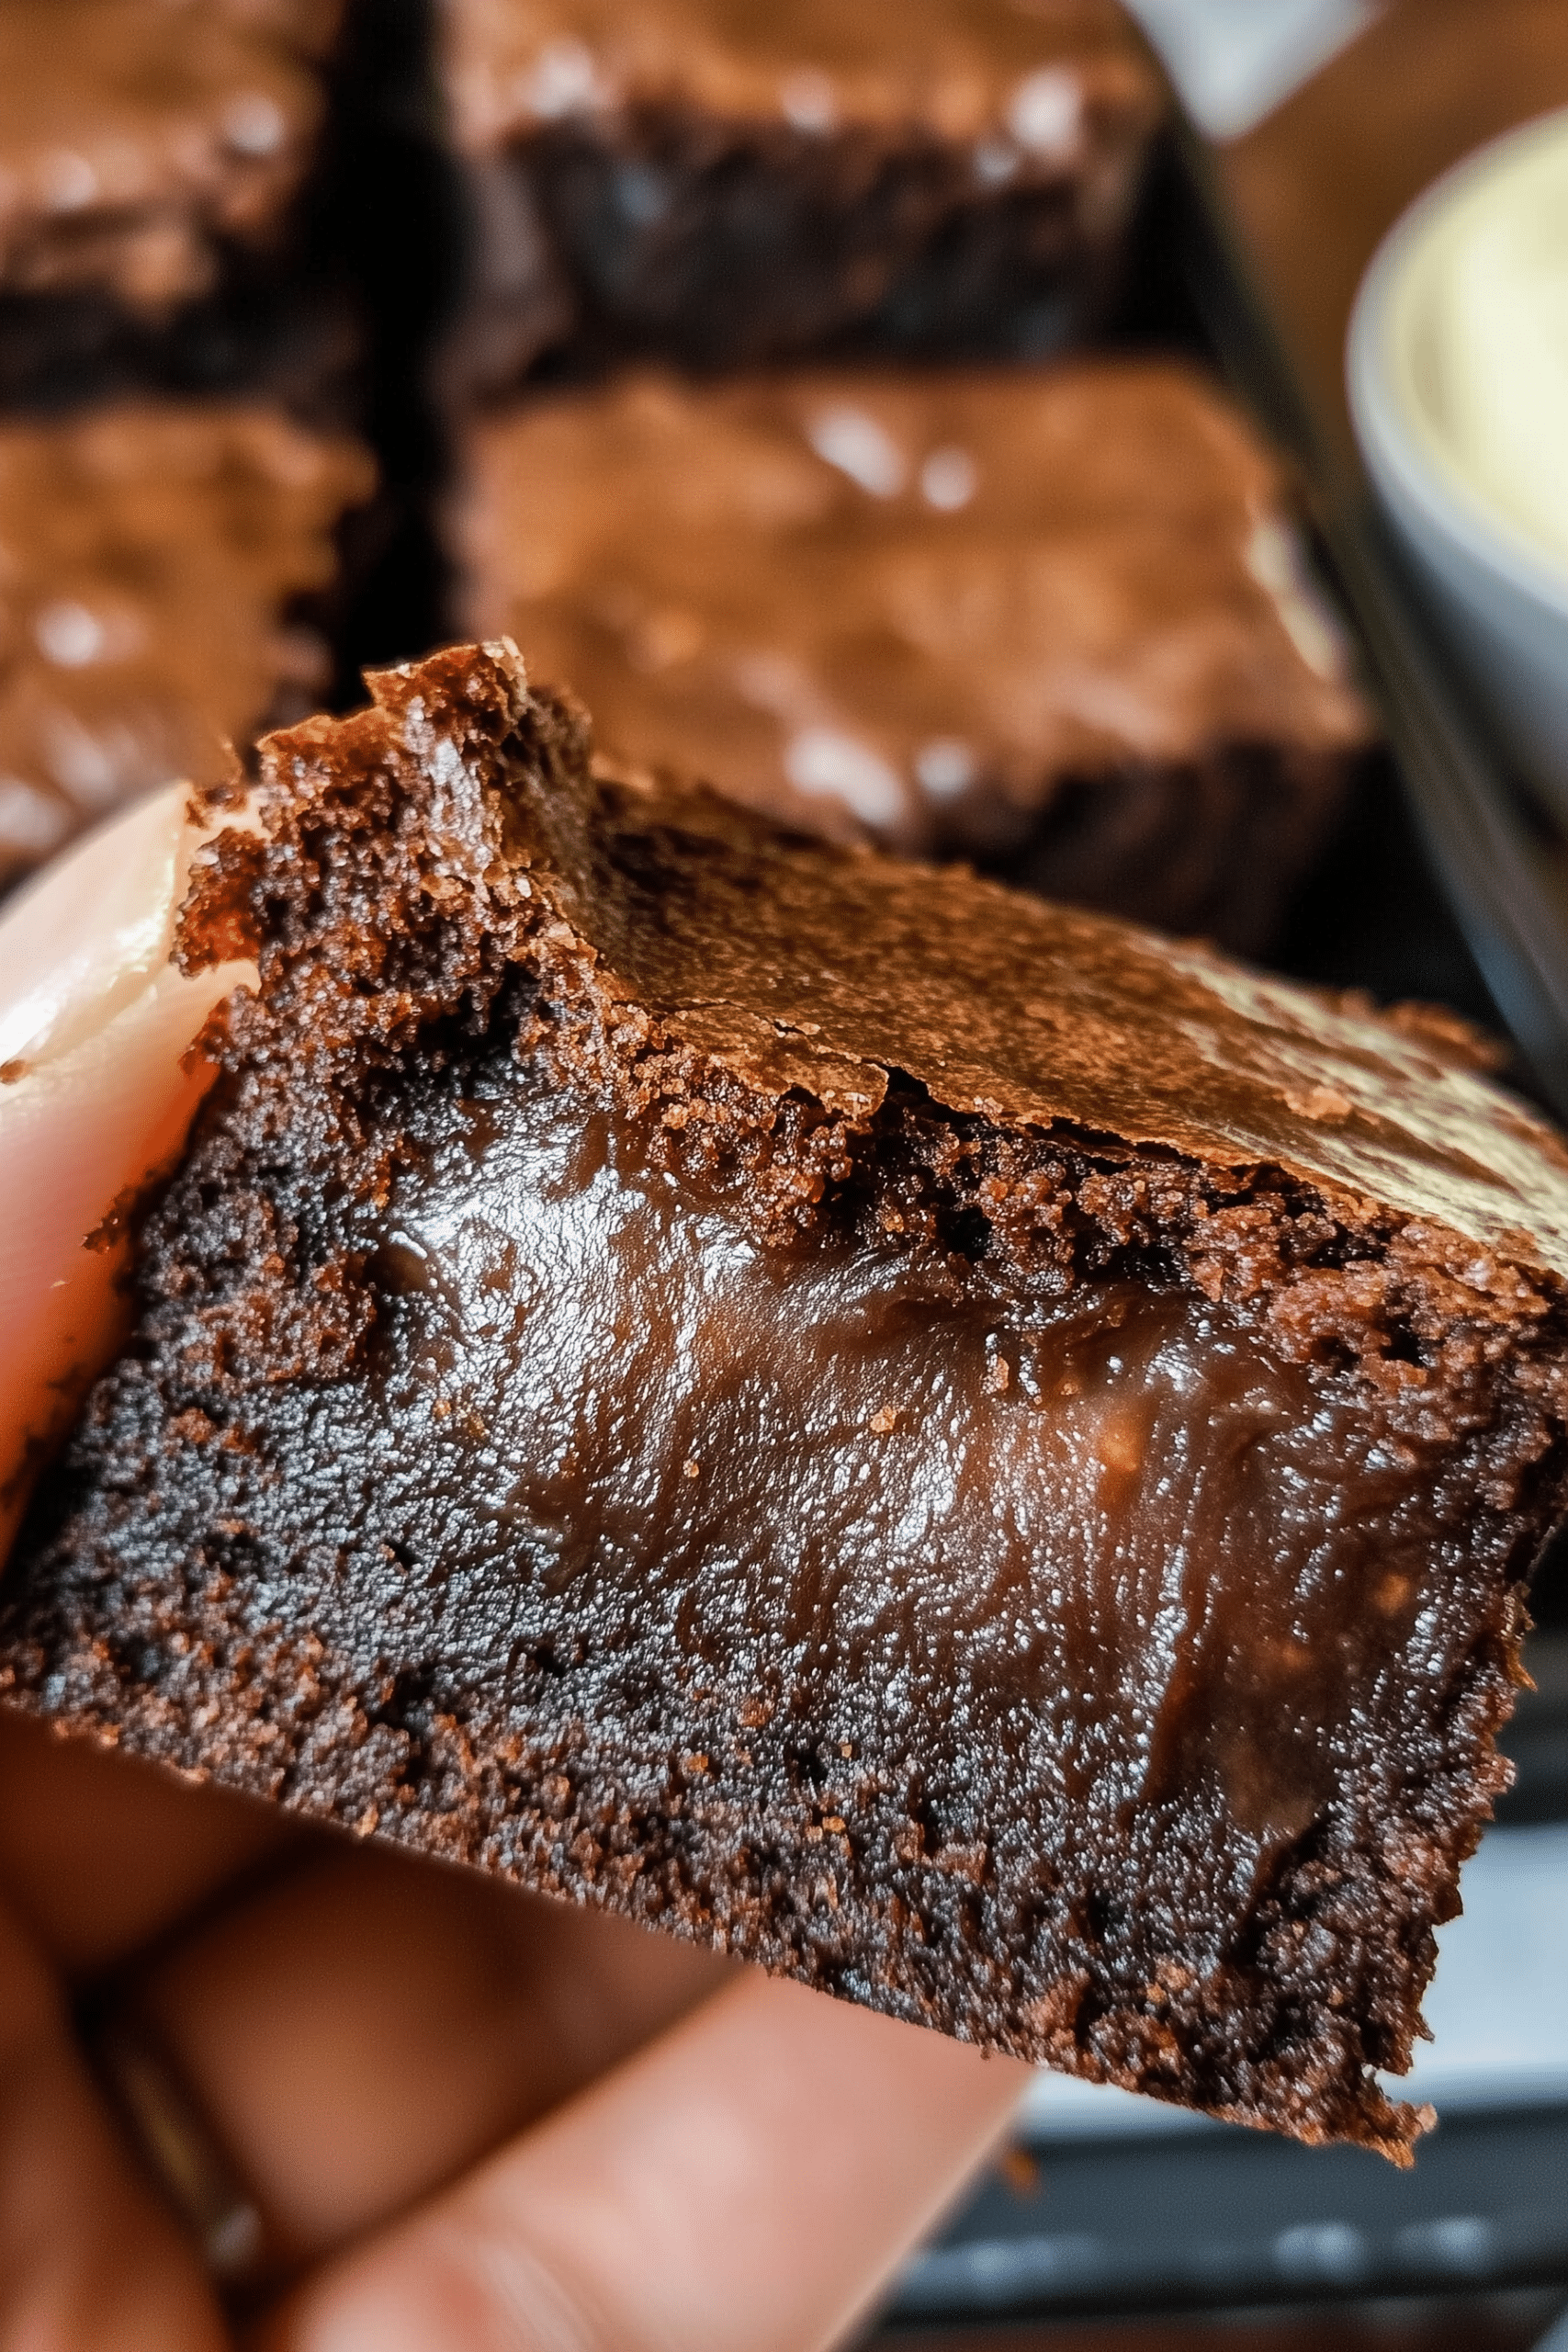
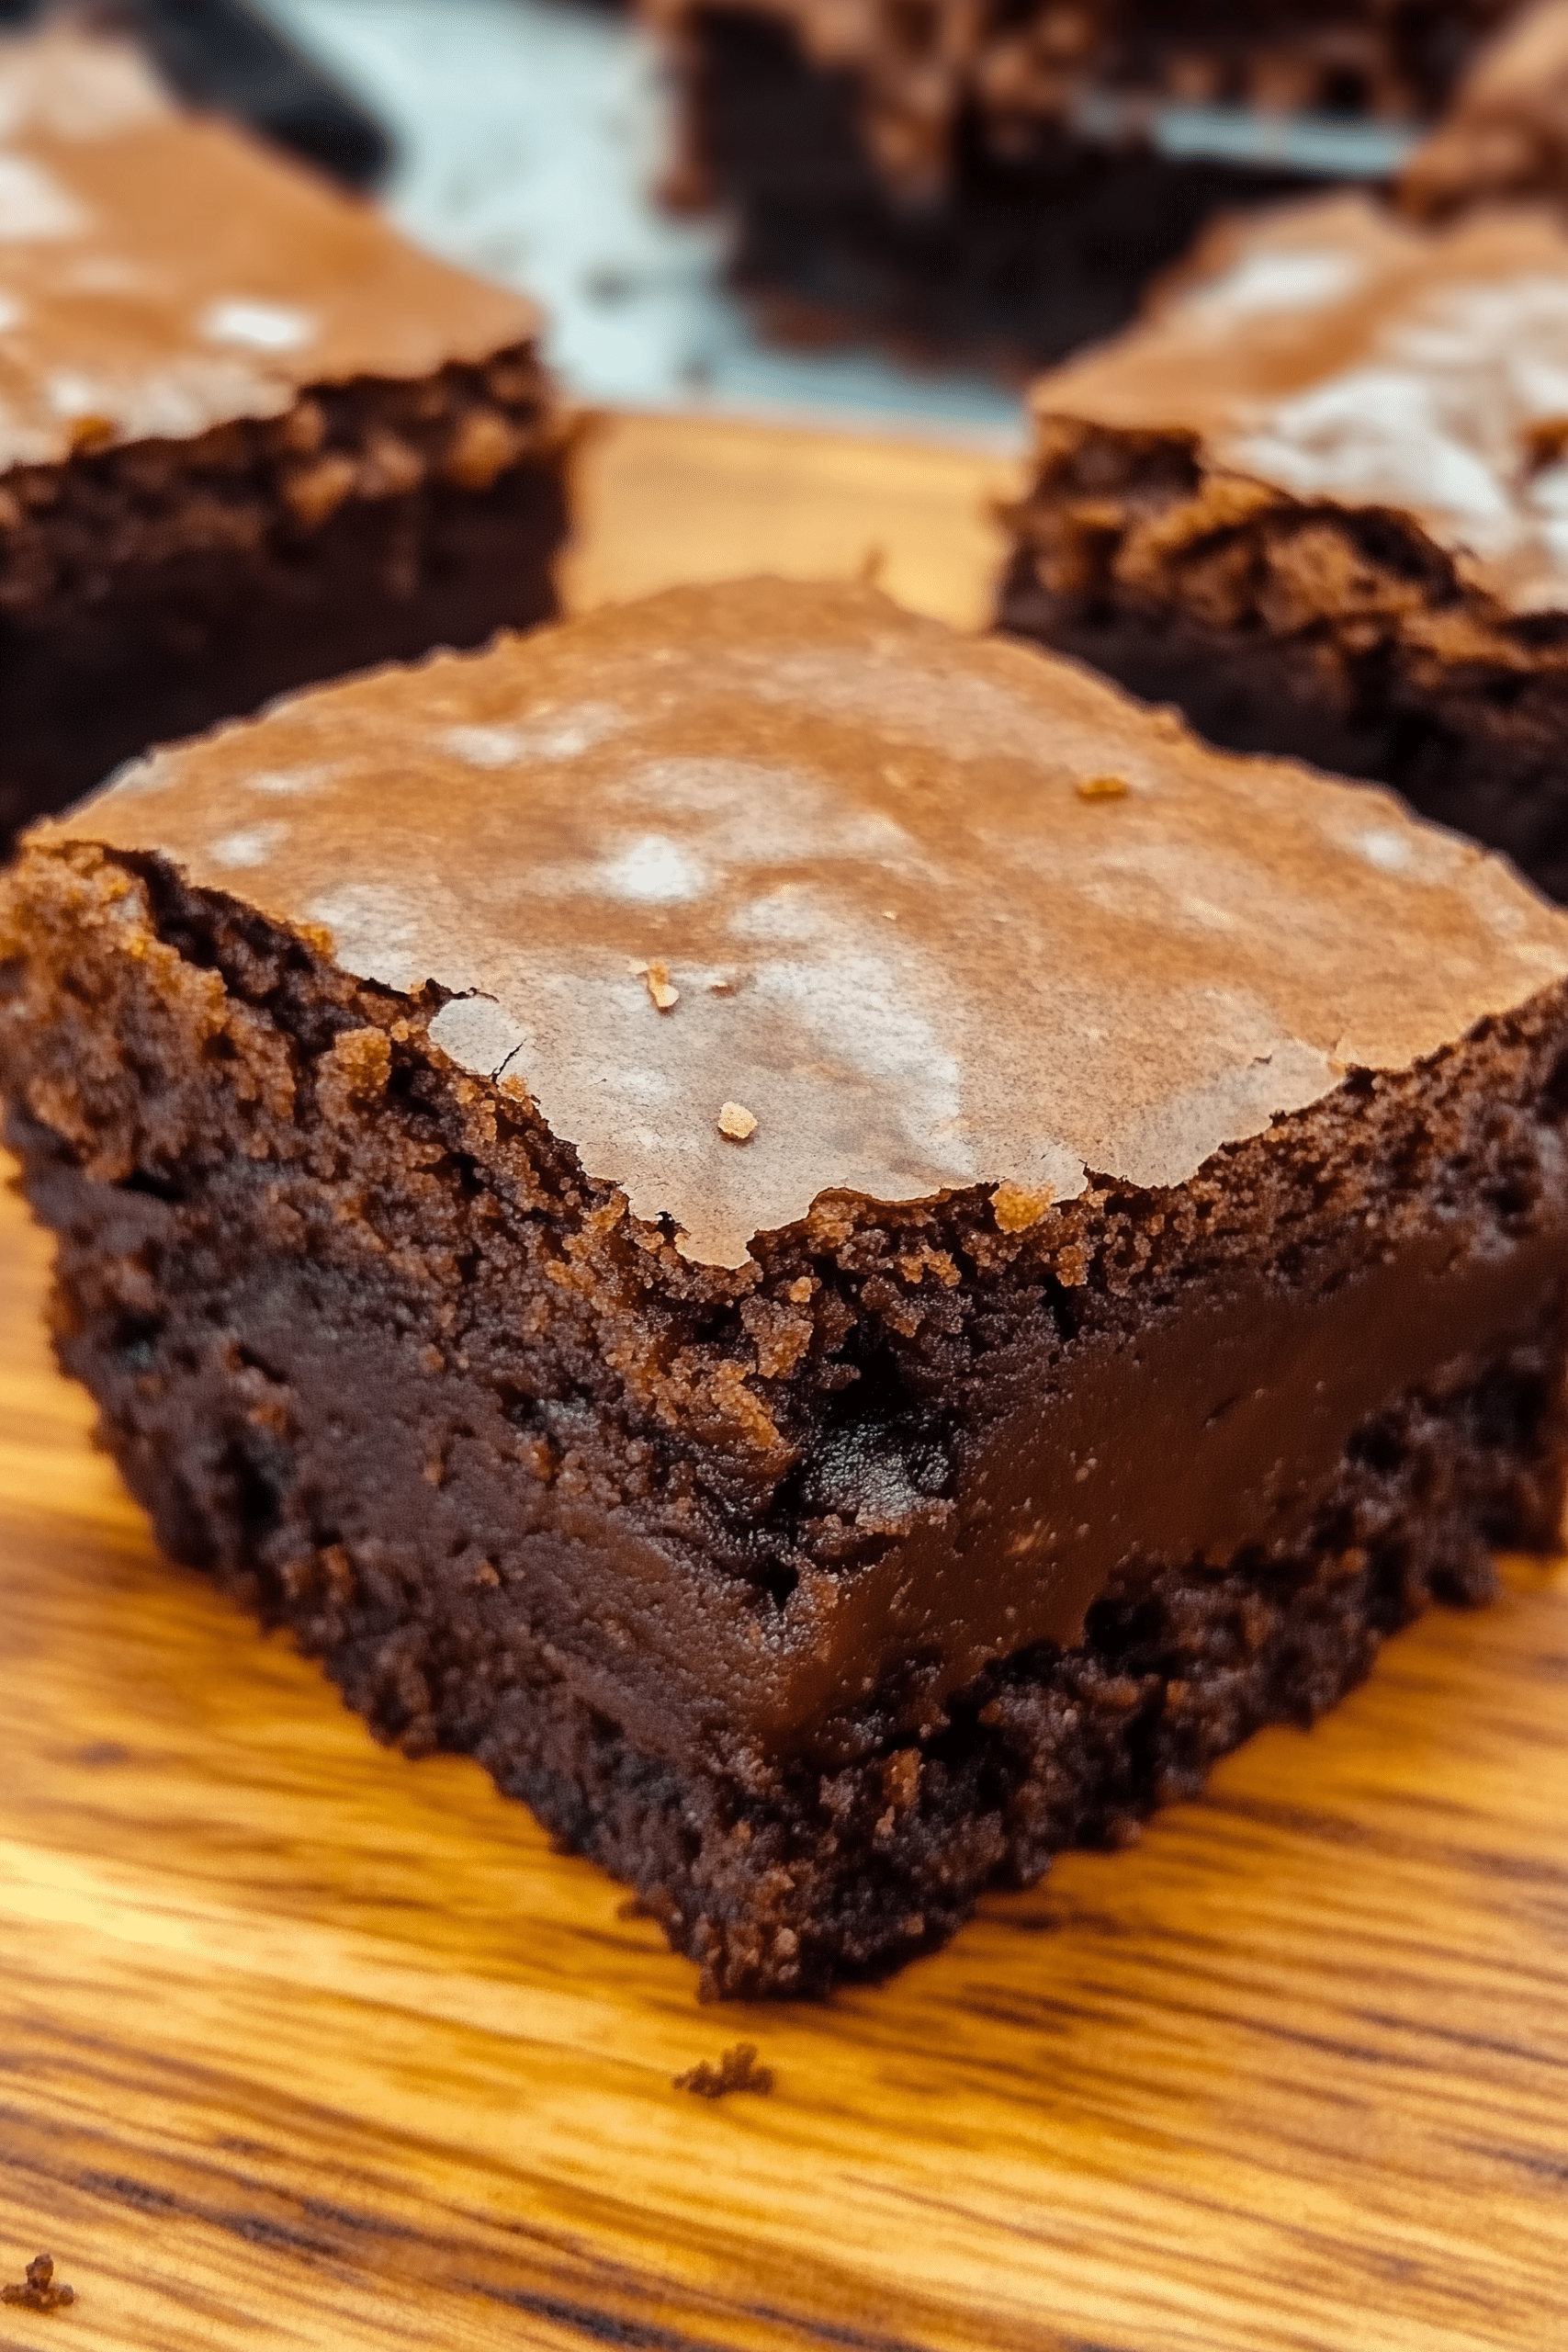
Take your dessert game to a whole new level with these Mochi Brownies—a Hawaiian-inspired treat that fuses the rich, fudgy flavor of traditional brownies with the signature chew of mochi. With a smooth chocolate batter made from glutinous rice flour, these brownies are naturally gluten-free and totally addictive.
I first tasted mochi brownies on a visit to a tiny Honolulu bakery. That bite—soft, gooey, chocolatey, with just a touch of crispness on the edges—was unforgettable. This recipe recreates that joy right at home, and once you try it, there’s no going back to regular brownies.
Why You’ll Love These Mochi Brownies
- Chewy meets fudgy – The best of both brownie and mochi worlds
- Naturally gluten-free – Thanks to glutinous rice flour
- Rich chocolate flavor – Deep, dark, and satisfying
- Perfect texture – Slightly crisp on the outside, soft and chewy inside
Ingredients
- ¼ cup cocoa powder
- ½ cup dark chocolate
- 5 tbsp unsalted butter
- ½ tsp vanilla extract
- 2 eggs, room temperature
- 1½ cups whole milk
- 1½ cups glutinous rice flour
- ⅛ tsp salt
- ¾ cup sugar
- 1 tsp baking powder
- Chocolate chunks (for topping, to taste)
Equipment
- 8×8 inch (20×20 cm) baking pan
- Mixing bowls
- Whisk and spatula
- Double boiler or microwave-safe bowl
- Sifter or fine mesh strainer
Instructions
1. Preheat & Prep Pan
Preheat oven to 320°F (160–170°C). Line a square 8×8″ baking pan with parchment paper.
2. Melt Chocolate & Butter
In a double boiler or microwave-safe bowl, melt dark chocolate and butter together until smooth. Let cool slightly.
3. Mix Wet Ingredients
In a separate bowl, whisk together the eggs and vanilla extract. Add the milk and stir until blended. Slowly whisk in the melted chocolate mixture.
4. Combine Dry Ingredients
In another bowl, whisk together glutinous rice flour, cocoa powder, baking powder, salt, and sugar.
5. Create the Batter
Pour the wet mixture into the dry mixture. Stir until a smooth batter forms. For an extra silky texture, pour the batter through a fine sieve into the prepared baking pan.
6. Top & Bake
Sprinkle chocolate chunks over the top. Bake for 55–60 minutes, until the top is set and a toothpick inserted in the center comes out clean or with a few moist crumbs.
7. Cool & Slice
Allow the brownies to cool completely in the pan. Transfer to a wire rack before slicing into squares.
Tips and Variations
- For extra chew: Chill the brownies before serving.
- Add-ins: Try chopped nuts, white chocolate, or shredded coconut.
- Make them dairy-free: Use plant-based milk and vegan butter.
- Don’t skip the sifting: It ensures a lump-free, silky texture.
What to Serve With
- A scoop of vanilla ice cream
- Matcha latte or iced coffee
- Fresh berries and whipped cream
- As a snack or after-dinner dessert
Frequently Asked Questions
Can I use regular flour instead of glutinous rice flour?
No—glutinous rice flour is key to achieving that chewy mochi texture. Regular flour will result in a completely different consistency.
Are these brownies very sweet?
They’re perfectly balanced. The dark chocolate and cocoa powder provide richness, while the sugar adds just enough sweetness.
How do I store them?
Store in an airtight container at room temperature for up to 3 days or refrigerate for a firmer, chewier bite.
Final Thoughts
These Mochi Brownies are unlike anything you’ve tried—fudgy, chewy, and packed with deep chocolate flavor. They’re a perfect hybrid treat that satisfies every texture craving, and once you bake a batch, you’ll understand why they’ve become a viral favorite. Whether you’re a mochi fan or a chocolate lover (or both), this dessert is destined to be a new classic.
The Goods

Mochi Brownies
We appreciate you taking the time to rate!
Recipes
- ¼ cup cocoa powder
- ½ cup dark chocolate
- 5 tbsp unsalted butter
- ½ tsp vanilla extract
- 2 eggs room temperature
- 1½ cups whole milk
- 1½ cups glutinous rice flour
- ⅛ tsp salt
- ¾ cup sugar
- 1 tsp baking powder
- Chocolate chunks for topping, to taste
Instructions
Preheat & Prep Pan
- Preheat oven to 320°F (160–170°C). Line a square 8×8″ baking pan with parchment paper.
Melt Chocolate & Butter
- In a double boiler or microwave-safe bowl, melt dark chocolate and butter together until smooth. Let cool slightly.
Mix Wet Ingredients
- In a separate bowl, whisk together the eggs and vanilla extract. Add the milk and stir until blended. Slowly whisk in the melted chocolate mixture.
Combine Dry Ingredients
- In another bowl, whisk together glutinous rice flour, cocoa powder, baking powder, salt, and sugar.
Create the Batter
- Pour the wet mixture into the dry mixture. Stir until a smooth batter forms. For an extra silky texture, pour the batter through a fine sieve into the prepared baking pan.
Top & Bake
- Sprinkle chocolate chunks over the top. Bake for 55–60 minutes, until the top is set and a toothpick inserted in the center comes out clean or with a few moist crumbs.
Cool & Slice
- Allow the brownies to cool completely in the pan. Transfer to a wire rack before slicing into squares.








Leave a Reply