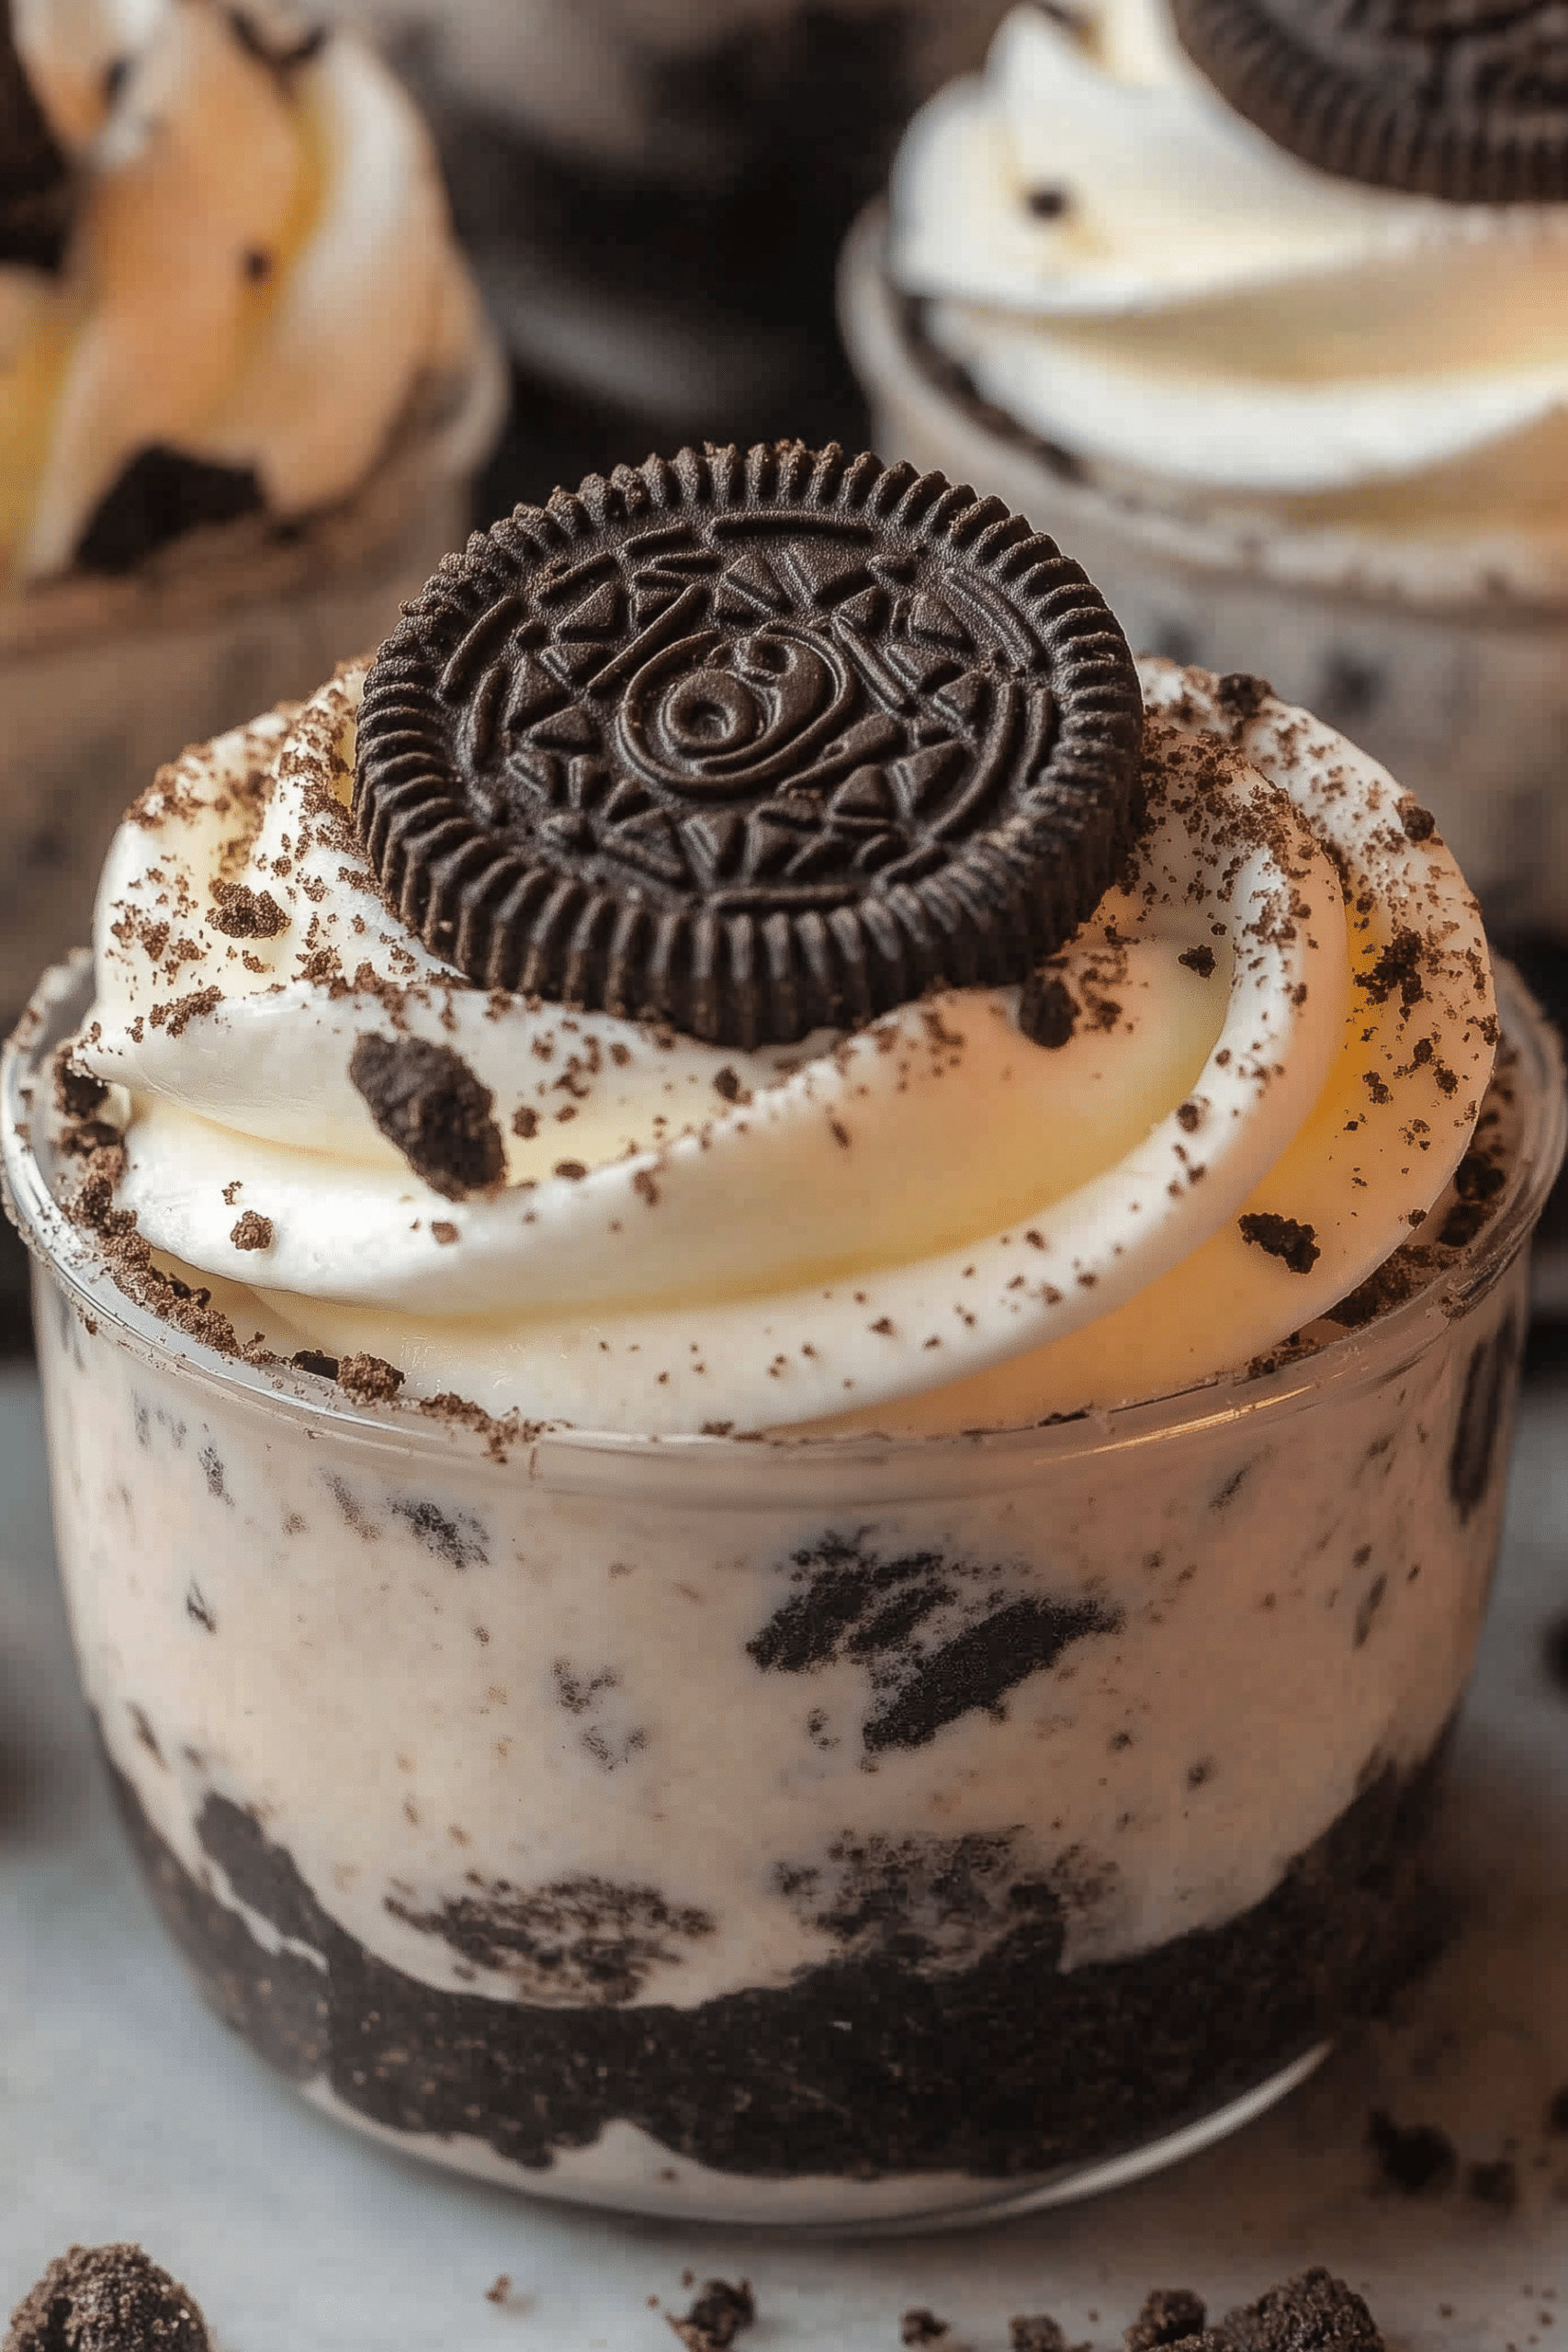
If ever there was a dessert destined to be everyone’s favorite, it’s these Oreo No‑Bake Cheesecake Cups. Silky cheesecake filling folded with crushed Oreos, nestled on a crunchy Oreo base, and topped with more whipped cream and cookie crumbs—it’s comfort in a cup, ready in just 20 minutes. Whether you’re hosting a summer get-together or need a quick sweet fix, this dessert delivers indulgence with minimal effort.
I discovered these cups on a scorching summer afternoon when turning on the oven felt impossible. Whipping out my favorite childhood cookies and cold ingredients, I assembled dessert in minutes. By the time they chilled, not only was I impressed with the ease, but the joy in every creamy bite reminded me what dessert magic is all about. They’ve become my go-to showstopper when I want to serve something people smile about.
Why You’ll Love These Cheesecake Cups
- Super easy to make—just 5 ingredients and no oven
- Classic flavor combo—rich cheesecake meets chocolate Oreo crunch
- Perfect portion control—6 single-serving cups so everyone can have one
- Quick chill time—ready to serve in under an hour
- Crowd-pleaser—fancy enough for guests, simple enough for casual nights
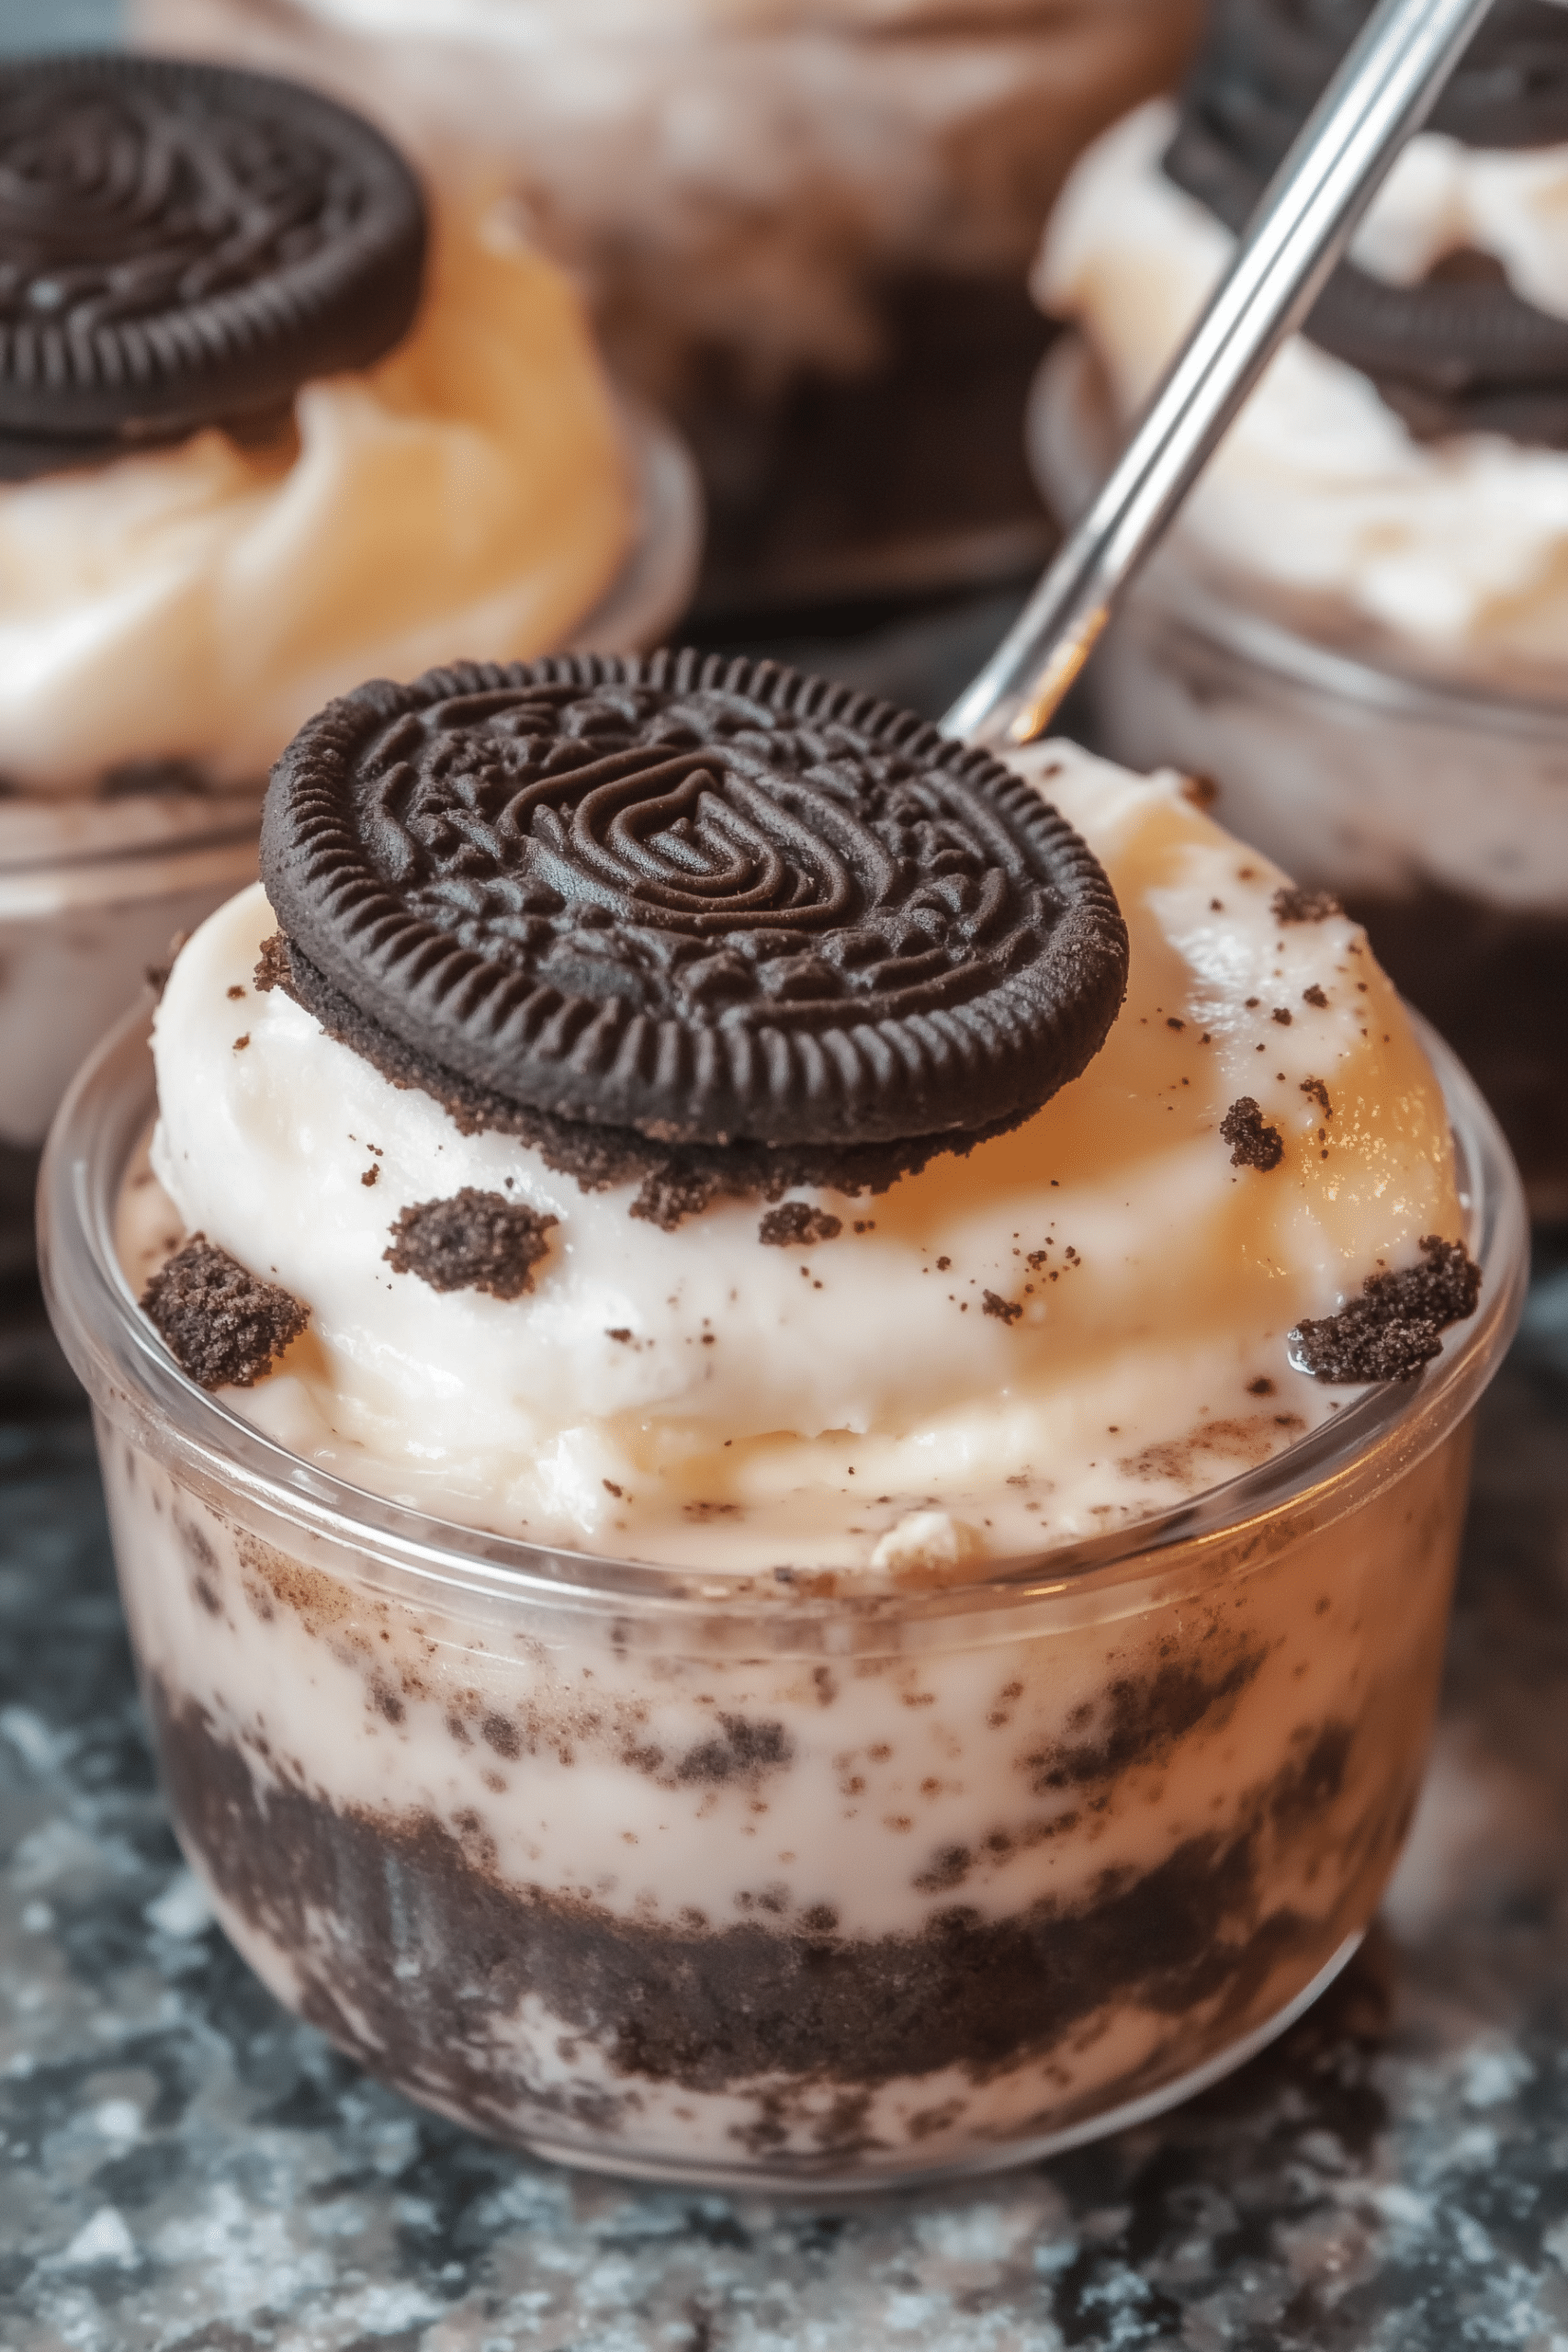
Ingredients (Makes 6 Cups)
- 1 (8 oz) block cream cheese, softened
- 1 (8 oz) Cool Whip or whipped topping
- ⅔ cup powdered sugar
- 1 tsp vanilla extract
- 24–26 Oreo cookies (plus extra crumbs for garnish)
Kitchen Equipment
- Six small dessert cups or ramekins (¾–1 cup size)
- Ziplock bag or freezer bag for crushing Oreos
- Rolling pin or heavy spoon
- Mixing bowl and electric mixer (or hand whisk & strong arm)
- Spatula or spoon
Instructions
1. Crush the Oreos for Crust
Place the Oreos in a sealed plastic bag and crush with a rolling pin or wooden spoon until you get coarse crumbs. Reserve about 1½ to 2 tablespoons per serving for the base, and set aside a heaping tablespoon for garnish.
2. Make the Cheesecake Filling
In a mixing bowl, beat softened cream cheese and powdered sugar until creamy. Add vanilla extract, and then gently fold in Cool Whip until well incorporated but still light.
3. Combine Cookie Crumbs
Fold in the remaining crushed Oreos (about 6–8 cookies worth) into the cheesecake mixture, giving the filling chocolatey speckles and cheesecake crunch.
4. Assemble the Cups
Spoon Oreo crumbs into the bottom of each dessert cup as a crust layer. Divide the cheesecake filling evenly among the cups, smoothing the tops with a spatula.
5. Chill
Refrigerate the cups for at least 30 minutes (or up to an hour) to set and meld flavors.
6. Garnish and Serve
Top each cup with a swirl of whipped cream (if desired) and sprinkle with extra Oreo crumbs or a mini Oreo cookie. Serve chilled and enjoy!
Pro Tips & Variations
- Soften cream cheese thoroughly—cold lumps make lumpy filling.
- Use mini Oreos: crusts become even more delicate and crunchy.
- Flavor twist: add a tablespoon of melted peanut butter or caramel to the filling.
- Portion control: halve the recipe for a small gathering, or double for more guests.
- Gluten-free version: use gluten-free chocolate sandwich cookies instead of Oreos.
Serving Suggestions
- Serve alongside fresh berries for a fruity contrast
- Pair with espresso or cold brew coffee for an indulgent cafe vibe
- Present as dessert jars at potlucks or family dinners
- Ideal after savory meals—light, sweet, and satisfying without heaviness
Frequently Asked Questions
Q: Can I prep this dessert ahead of time?
A: Yes—prepare up to 8 hours ahead. Keep refrigerated and cover tightly.
Q: Can I use homemade whipped cream instead of Cool Whip?
A: Absolutely! Whip ½ cup heavy cream with a spoonful of powdered sugar and vanilla until soft peaks form. Fold gently into cream cheese.
Q: Can I freeze these cheesecake cups?
A: Yes—cover and freeze for up to 2 months. Thaw overnight in the fridge before serving.
Q: Is this dessert kid-friendly?
A: Definitely! It’s sweet, creamy, and fun—check for allergies to wheat or dairy.
Final Thoughts
These Oreo No‑Bake Cheesecake Cups are proof that simple desserts can make a big impact. The crunch of Oreo crumbs, the velvet swirl of cheesecake, and the cold whipped topping combine into something instantly irresistible. Whether you’re feeding kids, hosting guests, or just treating yourself, these cups bring joy without the fuss.
Make them once, and you’ll find yourself turning to them again and again—summer or winter, busy weekday or lazy weekend. They’re proof that the best desserts don’t require hours or complicated ingredients—just smart combos, chilled lovely, and served with a smile.
The Goods

Oreo No-Bake Cheesecake Cups
We appreciate you taking the time to rate!
Recipes
- 1 8 oz block cream cheese, softened
- 1 8 oz Cool Whip or whipped topping
- ⅔ cup powdered sugar
- 1 tsp vanilla extract
- 24 –26 Oreo cookies plus extra crumbs for garnish
Instructions
Crush the Oreos for Crust
- Place the Oreos in a sealed plastic bag and crush with a rolling pin or wooden spoon until you get coarse crumbs. Reserve about 1½ to 2 tablespoons per serving for the base, and set aside a heaping tablespoon for garnish.
Make the Cheesecake Filling
- In a mixing bowl, beat softened cream cheese and powdered sugar until creamy. Add vanilla extract, and then gently fold in Cool Whip until well incorporated but still light.
Combine Cookie Crumbs
- Fold in the remaining crushed Oreos (about 6–8 cookies worth) into the cheesecake mixture, giving the filling chocolatey speckles and cheesecake crunch.
Assemble the Cups
- Spoon Oreo crumbs into the bottom of each dessert cup as a crust layer. Divide the cheesecake filling evenly among the cups, smoothing the tops with a spatula.
Chill
- Refrigerate the cups for at least 30 minutes (or up to an hour) to set and meld flavors.
Garnish and Serve
- Top each cup with a swirl of whipped cream (if desired) and sprinkle with extra Oreo crumbs or a mini Oreo cookie. Serve chilled and enjoy!




Leave a Reply