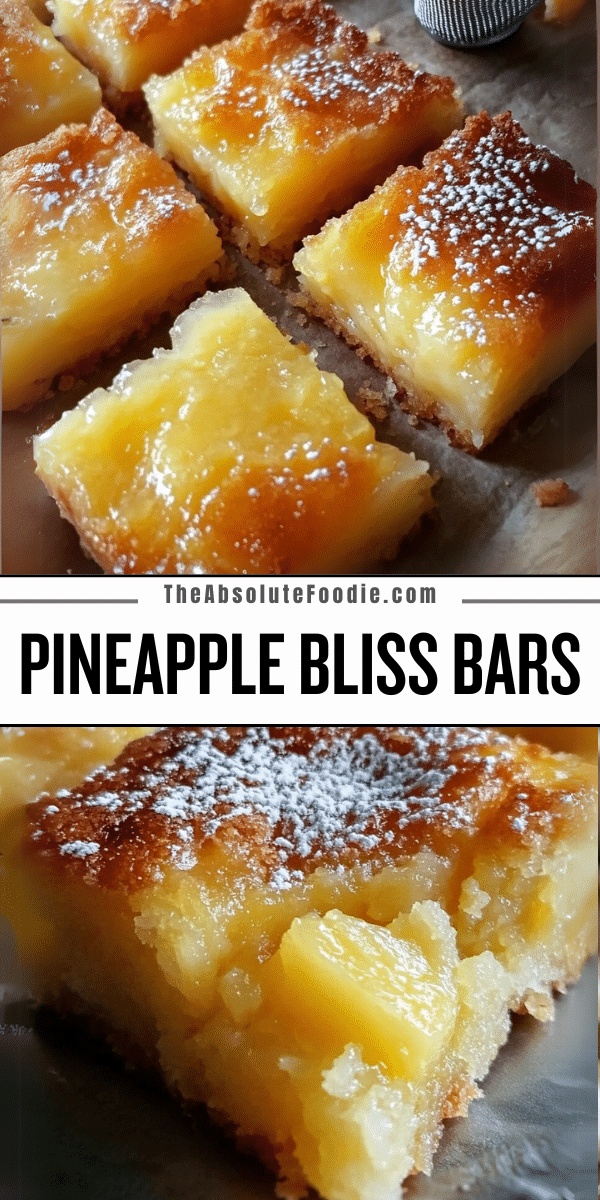
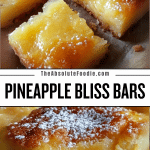
There’s something about tropical desserts that instantly transports you to warm, breezy shores, where the air is sweet with the scent of ripe fruit and salty waves. Pineapple Bliss Bars are one of those treats—light, buttery, and bursting with juicy pineapple flavor. Whether you need a sunny pick-me-up during the winter months or a refreshing dessert to cool down in the summer, these bars strike the perfect balance between rich indulgence and tropical zest.
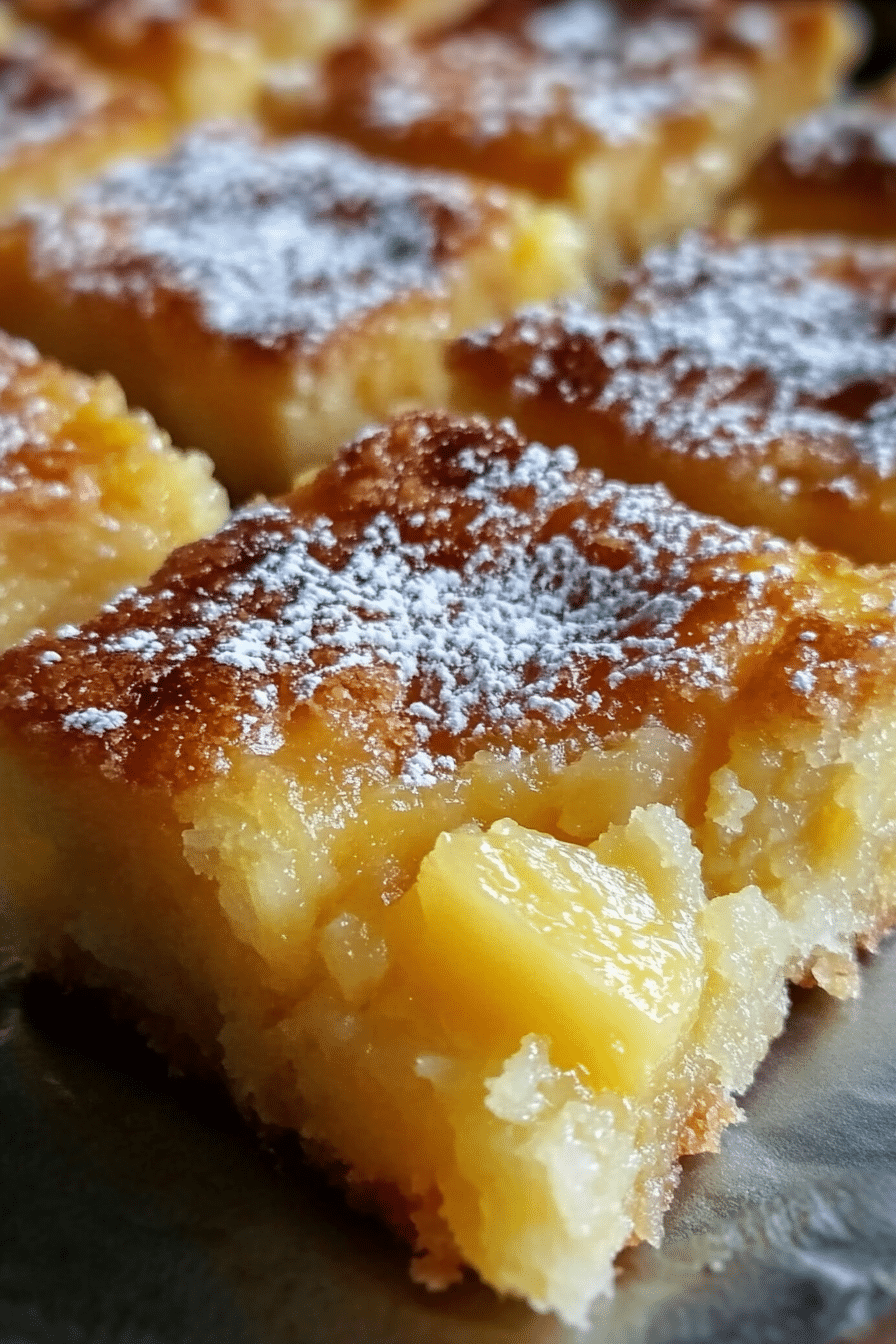
At the heart of these bars is a luscious pineapple filling that nestles into a buttery shortbread crust, creating a dreamy contrast of textures. Every bite delivers the satisfying crunch of golden-baked crust, followed by the vibrant tang of pineapple, delicately sweetened to let its natural brightness shine. And when dusted with a touch of powdered sugar? Absolute bliss.

Why You’ll Love This Recipe
• Fuss-Free Yet Impressive: Simple ingredients, easy prep, and a showstopping result.
• Perfectly Balanced: Buttery, slightly crisp crust meets a smooth, tangy pineapple filling.
• Anytime, Anywhere: Ideal for summer cookouts, winter holidays, or just because you need a little sunshine.
• Customizable: From a coconut infusion to a citrus twist, make it your own!
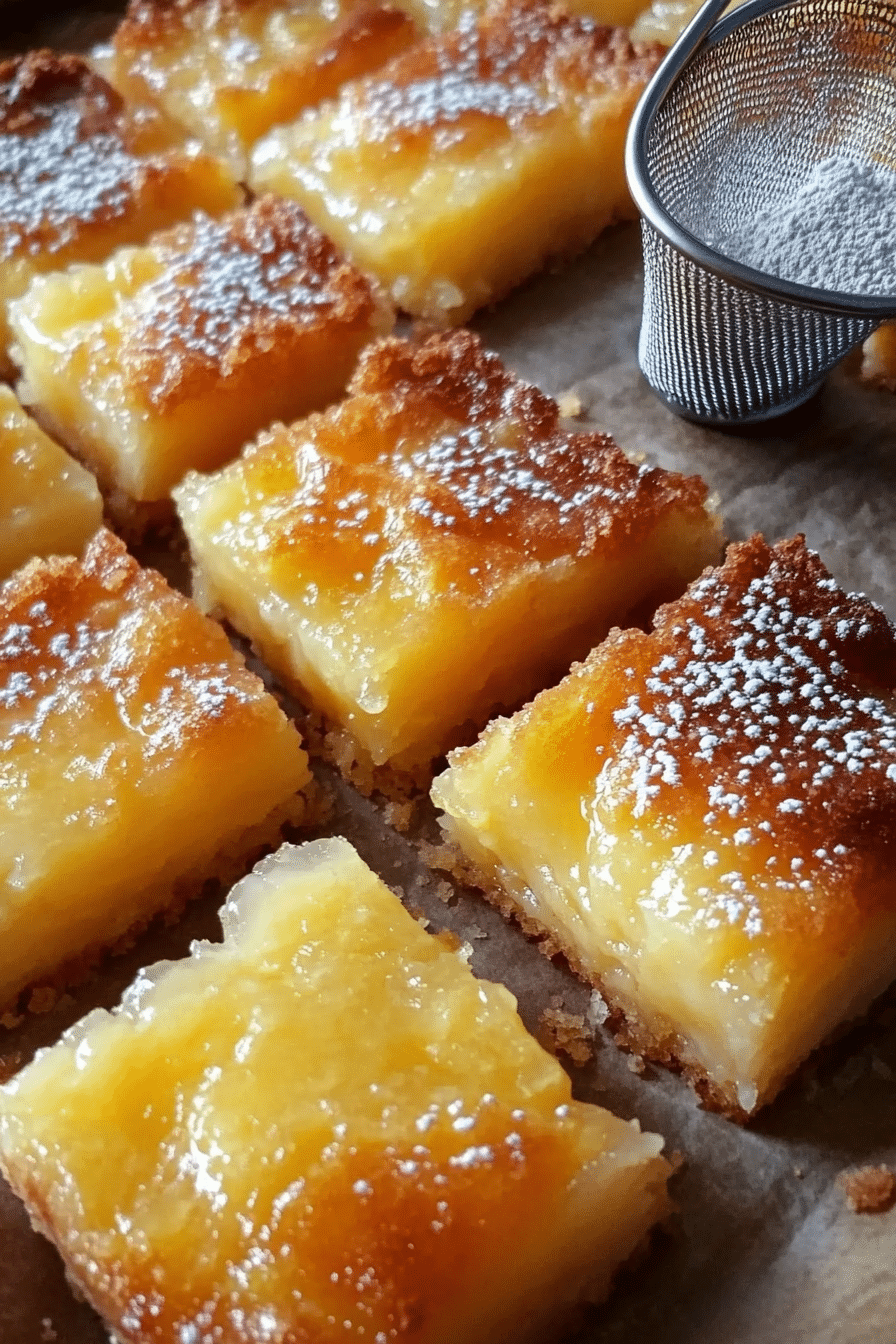
Ingredients needed
• Flour & Butter: The foundation of a melt-in-your-mouth shortbread crust.
• Crushed Pineapple: The star of the show, bringing natural sweetness and tropical vibrancy.
• Eggs & Sugar: Create a light custardy texture that binds the filling beautifully.
• Baking Powder & Vanilla: Just a touch for a balanced, aromatic lift.
• Powdered Sugar: A delicate finishing touch to enhance the visual and flavor appeal.
Step-by-Step Instructions
1. Prepare the Pan: Preheat your oven to 350°F (175°C) and line a 9×13-inch baking dish with parchment paper for easy removal.
2. Make the Shortbread Crust: In a mixing bowl, combine flour, sugar, and salt. Cut in cold butter using a pastry cutter or your hands until it forms a crumbly dough. Press evenly into the baking pan.
3. Pre-Bake the Crust: Bake for 15 minutes until lightly golden. Let it cool slightly before adding the filling.
4. Mix the Filling: In another bowl, whisk eggs and sugar until smooth. Stir in flour, baking powder, and vanilla extract, then fold in the well-drained crushed pineapple.
5. Assemble & Bake: Pour the pineapple mixture over the pre-baked crust and return to the oven. Bake for 25–30 minutes, or until the edges are set and lightly golden.
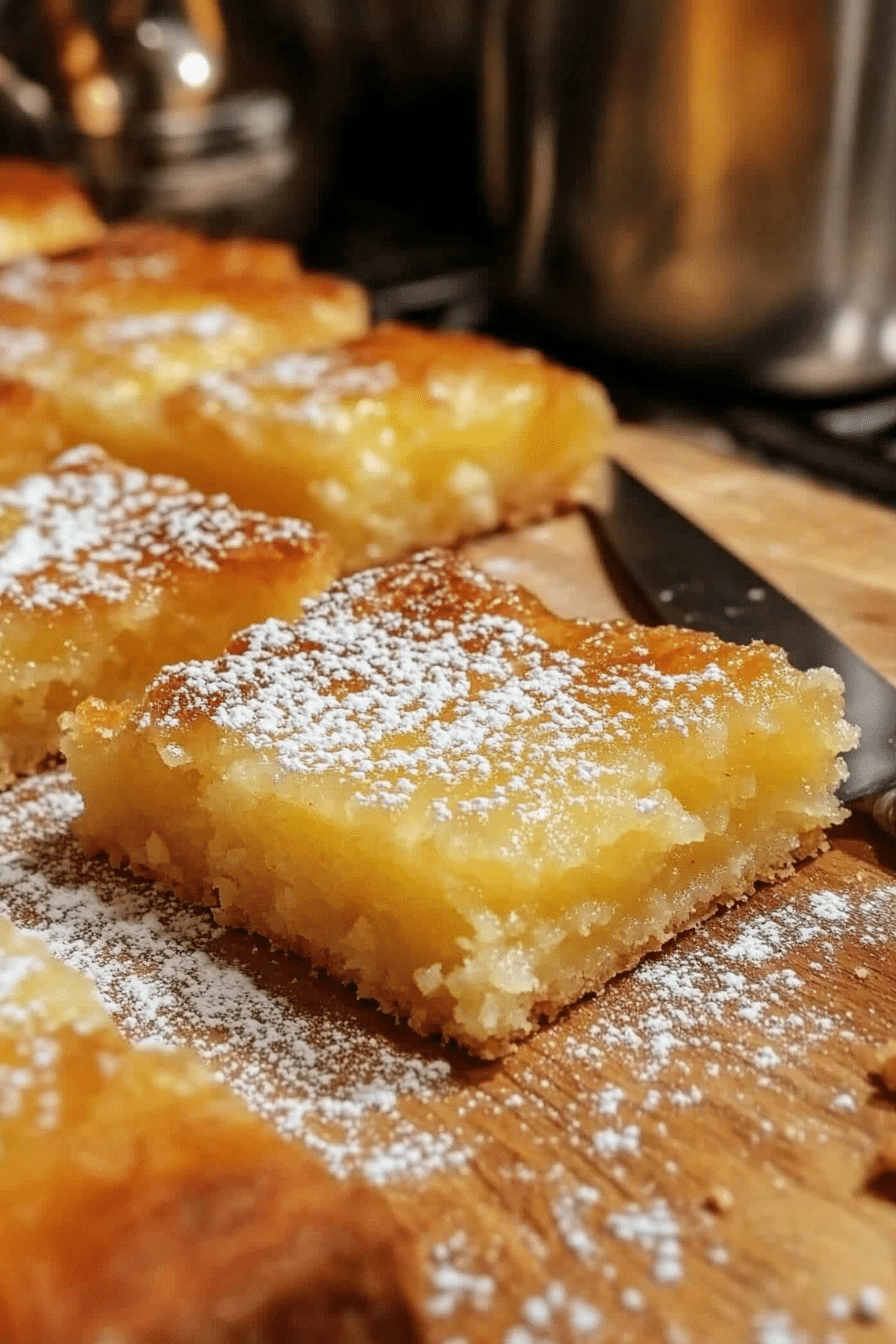
6. Cool & Serve: Allow the bars to cool completely in the pan. Once cooled, dust generously with powdered sugar and slice into squares.
Variations to Try
• Coconut Dream: Add shredded coconut to the filling or sprinkle toasted coconut on top for a richer tropical taste.
• Zesty Citrus Kick: Mix in some fresh lime zest for a tangy contrast that enhances the pineapple’s natural sweetness.
• Gluten-Free Alternative: Swap regular flour for a gluten-free blend to make it celiac-friendly.
How to Store
• Room Temperature: Store in an airtight container for up to 2 days.
• Refrigerator: Keeps fresh for up to a week—just let them come to room temp before serving.
• Freezer-Friendly: Freeze in a single layer, then transfer to a sealed bag for up to 3 months. Thaw overnight in the fridge before enjoying.
Frequently Asked Questions
1. Can I use fresh pineapple instead of canned?
Yes! Just finely chop it and drain thoroughly to remove excess moisture—too much liquid can make the bars soggy.
2. Why did my crust turn out soft instead of crisp?
Pre-baking the crust is key! Also, ensure the pineapple is well-drained to prevent extra moisture from seeping into the crust.
3. Can I make these bars dairy-free?
Absolutely! Use coconut oil or a plant-based butter substitute in the crust for a dairy-free version.
The Goods
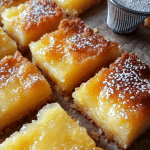
Pineapple Bliss Bars
We appreciate you taking the time to rate!
Recipes
For the Crust:
- 1 ½ cups all-purpose flour
- ½ cup granulated sugar
- ¼ teaspoon salt
- ¾ cup cold unsalted butter cubed
For the Pineapple Filling:
- 1 cup crushed pineapple well-drained
- 2 large eggs
- 1 cup granulated sugar
- ¼ cup all-purpose flour
- ½ teaspoon baking powder
- 1 teaspoon vanilla extract
For Topping:
- Powdered sugar for dusting
Instructions
- Preheat the oven to 350°F (175°C). Line a 9×13-inch baking pan with parchment paper.
Prepare the crust:
- In a mixing bowl, combine flour, sugar, and salt. Cut in the cold butter using a pastry cutter or your fingers until the mixture becomes crumbly. Press the mixture evenly into the prepared pan.
- Bake the crust for 15 minutes, or until lightly golden. Remove from the oven and let it cool slightly.
Make the filling:
- In a separate bowl, whisk together the eggs and sugar until smooth. Add the flour, baking powder, and vanilla extract, stirring until well combined. Gently fold in the drained crushed pineapple.
Assemble & Bake:
- Pour the pineapple filling over the slightly cooled crust, spreading it evenly. Bake for 25-30 minutes, or until the edges are set.
Cool & Serve:
- Let the bars cool completely in the pan. Once cooled, generously dust with powdered sugar before slicing into squares.



Leave a Reply