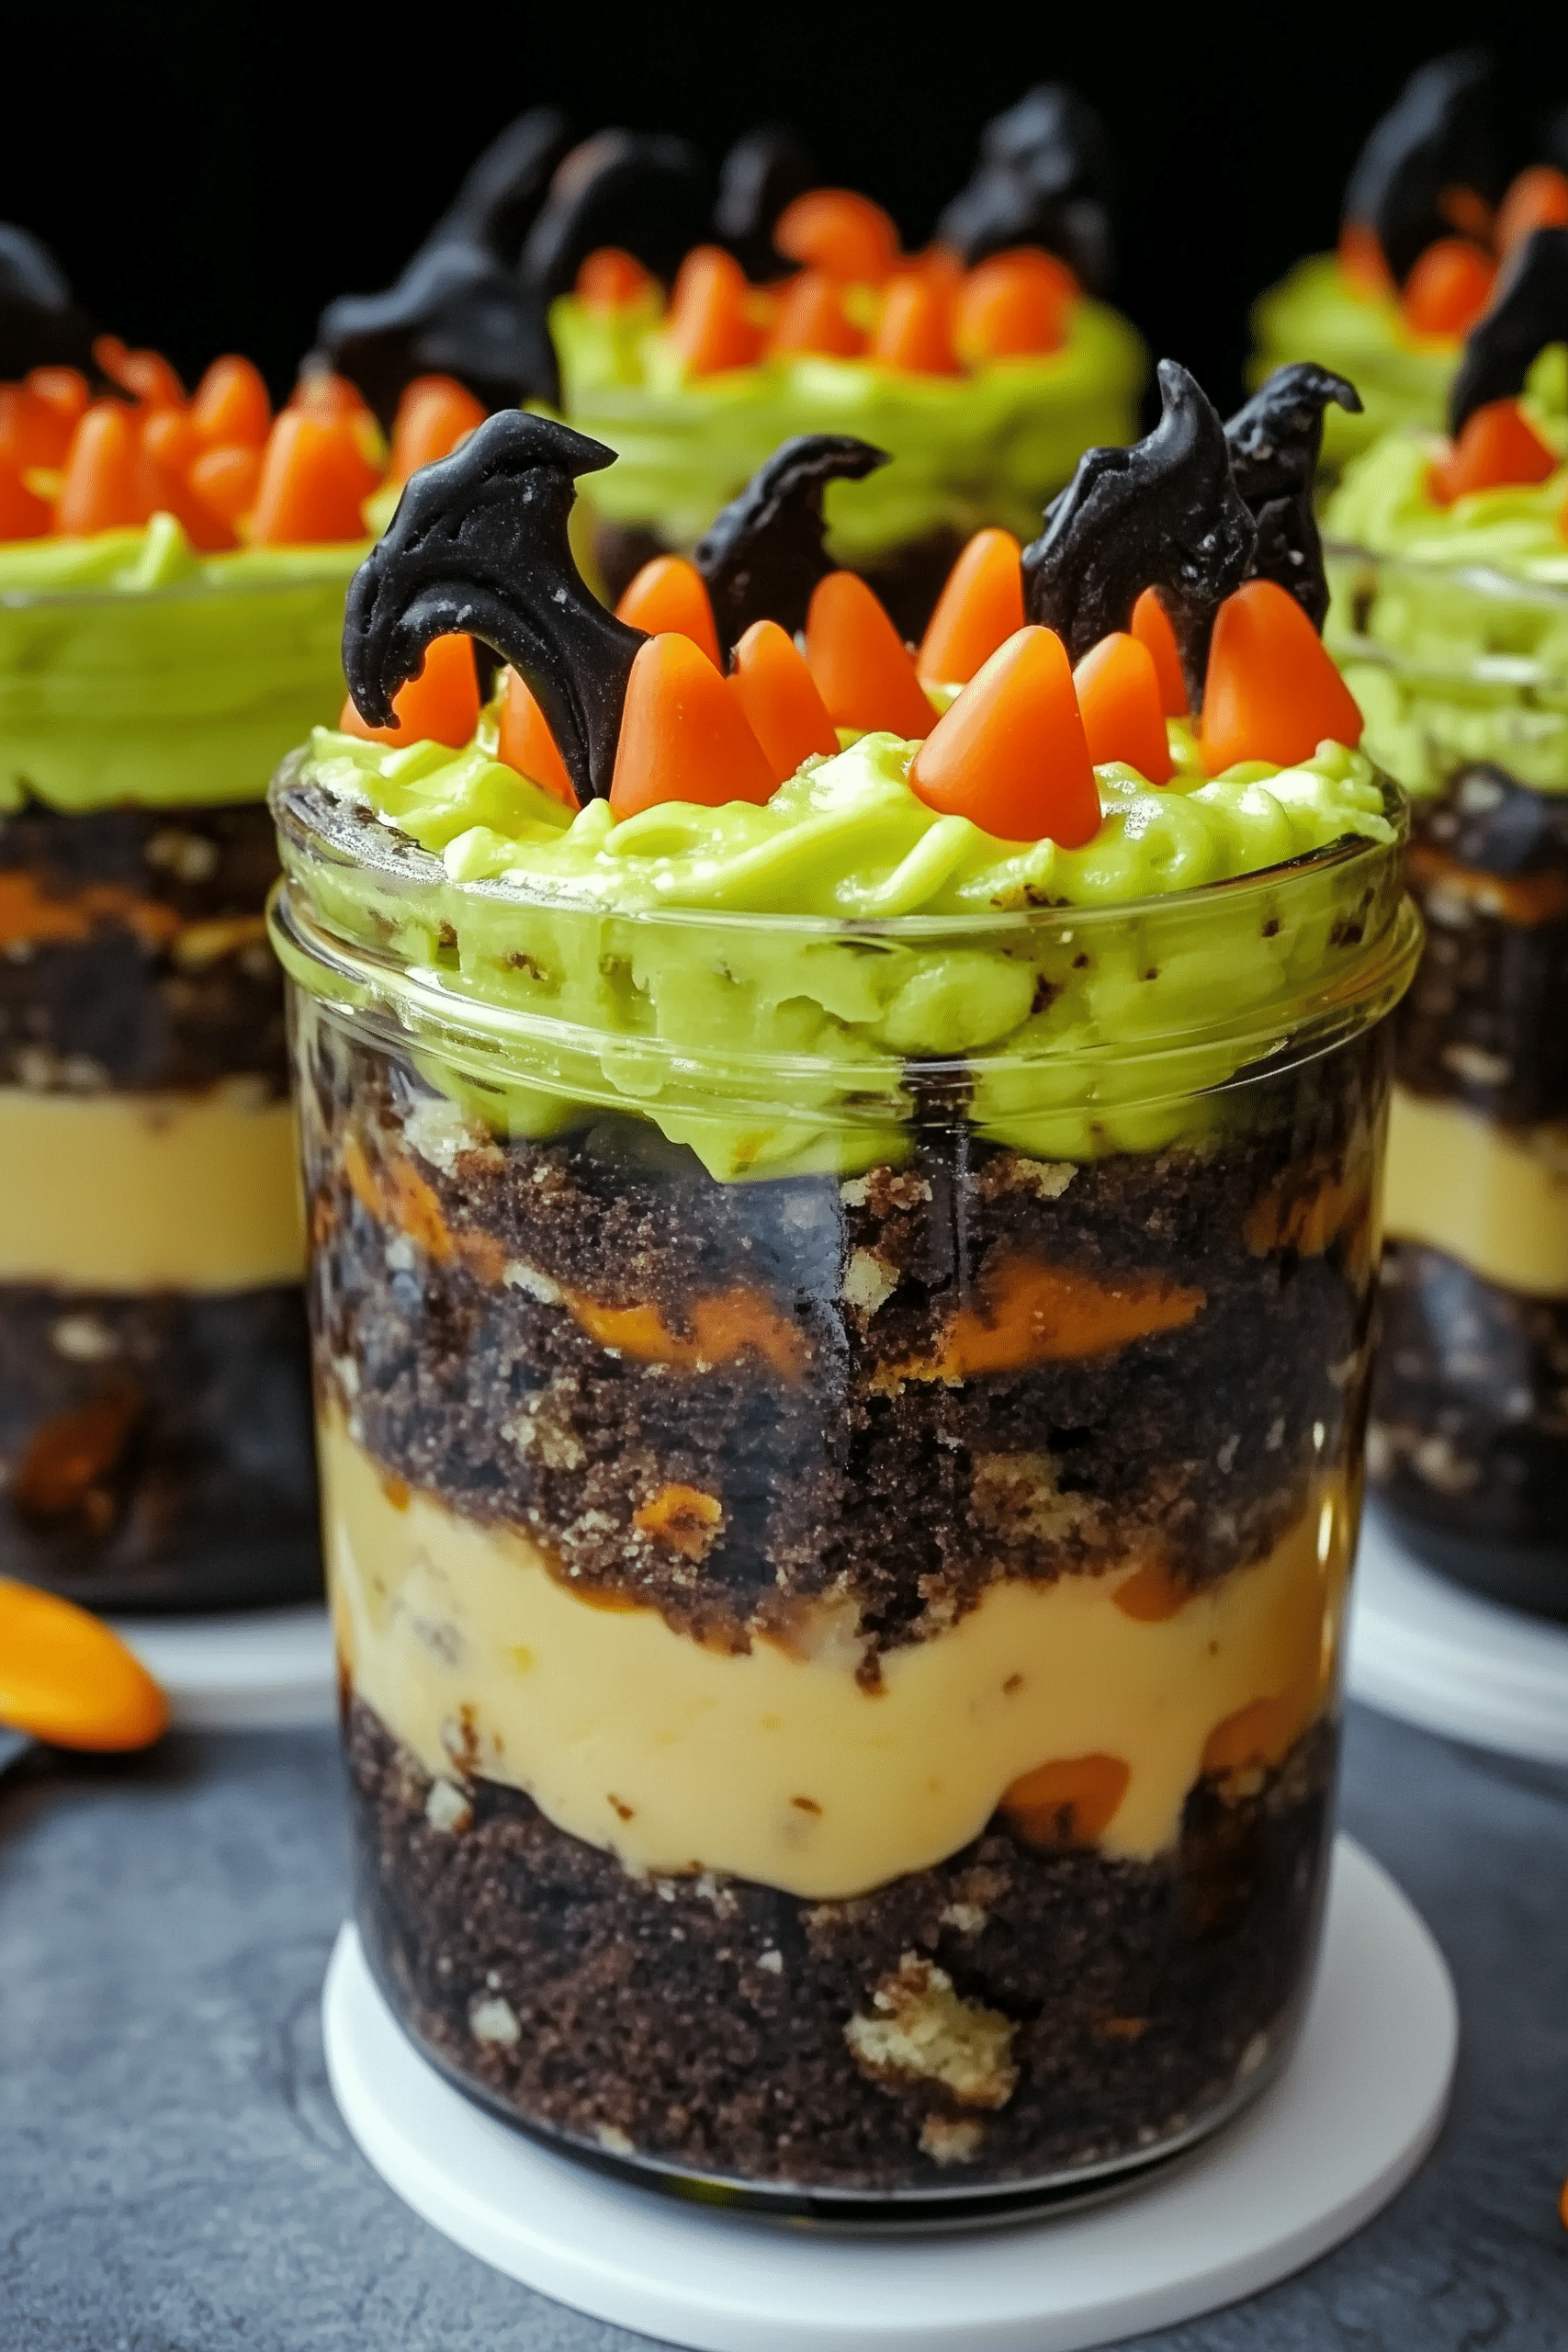
Spooky, layered dessert jars bursting with chocolate cake, vibrant green buttercream, and whimsical fondant witch‑legs — the perfect treat for Halloween.
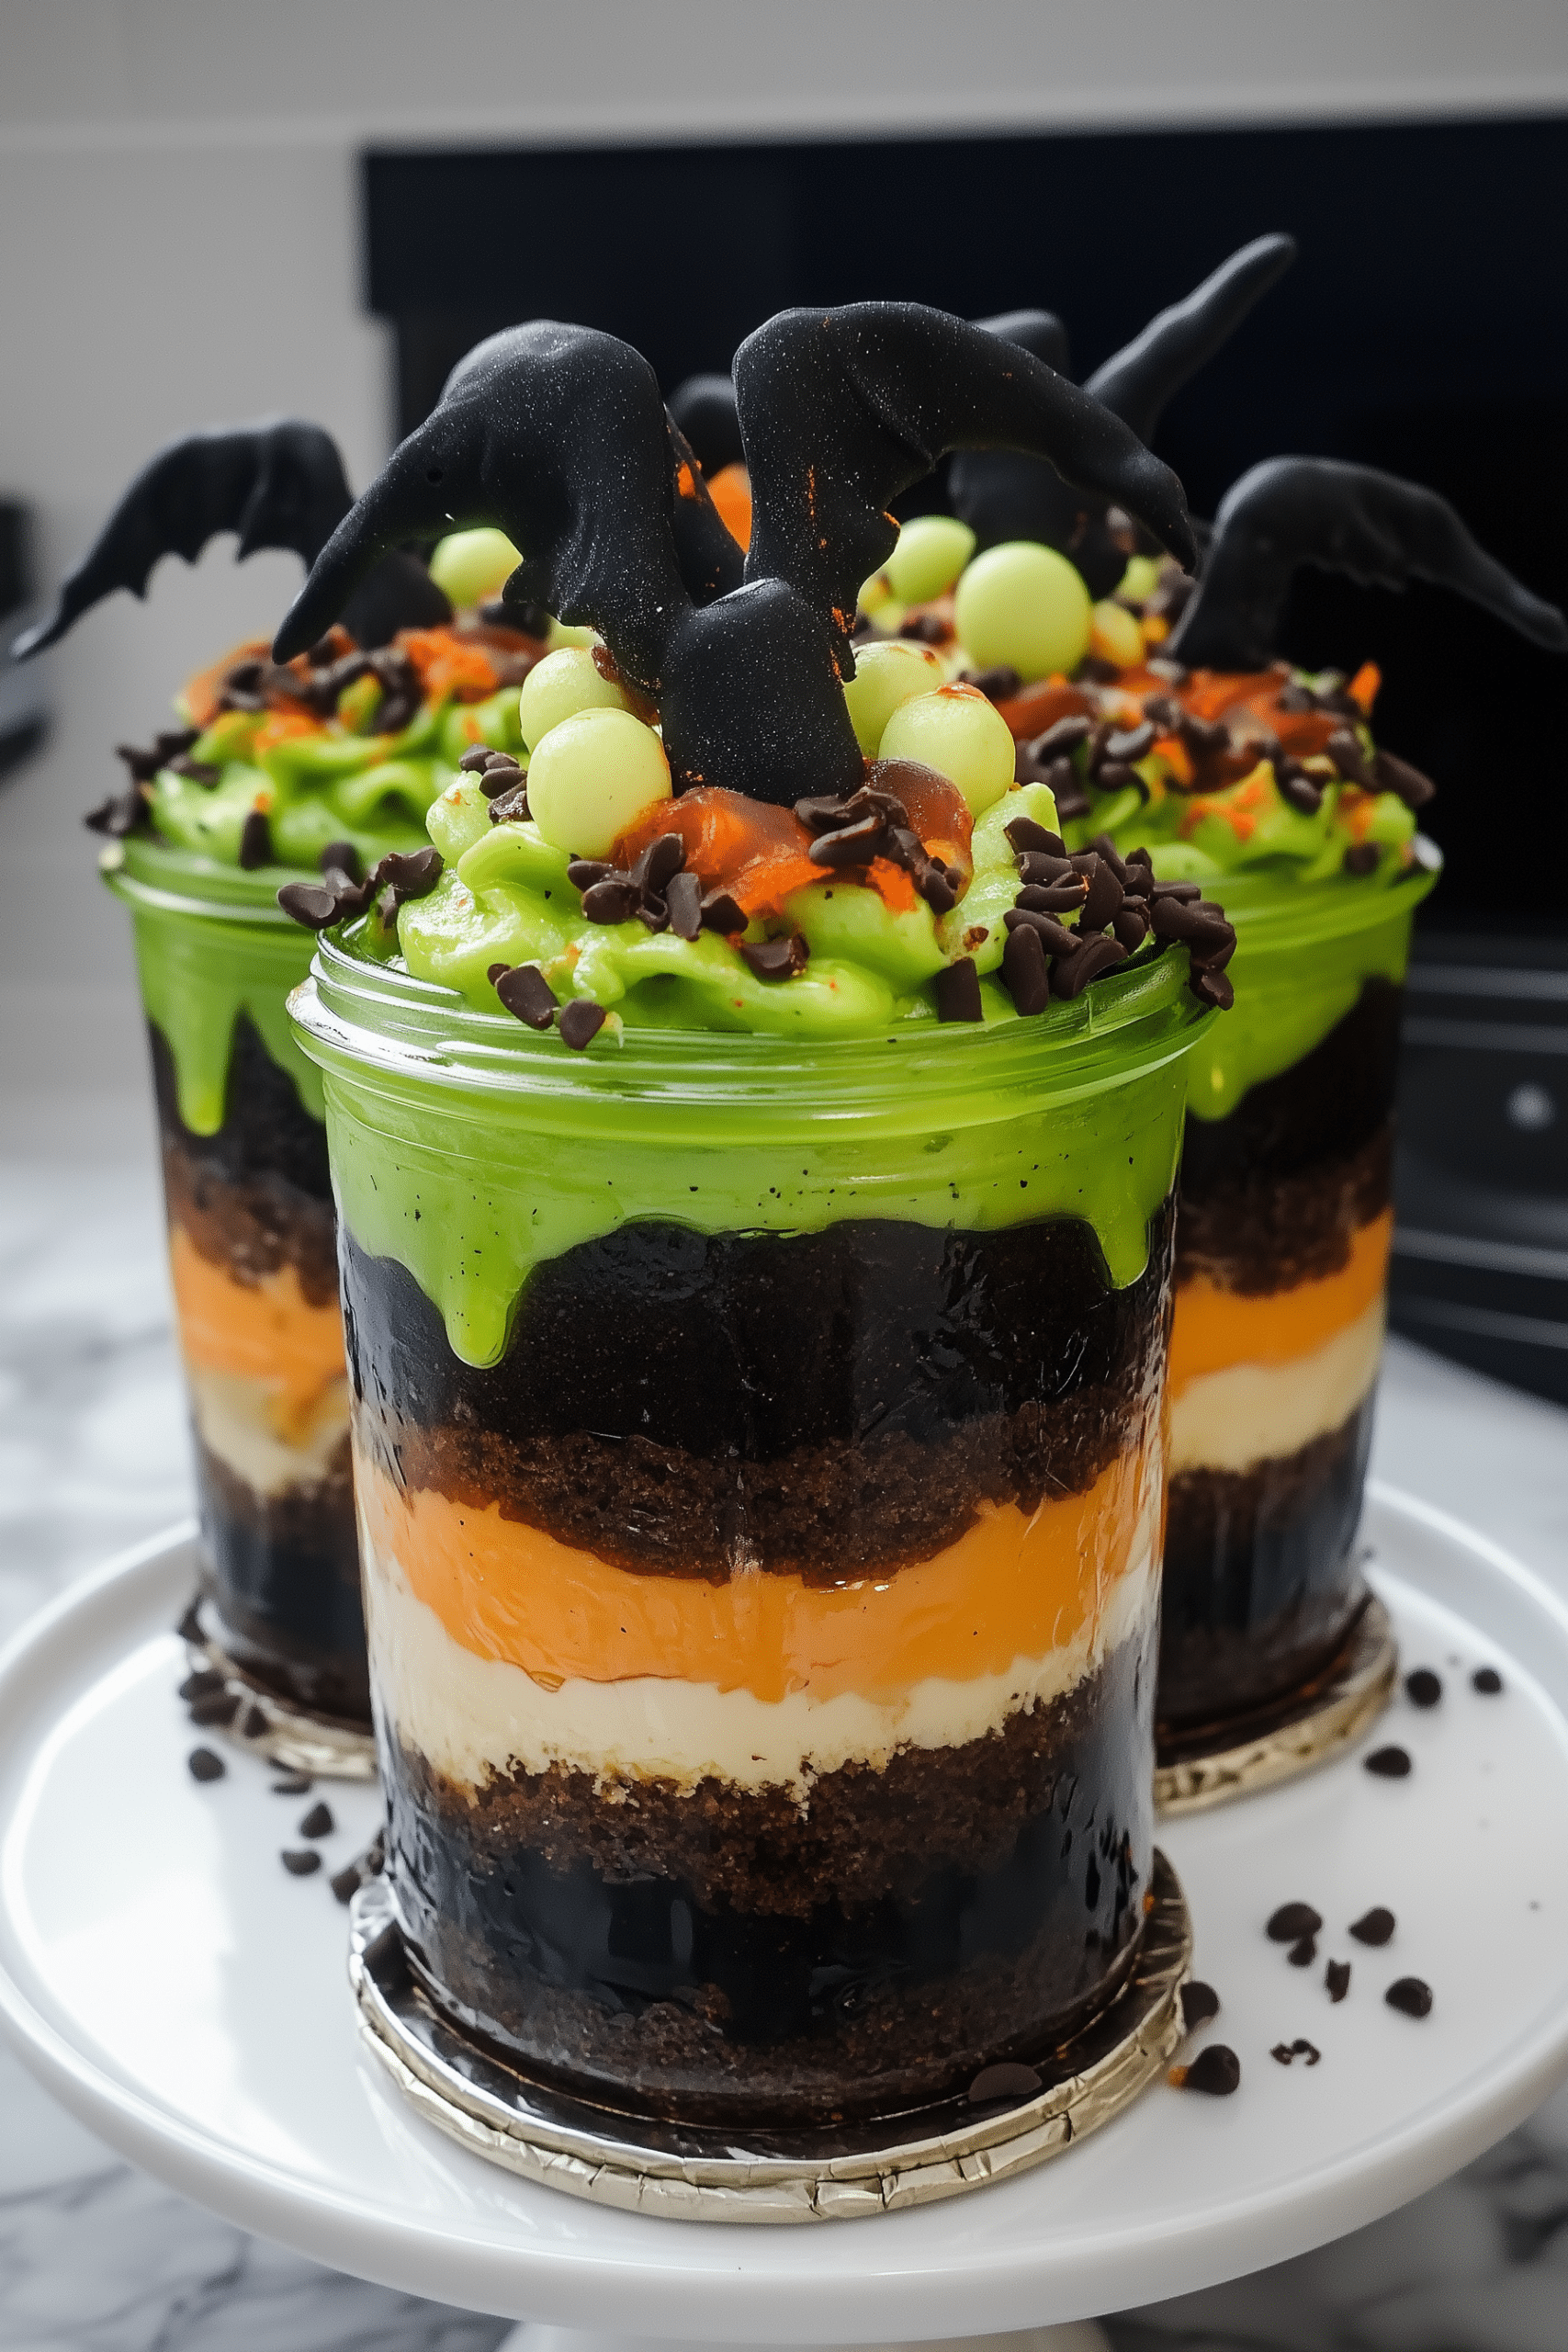
Get ready for Halloween fun with these adoring Witches Brew Halloween Cake Jars filled with layers of rich chocolate cake and vibrant green buttercream, topped off with playful fondant witch‑legs. They’re festive, fun, and perfect for monsters, witches — and everyone in between.
Crafted in individual jars for easy serving, these desserts bring flavor and flair to your spooky spread: the deep chocolate cake, the creamy green frosting, the sprinkle‑filled sides, and the tiny witch legs peeking out. Ideal for Halloween parties, themed dessert tables, or even as a scary‑sweet gift.
Why You’ll Love This
- Visual impact – Transparent jars show off the layers of cake, buttercream, sprinkles and fondant legs for maximum “wow”.
- Festive & fun – The green buttercream and witch‑leg toppers bring classic Halloween spirit without relying on candy or gimmicks.
- Individual servings – Pre‑assembled jars mean no slicing, fewer messes, and easy portability.
- Make‑ahead friendly – The cake layers and fondant decorations can be prepared ahead of time, making final assembly quick.
- Customizable – Swap cake flavors, change buttercream colors, or decorate jars to match your party theme.
Ingredients
Cake
- 330 g self‑raising flour
- 360 g granulated sugar
- 360 g butter (room temp)
- 6 eggs
- 30 g unsweetened black cocoa powder
- 1½ tsp baking powder
- ½ tsp salt
- 90 ml milk
- 2 tsp vanilla extract
Buttercream & Decoration
- 400 g salted butter
- 800 g powdered (icing) sugar
- 1¼ tsp vanilla extract
- 2 Tbsp milk or cream (optional if stiff)
- Electric green food colouring (a few drops)
- 250 g orange fondant
- 200 g black fondant
- 1 Tbsp CMC (tylose) powder
- Sprinkles (green/blue/chocolate theme)
- Jars (≈ 3″ diameter × 3½″ high)
- Round cutter (3 in diameter) for cake circles
Instructions
1. Make the Witch Legs & Shoes (Fondant)
- Knead ½ Tbsp CMC into the orange fondant and form long ~5 mm diameter strips; cut into ~10 cm lengths for 18 legs.
- Roll black fondant into thin strips (~2–3 mm diameter) and attach as stripes to the orange legs using a damp brush.
- Knead remaining black fondant with CMC into 18 balls (~2 cm each), shape into witch shoes (pointy heel, curled toe) and attach them to the legs. Let legs set overnight until firm.
2. Bake the Chocolate Cake
- Preheat oven to 170 °C. Grease + flour one 9‑inch square cake tin.
- Cream butter & sugar until light (~2 min). Add eggs two at a time.
- Whisk flour, cocoa, baking powder & salt. Sift into cake mixture in 3 batches, alternating with milk. Fold in vanilla.
- Pour batter into tin and bake 45–50 minutes (skewer should come out clean). Cool completely.
3. Make the Green Buttercream
- In a bowl, beat butter until soft & creamy. Sift in powdered sugar gradually, then add vanilla.
- If too stiff, add milk/cream. Add green food colouring until desired vibrant hue. Fit into a piping bag with large star tip (1M).
4. Assemble the Cake Jars
- Using a 3″ cutter, cut circles from the cooled cake layer (enough for 9 jars, 2 circles each).
- Add a spoonful of sprinkles to the bottom of each jar (optional, for aesthetic).
- Drop in first cake circle, pipe buttercream layer, add more sprinkles to the sides of the jar for visible color.
- Add second cake circle, top with a generous swirl of buttercream.
- Press two fondant witch‑legs into each jar so they look like a witch jumped into the brew.
Tips, Storage & FAQs
Tips
- For professional results, cut circles slightly smaller than the jar diameter so they easily drop in.
- Use gel food colouring (electric green) for bold vibrant colour. Too much liquid colouring can thin the buttercream.
- If working in humid conditions, keep fondant pieces covered to prevent drying out or sagging. Use CMC to help firm up.
Storage
- Refrigerate assembled jars in airtight containers for up to 4‑5 days.
- Freeze: You can freeze the cake layers unassembled (wrapped) for up to 3 months; thaw, assemble and decorate before serving.
FAQs
- Can I use different jar sizes? Yes — adjust cake circle diameter and quantity accordingly.
- Can I make this gluten‑free? Substitute a 1:1 gluten‑free flour blend for the cake flour, though texture may vary.
- Can I skip the fondant legs? Yes — the jars are still festive with sprinkles and green buttercream, though the legs add a fun touch.
- Is the buttercream too sweet? You can reduce powdered sugar slightly or add a pinch of salt to balance it.
Final Thoughts
These Witches Brew Halloween Cake Jars showcase how a creative presentation can elevate a simple chocolate cake into a festive centerpiece. With rich layers of flavor, playful decorations, and individual servings in convenient jars, they’re perfect for Halloween parties or treats that feel magical without being fussy. Dive in — the witch is in the brew!
The Goods
Witches Brew Halloween Cake Jars
We appreciate you taking the time to rate!
Recipes
Cake
- 330 g self‑raising flour
- 360 g granulated sugar
- 360 g butter room temp
- 6 eggs
- 30 g unsweetened black cocoa powder
- 1½ tsp baking powder
- ½ tsp salt
- 90 ml milk
- 2 tsp vanilla extract
Buttercream & Decoration
- 400 g salted butter
- 800 g powdered icing sugar
- 1¼ tsp vanilla extract
- 2 Tbsp milk or cream optional if stiff
- Electric green food colouring a few drops
- 250 g orange fondant
- 200 g black fondant
- 1 Tbsp CMC tylose powder
- Sprinkles green/blue/chocolate theme
- Jars ≈ 3″ diameter × 3½″ high
- Round cutter 3 in diameter for cake circles
Instructions
Make the Witch Legs & Shoes (Fondant)
- Knead ½ Tbsp CMC into the orange fondant and form long ~5 mm diameter strips; cut into ~10 cm lengths for 18 legs.
Decorated Treats
- Roll black fondant into thin strips (~2–3 mm diameter) and attach as stripes to the orange legs using a damp brush.
- Knead remaining black fondant with CMC into 18 balls (~2 cm each), shape into witch shoes (pointy heel, curled toe) and attach them to the legs. Let legs set overnight until firm.
Bake the Chocolate Cake
- Preheat oven to 170 °C. Grease + flour one 9‑inch square cake tin.
Decorated Treats
- Cream butter & sugar until light (~2 min). Add eggs two at a time.
- Whisk flour, cocoa, baking powder & salt. Sift into cake mixture in 3 batches, alternating with milk. Fold in vanilla.
- Pour batter into tin and bake 45–50 minutes (skewer should come out clean). Cool completely.
Make the Green Buttercream
- In a bowl, beat butter until soft & creamy. Sift in powdered sugar gradually, then add vanilla.
- If too stiff, add milk/cream. Add green food colouring until desired vibrant hue. Fit into a piping bag with large star tip (1M).
Assemble the Cake Jars
- Using a 3″ cutter, cut circles from the cooled cake layer (enough for 9 jars, 2 circles each).
Decorated Treats
- Add a spoonful of sprinkles to the bottom of each jar (optional, for aesthetic).
- Drop in first cake circle, pipe buttercream layer, add more sprinkles to the sides of the jar for visible color.
- Add second cake circle, top with a generous swirl of buttercream.
- Press two fondant witch‑legs into each jar so they look like a witch jumped into the brew.










Leave a Reply